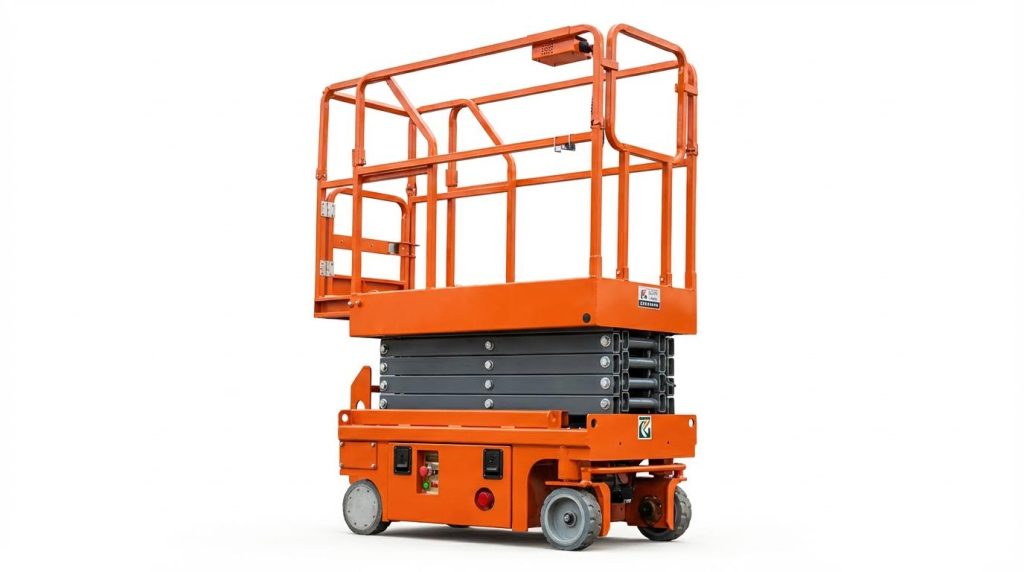
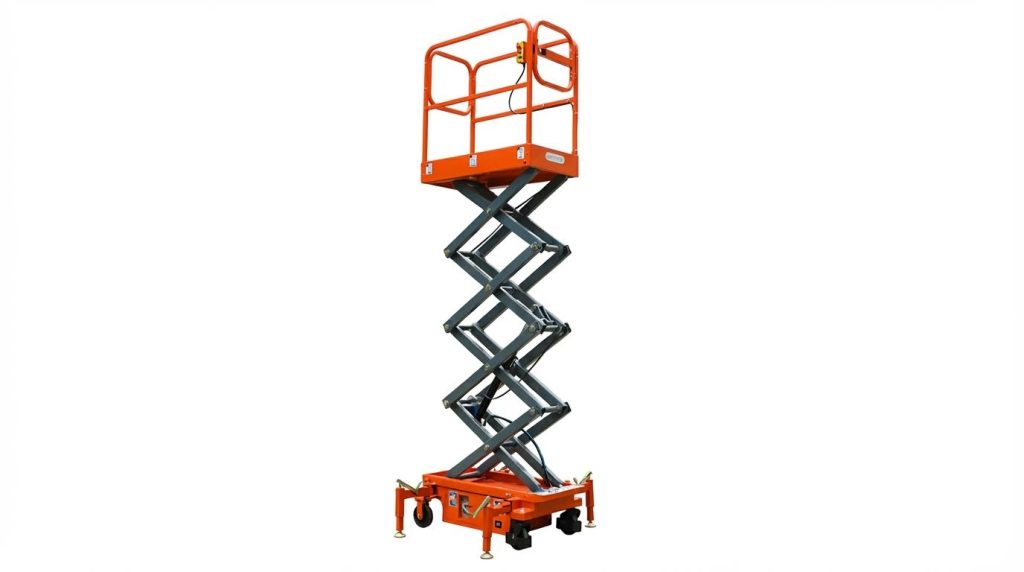
Industrial scissor lifts relied on increasingly complex electro‑hydraulic systems that combined motors, sensors, controllers, and software. When faults occurred, technicians needed a structured approach that covered electrical power, drive and hydraulic performance, and safety‑critical sensors and ECUs. This guide followed that complete chain, from core electrical and control diagnosis through motor and hydraulic problems to sensor, ECU, and software‑related failures. It finished with a systematic, safety‑focused method for resetting faults and returning industrial scissor lifts to reliable service.
Core Electrical And Control Fault Diagnosis
Electrical and control faults in industrial scissor lifts typically originated from wiring, connectors, and controller logic rather than from major component failure. Systematic diagnosis reduced downtime and prevented unnecessary parts replacement. A structured approach started at the power source, moved through switches and harnesses, and ended at ECUs and sensors.
System Dead: No Power, No Indicators, No Action
A dead system, with no work indicator light and no ECU or PCU display, usually indicated a primary power path failure. Technicians first checked the main power switch, Anderson connector, key switch, and battery power cable terminations for looseness, corrosion, or mechanical damage. They verified both positive and ground continuity from the battery to the control electronics, because an open ground produced identical symptoms to an open positive feed. After confirming supply voltage at the ECU input, they inspected fuses and main relays, and only then considered ECU replacement. This top‑down sequence minimized misdiagnosis and aligned with OEM troubleshooting trees published before 2024.
Frequent “02 Failure” And Communication Errors
Repeated “02 failure” events after power‑up or during operation historically pointed to intermittent communication between the platform handle and lower control ECU. Root causes included fatigued PCU spring wires at articulations, partially seated connectors, and broken conductors inside the main wiring harness. Technicians reproduced the fault by gently moving the harness while monitoring the code, which helped localize hidden breaks. They cleaned and re‑crimped terminals, replaced damaged sub‑harnesses, and confirmed that controller firmware and configuration matched the machine model to avoid spurious communication alarms. On branded equipment, codes such as JLG 77 also signified control‑to‑platform communication loss and required similar harness and connector checks.
Control Input Detected, But No Motion Output
Control action failures occurred when switches or joysticks appeared functional, yet the lift would not walk, steer, or raise despite normal supply voltage. In these cases, multimeter tests often showed valid input signals at rest, but the ECU did not recognize or act on them under dynamic conditions. Investigations focused on limit switches, enable switches, and emergency‑stop circuits, verifying correct contact spring‑back and stable continuity through the full stroke. Technicians inspected ECU connector terminals for spread female contacts, oxidation, or partial pull‑out, which caused intermittent logic‑level drops that a handheld meter could miss. If logic inputs were confirmed at the ECU but no corresponding valve or motor driver outputs existed, they then evaluated the ECU, contactors, and motor drivers against OEM resistance and voltage specifications.
Using Multimeters And OEM Fault Codes Effectively
Effective troubleshooting combined structured electrical measurements with correct interpretation of OEM fault codes. Technicians used a digital multimeter not only for static voltage checks, but also for loaded tests, such as measuring voltage drop across connectors during motor start commands. They measured output signals from the controller to verify whether a non‑moving vehicle truly lacked drive commands or suffered from downstream motor or valve faults. OEM diagnostic codes, including generic “02 failures” or specific JLG codes like 995 for power module personality errors, guided where to probe first and what nominal values to expect. When ECUs or PCUs displayed “8.8” and produced no action, technicians checked for power supply short circuits and validated that the device received stable input voltage before condemning the module. This disciplined, code‑driven and measurement‑based method shortened fault isolation time and reduced unnecessary component replacement.
Drive, Motor, And Hydraulic Performance Issues
Drive, steering, and lifting faults in scissor lifts usually traced back to motor, power electronics, or hydraulic problems. Industrial users reduced downtime when they separated electrical drive issues from hydraulic load-handling issues during troubleshooting. A structured approach started with supply and command signals, then moved to actuators, and finally to mechanical alignment and load settings. This section focused on field-proven checks that technicians used to quickly localize the fault domain.
Motor Will Not Run, Walk, Steer, Or Lift
A non-responsive motor after power-on indicated either missing command signals or a blocked power path to the drive. Technicians first confirmed that the main contactor closed and that the controller issued an enable or PWM signal to the motor driver. If the vehicle could not walk, steer, or lift, they checked wiring harness continuity, Anderson connectors, and ground returns between the battery pack, ECU, and motor controller. Fault codes associated with motor drive channels helped distinguish between an open circuit, short circuit, or driver internal failure. When no fault code appeared and the motor still did not react, a power-on test with a multimeter or oscilloscope at the motor terminals verified whether any voltage reached the motor under command.
Insufficient Power, Jerky Motion, And Overheating
Insufficient vehicle power with unstable movement often resulted from degraded speed control signals or worn motor components. Intermittent poor contact in the throttle or joystick signal wiring caused fluctuating command voltage and therefore jerky acceleration. Technicians inspected the motor’s carbon brushes and reversing slip rings for wear, pitting, or contamination, because these conditions produced unstable current, sparking, and elevated surface temperature. Overheating combined with speed oscillations suggested excessive current draw from mechanical binding or internal motor faults. Measuring current and voltage under load, then comparing to nameplate ratings, allowed maintenance staff to decide whether to service the motor, correct wiring issues, or investigate hydraulic or mechanical drag.
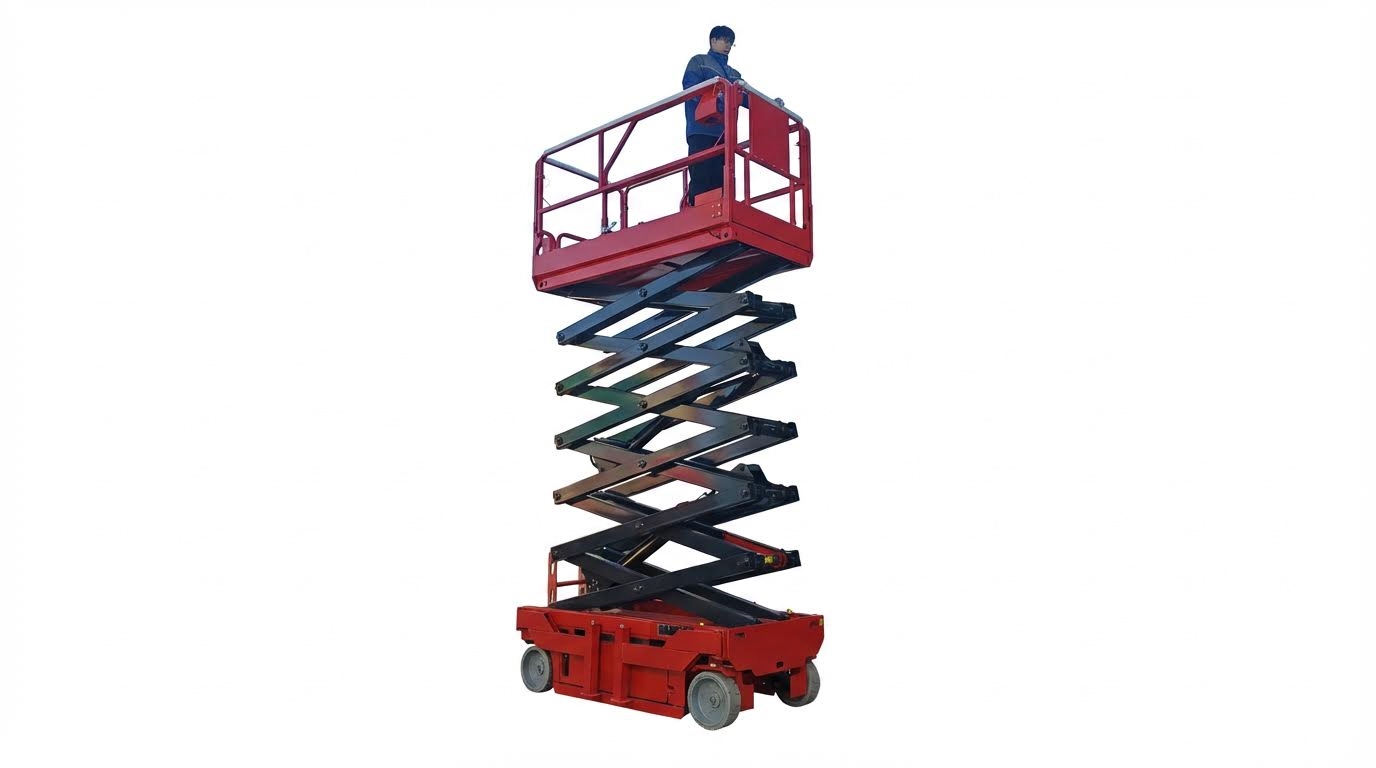
Common Hydraulic Lift Faults And Corrective Actions
Hydraulic lift problems manifested as no lift, slow lift, jerky lift, or continued lifting after releasing the button. If the platform did not respond when the lift button was pressed, technicians checked the lift motor, associated fuses, pushbuttons, main switch, and supply cables for continuity and correct cross-section. Jerky or pulsating lifting frequently indicated low hydraulic oil level, clogged suction or return filters, or air trapped in the hydraulic circuit. Corrective actions included refilling with clean hydraulic oil of the specified viscosity, cleaning or replacing filters, and bleeding air from cylinders and lines. Dirty or degraded hydraulic oil accelerated wear of valves and pumps, so manuals recommended periodic oil changes based on operating hours and environmental contamination.
Load, Relief Valve, And Mechanical Alignment Checks
Excessive platform load or incorrect pressure relief valve settings caused lifts to stall or fail to reach the desired height. Technicians verified that the actual load stayed within the rated capacity and then adjusted the pressure relief valve to match the maximum working pressure specified by the manufacturer. Mechanical alignment of slideways and scissor arms affected friction and load distribution; guidelines specified a clearance of approximately 1.5–2.5 mm between slideways for smooth motion. Misalignment, bent structural members, or dry sliding surfaces increased required lifting force and triggered overload or OL alarms. Lubricating slideways, correcting clearances, and realigning structural components restored efficient motion and reduced unnecessary stress on the hydraulic and drive systems.
Sensor, ECU, And Software-Related Failures

Sensor, ECU, and software faults affected the most advanced functions of scissor lifts. These failures often appeared as nuisance alarms, unexplained shutdowns, or inconsistent behavior despite normal hydraulic and mechanical systems. Industrial users needed a structured approach that separated wiring and installation issues from genuine component or firmware defects. The following subsections outlined practical reset and troubleshooting strategies that maintenance teams applied on modern electric and hydraulic self‑propelled scissor lifts.
Tilt, Overload, And Level Sensor Alarm Resets
Tilt, overload, and level alarms relied on inclination, angle, and pressure sensors that measured machine attitude and platform load. False LL (low‑level or tilt) alarms on level ground usually indicated incorrect inclination switch mounting, contamination, or wiring degradation rather than true instability. Technicians first verified the physical installation, ensured the sensor base sat on a known horizontal plane, and checked output voltage or digital status against the manufacturer’s specification. They then performed a reset or recalibration sequence, typically with the platform empty, following OEM instructions to store the correct zero reference.
Frequent OL (overload) alarms without heavy objects on the platform pointed to loose angle or pressure sensor mounting, distorted brackets, or incorrect mechanical linkage. Maintenance personnel inspected for play in the load‑sensing components, confirmed connector integrity, and monitored sensor signal change from no‑load to rated load using a multimeter or diagnostic tool. If the signal range fell outside the documented window, they recalibrated the weighing function with a defined no‑load condition and a certified test load. Persistent OL alarms after correct setup suggested internal sensor drift or damage, which required sensor replacement and a full load‑test according to local safety regulations.
After any sensor reset, technicians performed a complete functional check in a clear area, raising, lowering, and tilting within allowable limits while monitoring alarm thresholds. They documented final set‑points, test loads, and measured voltages to support future troubleshooting and compliance audits. This disciplined process reduced nuisance trips while preserving the safety margin mandated by standards such as ISO 16368 and applicable national MEWP regulations.
ECU, PCU, And Power Module Fault Code Handling
Electronic Control Units (ECUs), Platform Control Units (PCUs), and power modules recorded detailed fault codes that guided systematic diagnosis. A powered‑off system, where work indicator lamps and ECU or PCU digital tubes did not light, typically traced back to upstream power distribution rather than ECU failure. Technicians checked the main power switch, Anderson connector, key switch contacts, battery power cables, and chassis ground points, verifying continuity and voltage under load. Only after confirming stable supply and correct polarity at the ECU connector did they suspect internal controller damage.
Frequent “02 failure” codes after power‑up or during operation indicated intermittent communication between upper and lower control modules. Common causes included fatigued spring contacts in PCU connectors, damaged wiring harnesses at articulation points, or loose main harness terminals. Maintenance staff inspected these areas visually, performed tug tests on each conductor, and measured resistance and insulation where necessary. If communication returned when the handle or harness was moved, they replaced or re‑terminated the affected harness to eliminate the intermittent fault.
When an ECU or PCU displayed “8.8” on power‑up and the machine showed no response, the condition usually signaled a controller self‑test failure or power supply anomaly. The recommended procedure was to isolate the controller, check for short circuits in the power and output circuits, and verify that supply voltage met OEM limits under dynamic load. If no external short or wiring defect appeared and the “8.8” display persisted, technicians replaced the ECU or PCU, then reloaded configuration parameters and performed full functional tests. For power module personality or range errors, such as historical JLG code 995, fault handling included checking battery charge indicators, verifying correct module type and configuration, and confirming that the parameter set matched the installed hardware.
Post‑Update Software Issues And Parameter Errors
Software updates and parameter changes improved functionality but also introduced new failure modes when applied incorrectly. Abnormal operation immediately after a software update often pointed to mismatched configuration files, corrupted downloads, or incompatible firmware versions between upper and lower controllers. Best practice required technicians to log the original software version, backup parameter sets, and confirm hardware compatibility before reflashing any module. After an update, they validated key functions, including drive, steer, lift, and safety interlocks, in a controlled environment before releasing the lift back to service.
Parameter errors could manifest as sluggish response, unexpected speed limits, or alarms at incorrect tilt or load conditions. Maintenance teams used OEM diagnostic tools to compare active parameters against the manufacturer’s baseline for the specific model and option set. They corrected any deviations in travel speed, acceleration ramps, current limits, and sensor scaling factors, then stored the configuration and cycled power to ensure retention. If unexpected behavior persisted, reverting to the previous, known‑good software version served as a critical step to distinguish a configuration issue from a deeper hardware problem.
Industrial users also implemented change‑control procedures for software work on fleet machines. These procedures included written approvals, update logs, and post‑update test checklists that covered both normal and emergency operations. By treating firmware and parameter management as an engineering process rather than an ad‑hoc task, facilities reduced unexplained downtime and avoided unsafe combinations of software, sensors, and actuators.
When To Replace Handles, Controllers, Or Harnesses
Deciding when to replace handles, controllers, or wiring harnesses required clear criteria to avoid both premature replacement and unsafe reuse. Persistent “02 failure” codes that remained after cleaning connectors, reseating plugs, and confirming continuity usually indicated internal damage in the handle assembly or lower control ECU. In these cases, technicians substituted known‑good components to localize the fault, then replaced the defective unit once the symptom disappeared. Any handle that showed physical cracks, water ingress, or intermittent switch behavior under vibration testing was removed from service.
Wiring harness replacement became necessary when insulation damage, green corrosion at conductors, or repeated intermittent faults appeared, especially at articulations where cables flexed during every lift cycle. Temporary repairs such as splicing or taping in high‑movement zones often failed quickly and were discouraged for long‑term use. Instead, maintenance teams installed new harnesses built to OEM specifications, including correct conductor cross‑section, shielding, and strain relief. They then routed and clamped the harness to minimize bending radius and abrasion, extending service life.
Controller replacement was justified when diagnostic tests confirmed correct power, ground, and I/O wiring, yet the ECU or PCU still produced invalid outputs, locked displays, or failed self‑tests like the “8.8” condition. Before replacement, technicians documented all measured voltages, resistances, and fault codes to support warranty claims and future root‑cause analysis. After installing a new controller, they loaded the appropriate software and parameters, carried out full functional and safety checks, and affixed update labels with date and version information. This structured approach ensured that component replacement addressed the root cause and maintained regulatory compliance for elevated work platforms.
Summary: Safe, Systematic Scissor Lift Fault Reset And Repair
Industrial scissor lift troubleshooting required a structured approach that linked electrical, hydraulic, and control diagnostics. Technicians first verified basic power integrity, including batteries, main disconnects, key switches, fuses, and Anderson connectors, before interpreting ECU or PCU fault indications such as “02 failure” or “8.8” displays. Systematic checks of wiring harnesses at articulations, connector pin fit, and ground continuity addressed the most frequent real-world failures, which historically arose from damaged or loose connections rather than software defects.
Drive and lifting issues demanded combined electrical and hydraulic evaluation. Motor non-response, unstable speed, or overheating pointed toward abnormal driver output, weak speed control signals, or worn carbon brushes and slip rings. In parallel, lift complaints such as no lift, jerky motion, or drift under load required inspection of oil level and cleanliness, filters, cylinder behavior, relief valve settings, and slideway clearances, with corrections including bleeding air, replacing damaged components, and adjusting mechanical alignments within specified tolerances.
Sensor and ECU-related alarms, including tilt (LL) and overload (OL) warnings on apparently normal ground or load conditions, highlighted the importance of correct sensor mounting, signal verification, and calibration with defined no-load and full-load reference points. Where software updates preceded abnormal operation, reverting to a validated version or correcting parameter sets restored stable behavior in most documented cases. Looking forward, wider use of self-diagnostics, remote battery and system monitoring, and all-electric architectures with reduced hydraulic content was expected to lower fault incidence and simplify root-cause analysis.
For practical implementation, industrial users benefited from embedding these diagnostic sequences into standard operating procedures and checklists aligned with OSHA-style inspection requirements. This included daily structural and functional checks, scheduled torque and lubrication routines, and disciplined recording of fault codes and corrective actions. A balanced strategy combined preventive maintenance, conservative loading practices, and clear escalation criteria for component replacement, such as persistent communication faults despite verified harness integrity. By treating fault reset not as a quick workaround but as the final step in a documented root-cause process, fleets maintained higher availability, reduced unplanned downtime, and preserved safety margins for operators working at height.