
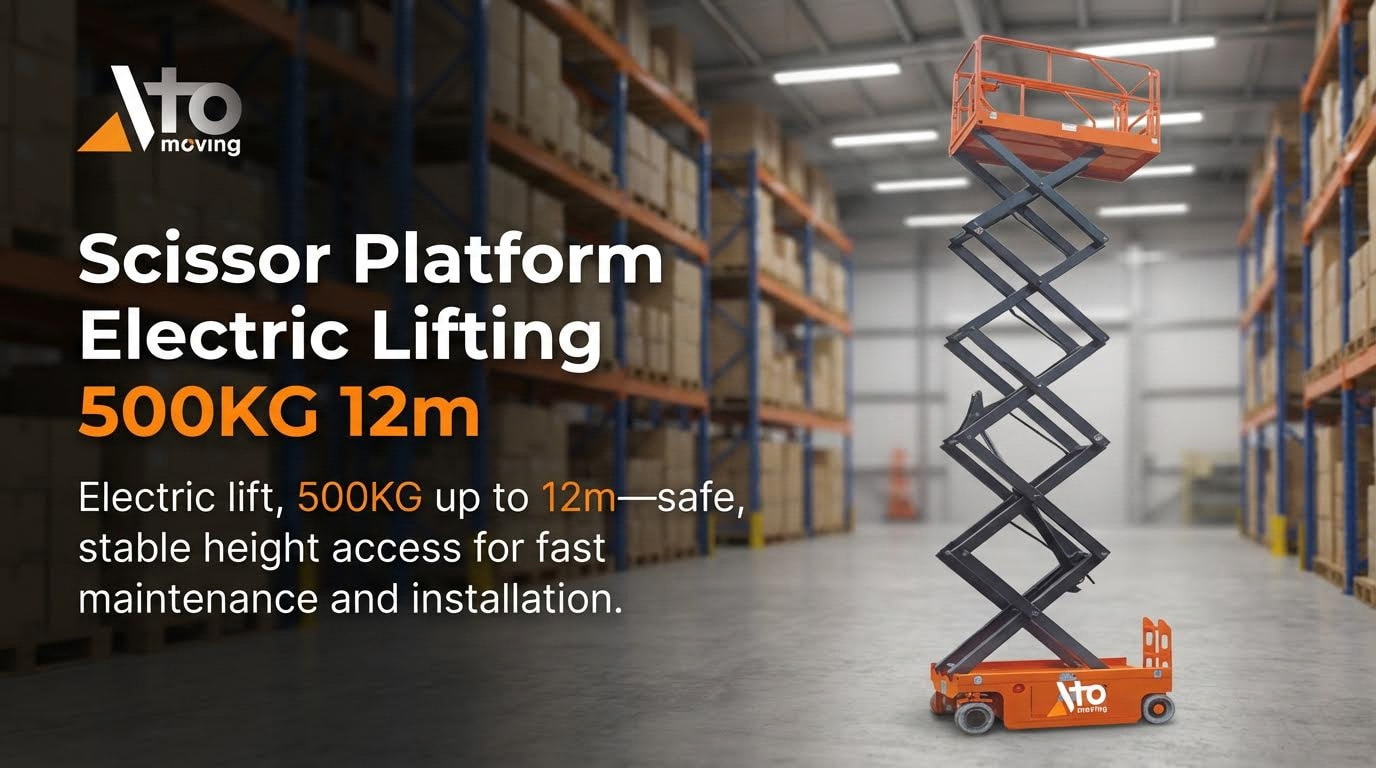
Charging a scissor lift is a routine task, but it directly affects uptime, battery life, and operator safety. This guide explains how do you charge a scissor lift step by step, from basic battery concepts to real‑world charging procedures. You will learn how to match chargers to batteries, set up a safe charging area, and follow engineering best practices to extend battery life. Use it as a practical reference for operators, technicians, and fleet managers who need safe, efficient, and compliant charging processes.
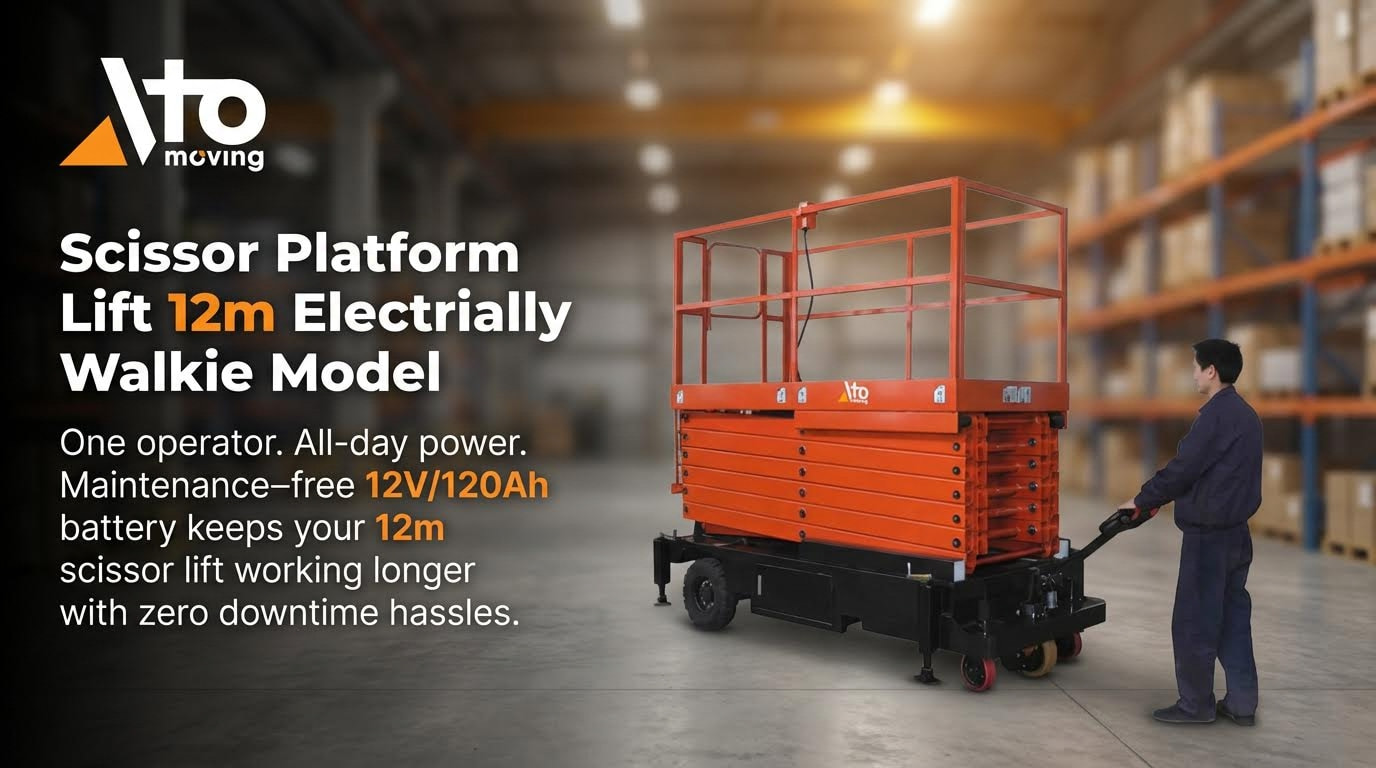
Understanding Scissor Lift Battery Charging Basics

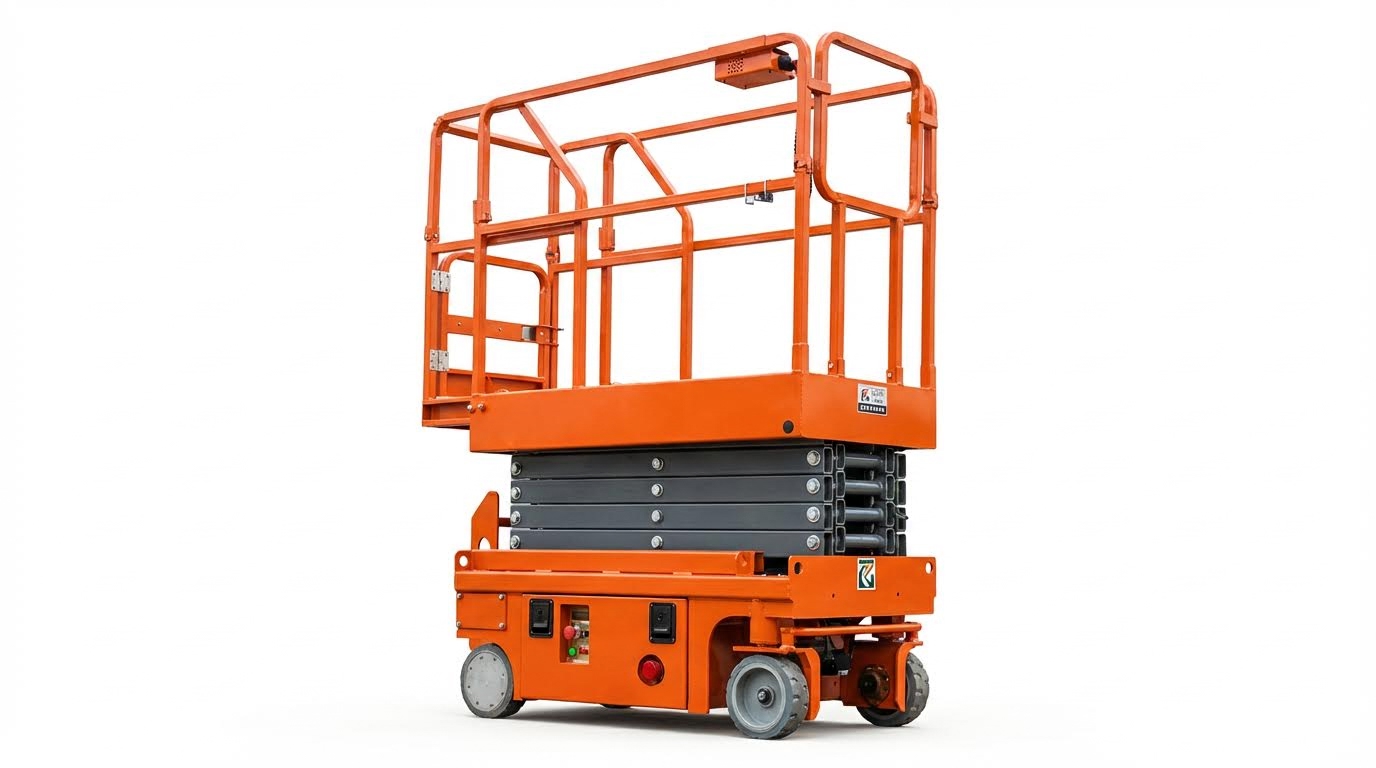
Common Battery Types in Scissor Lifts
Most scissor lifts use either flooded lead‑acid, AGM (sealed lead‑acid), or lithium‑ion traction batteries. Knowing which type you have is the first step when asking how do you charge a scissor lift safely and efficiently, because charging profiles and maintenance needs are different. Lead‑acid batteries typically require longer charge times, often in the 6–10 hour range for a full shift recharge, depending on capacity and charger output and ambient temperature. Lithium‑ion packs usually charge faster and need less routine maintenance, but require a matched charger and strict adherence to voltage limits.
Typical characteristics by battery type
| Battery type | Charge time (typical) | Maintenance |
|---|---|---|
| Flooded lead‑acid | 8–16 hours (deep discharge) | Electrolyte level checks, terminal cleaning |
| AGM / sealed lead‑acid | 6–12 hours | Low, mainly visual checks |
| Lithium‑ion | 2–4 hours | Very low, electronic monitoring |
Key Charging Terms: Voltage, Ah, SOC, and C‑Rate
To understand how do you charge a scissor lift correctly, you need four core terms: voltage, amp‑hours (Ah), state of charge (SOC), and C‑rate. Voltage (V) is the system’s electrical “pressure”; the charger voltage must match the battery system, for example a 24 V lift must use a compatible 24 V charger to avoid overheating or fire risk according to manufacturer guidance. Capacity in Ah indicates how much energy the battery can store and, together with charger current, largely sets charging time; for example, a 400 Ah lead‑acid pack on a 40 A charger can take about 8–10 hours from low SOC under normal conditions. SOC is the current “fuel level” in percent, while C‑rate expresses charge current relative to capacity (e.g., 0.2C on a 200 Ah battery is 40 A) and is critical for staying within safe charging limits.
Step‑By‑Step Procedure to Charge a Scissor Lift
Pre‑Charge Checks and Safe Parking Setup
Start by parking the lift in a designated, well‑ventilated charging area with easy access to a suitable outlet, away from combustibles and traffic. Well‑ventilated areas reduce gas buildup and fire risk during charging. Lower the platform fully, apply brakes or wheel chocks, and turn the key and emergency stop to OFF to prevent any movement. Inspect batteries for leaks, corrosion, loose cables, and correct fluid levels, and confirm the charger voltage matches the lift battery voltage before you decide how do you charge a scissor lift safely. Matching charger and battery voltage prevents overheating and fire hazards.
Correct Connection, Charging Sequence, and Indicators
Locate the on‑board charger (commonly on the side or rear of the chassis) and plug its AC lead directly into a correctly rated wall outlet or a short, heavy‑duty extension cord. Shorter cords reduce voltage drop and damage risk. Confirm charger input voltage matches site power and that all DC connections to the battery pack are secure before energizing. Switch on the charger and verify charging indicators: most units use LEDs that change color or pattern when charging and when full, while some older models show “zero” on a voltmeter at full charge. Typical charge times range from about 6–8 hours for small lifts to 12–16 hours for larger units, depending on battery size, state of charge, and charger output. Lead‑acid packs can take 8–10 hours, while comparable lithium systems may recharge in 2–3 hours.
Post‑Charge Tasks, Documentation, and Troubleshooting
When indicators show “charged,” switch off and unplug the charger from the AC supply before moving any cables on the lift. Visually re‑check the battery area for hot smells, swelling, or new leaks, and coil cords so they are not a trip hazard; then move the lift out of the charging zone. Record charge completion time, any alarms, and observed issues to support fleet utilization and battery health tracking. If the lift will not charge, check outlet power, fuses, charger status lights, and battery voltage; severely discharged batteries may need individual boosting with a dedicated low‑voltage charger before normal charging can resume. Corroded terminals, damaged wiring, or extreme temperatures are common root causes of charging problems.
Engineering Best Practices to Maximize Battery Life
Lead‑Acid vs Li‑Ion: Charging Strategy and TCO
For lead‑acid packs, the best answer to “how do you charge a scissor lift for long life?” is slow, regular, and complete. Avoid deep discharges and let the charger finish its absorption and equalize phases to prevent sulfation and stratification. Lithium‑ion batteries tolerate partial charging better and typically reach full charge in about 2–3 hours for mid‑size lifts under typical fleet conditions. Over a 5–10 year horizon, Li‑ion’s higher upfront cost is often offset by longer life, faster charging, and less maintenance, while lead‑acid remains cost‑effective where shift patterns allow overnight charging.
Environmental Conditions, Ventilation, and Safety Compliance
Charge in a clean, dry, well‑ventilated area to control temperature and disperse gases from lead‑acid batteries. Extreme heat or cold reduces charge efficiency and extends charge time, directly impacting battery life and availability by lowering retention and increasing stress. Keep the lift away from combustibles and ensure clear access around the machine and charger for emergency response. Operators should wear eye and hand protection and follow site electrical and ventilation codes, especially when multiple units charge in one bay.
Sizing and Selecting the Right Charger for Your Fleet
When planning how do you charge a scissor platform across a fleet, match charger voltage and output to each battery system. Use charger current of roughly 10% of battery Ah capacity (for example, ~25 A for a 250 Ah pack) to balance charge time and battery stress according to common charger‑sizing practice. Undersized chargers increase downtime, while oversized units risk overheating batteries if not properly controlled. Standardize charger types where possible, but verify each aerial platform’s voltage, chemistry, and duty cycle so charging capacity aligns with shift patterns and turnaround requirements.
Final Thoughts on Safe and Efficient Charging Practices
Safe, efficient scissor lift charging depends on matching the right charger to the right battery and using a controlled process every time. Voltage and Ah ratings define the safe operating window, while SOC and C‑rate guide how hard you can charge without shortening battery life or increasing fire risk. Lead‑acid packs reward slow, complete charges and good ventilation; lithium‑ion rewards correct electronics and careful voltage control. Both need clean connections and regular inspection.
Operational discipline then turns these engineering rules into real safety. Crews must park in ventilated zones, isolate power, check for damage, and follow a fixed connection and disconnection sequence. Correct charger sizing keeps fleets available without cooking batteries or extending shifts. Over a full life cycle, these habits cut downtime, reduce replacement cost, and support compliance with site safety rules.
The best practice for any site is to standardize a written charging procedure, train every operator on it, and align charger selection with battery chemistry and duty cycle. Use Atomoving lift data, charger labels, and battery nameplates as your single source of truth. When in doubt, reduce charging rate, improve ventilation, and investigate before returning the lift to service.
Frequently Asked Questions
How do you charge a scissor lift?
To charge a scissor lift, first ensure the equipment is turned off and the key is removed for safety. Locate the battery charger, which is typically found on the right side of the lift’s base or sometimes at the rear. Plug the charger into an AC extension cord and connect it to an electrical outlet. Scissor Lift Charging Guide.
Can you overcharge a scissor lift battery?
Yes, overcharging a scissor lift battery can cause permanent damage and may even lead to a fire. To prevent this, monitor the charging process closely and disconnect the charger as soon as the battery is fully charged. Battery Charging Safety Tips.
Can you operate a scissor lift while it’s charging?
It is possible to use a scissor lift while the battery is charging, but precautions must be taken. Pull the red emergency shut-off button out and have someone guide the extension cord away from the wheels to avoid accidents. Safe Charging Practices.