Knowing how to operate a scissor platform step by step is the difference between a safe, efficient job and a serious incident. This guide walks you through fundamentals, daily procedures, and key technical limits so operators stay within safe working envelopes. You will see clear, structured steps for inspections, setup, control use, and maintenance, all focused on real-world safety and compliance. Use it as a practical reference before every shift and whenever you train new operators.
Fundamentals Of Safe Scissor Lift Operation
Understanding the fundamentals of safe scissor lift operation is the base for learning how to operate a scissor lift step by step. Before you think about elevation, travel, or productivity, you must understand the hardware, built‑in safety systems, and what is required from the operator. This section breaks those elements into clear, practical blocks you can apply on any job.
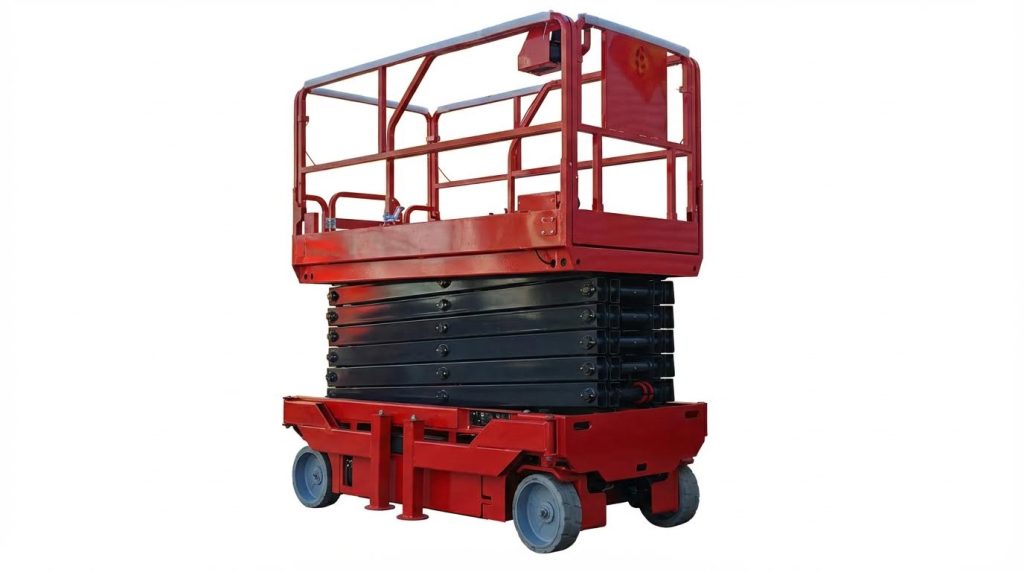
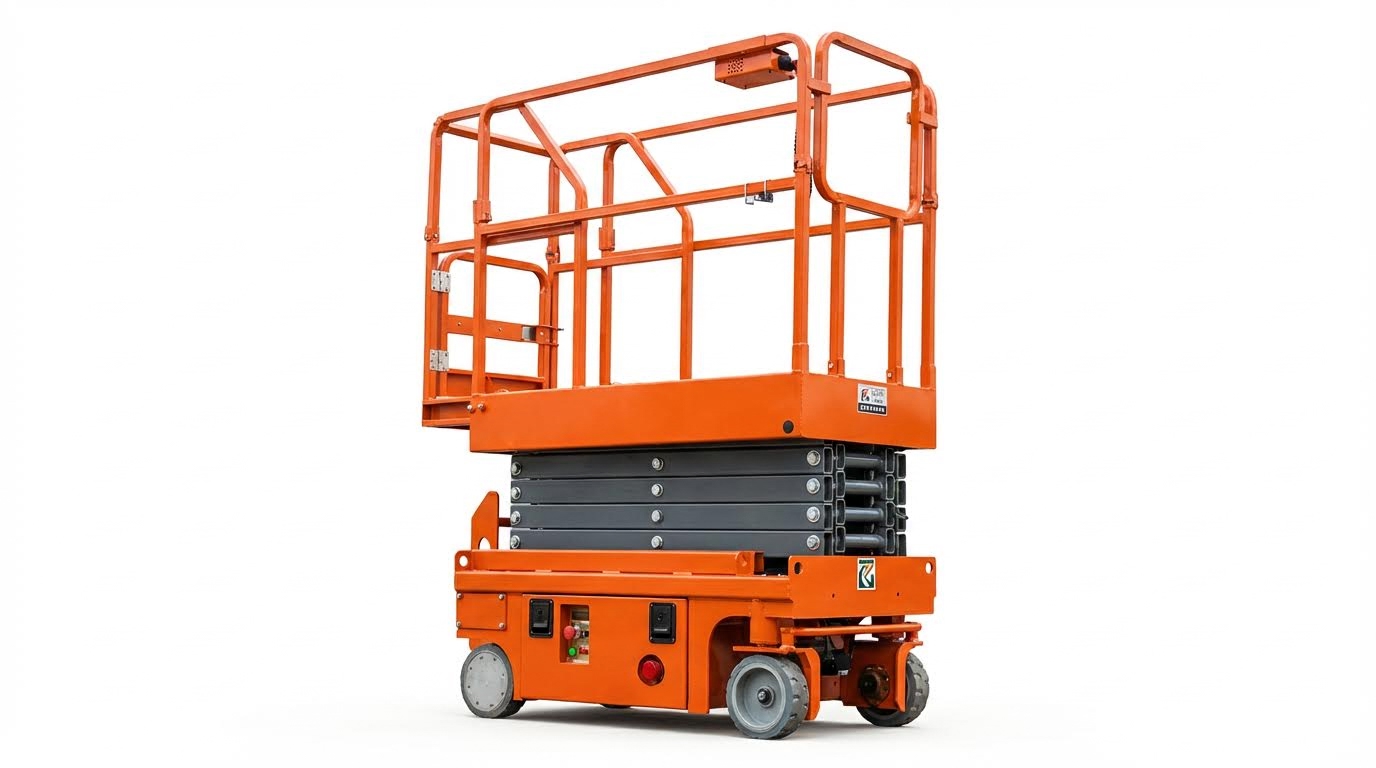
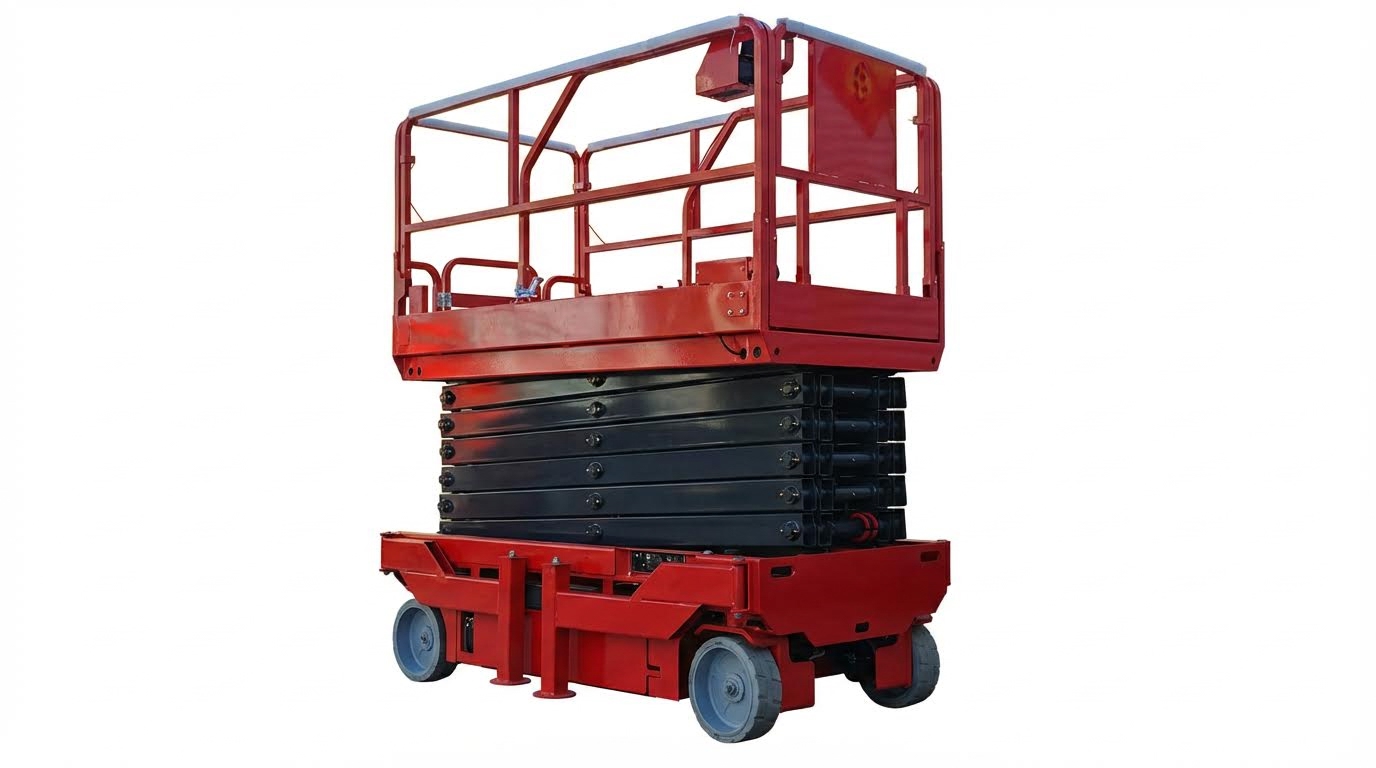
Core components and safety systems
Safe operation starts with knowing what each major component does and how the safety systems interact. This helps you spot defects quickly during pre-start checks and avoid unsafe use in the air.
| Component / System | Main Function | Safety Role In Operation |
|---|---|---|
| Scissor structure and platform | Provides vertical lifting through cross-linked arms and supports the work platform | Must be free of structural damage, cracks, and loose parts during inspections to avoid collapse risk |
| Guardrails and platform gate | Creates a physical barrier around the platform edge | Prevent falls; gate and rails must latch and function correctly during pre-operation checks as part of safety feature testing |
| Emergency stop controls | Immediately cuts power to lifting and drive systems | Allow the operator or ground person to stop motion during a fault or incident; must be tested before use as part of safety feature checks |
| Hydraulic system | Provides lifting force via pump, valves, cylinders, and hoses | Abnormal noise, rapid oil temperature rise, pressure issues, or leaks require immediate shutdown and inspection to prevent failure |
| Overload and pressure protection | Monitors load and hydraulic pressure | Prevents lifting if platform load or hydraulic pressure exceeds safe limits, reducing risk of structural or hose failure through overload and spillover valves |
| Emergency decline / lowering valve | Allows controlled descent without main power | Enables safe lowering of the platform during power loss or control failure using an emergency decline valve |
| Outriggers / stabilizers / support legs | Increase base footprint and level the chassis | Must be deployed and support feet secured on uneven or soft ground before elevation to maintain platform stability |
| Drive, steering, and elevation controls | Provide motion and height adjustment from platform or ground | Operators must be familiar with all functions, including drive, steer, lift, lower, and emergency stop, before use as part of control familiarization |
| Decals, placards, and manuals | Display rated capacity, warnings, and instructions | Must remain legible and present on the machine and are checked during daily inspections to ensure correct use |
Before you execute how to operate a scissor lift step by step, always complete a pre-start inspection. This includes checking for visible damage, leaks, or loose parts and confirming that the platform is clear of debris or obstructions. Safety features such as guardrails and emergency stop buttons must be verified for proper function before any elevation or travel. Pre-operation inspection guidance also recommends a function test in an obstruction-free area.
Key hydraulic and structural safety checkpoints
During daily and shift inspections, you should:
- Check hydraulic hoses, cylinders, and fittings for leaks or abrasion.
- Listen for abnormal pump or motor noise during a function test.
- Monitor for rapid oil temperature rise or sluggish cylinder response; stop the lift if observed. Hydraulic fault indicators require immediate inspection.
- Inspect scissor arms, pivot pins, and rollers for cracks, deformation, or excessive play. Structural checklist items include mechanical fasteners and guardrails.
Platform stability is a core safety outcome of these systems and checks. The lift must sit on stable, level ground, with outriggers or stabilizers deployed and support feet secured when provided. The platform should be positioned close enough to reach the work but kept clear of edges or drop-offs to avoid tip-over risk. Safe positioning also calls for adequate overhead clearance.
Operator training, standards, and PPE
Even the best safety systems fail if the operator is not trained and equipped. Safe use and any step-by-step procedure depend on competence, compliance with standards, and correct personal protective equipment.
Only trained and qualified personnel may operate a scissor lift. Operators must understand the specific model, follow the sequence in the user manual, and stay focused throughout the task. Operator qualification requirements emphasize training and adherence to procedures.
- Read and understand the operator’s manual before use.
- Complete formal training on hazard recognition, controls, and emergency procedures.
- Practice control use in a safe, open area before working at height.
- Review site-specific rules and any local or national standards that apply to elevated work platforms.
PPE is the last barrier between a minor incident and a serious injury. For scissor lift work, typical PPE includes:
- Hard hat to protect from overhead impact or falling objects.
- Safety harness and lanyard when required by site rules or when working at elevated heights; safety belts may also be specified. PPE guidance highlights fall protection on the platform.
- Safety boots with slip-resistant soles for secure footing on the deck.
- High-visibility vest so ground personnel and other equipment operators can see you clearly. Safety gear requirements include visibility and protection.
How training and PPE tie into step-by-step operation
When you follow how to operate a scissor lift step by step, each stage assumes that training and PPE are already in place. For example:
- Pre-start inspections rely on training to recognize defects and know when to tag out the machine.
- Work area assessment depends on hazard recognition skills developed in formal instruction.
- Emergency procedures assume the operator can quickly locate and use the emergency stop and knows how to call for help. Emergency response guidance stresses clear protocols.
- Correct PPE ensures that, if something goes wrong despite good practice, the consequences are reduced.
Standards and best practices also require daily and periodic inspections by competent persons. These include checks of hydraulic, electrical, and structural components and verification that decals and manuals remain in place. Inspection and maintenance guidelines support safe operation over the life of the machine.
Step-By-Step Scissor Lift Operating Procedure
Pre-start inspection and work area assessment
Use this section as a practical checklist for how to operate a scissor platform lift step by step before you ever touch the controls. The goal is simple: confirm the machine is safe and the work zone will not create surprises.
- Verify the operator is trained and authorized for this specific lift model and job task.
- Confirm PPE: hard hat, high‑visibility vest, safety footwear, and fall protection when required. Safety gear requirements
- Walk around the lift and check for visible structural damage, loose or missing parts, cracked welds, and bent rails. Pre-operation inspection
- Look for hydraulic, fuel, or oil leaks under and around the chassis. Pre-start inspections
- Check tires and wheels for damage, cuts, low pressure, or missing lugs. Operational checklist
- Confirm guardrails, mid‑rails, toe boards, gates, and entry chains are present and secure. Structural checklist
- Check decals, capacity charts, and warning labels are present and legible. Pre-start inspections
- Verify battery or fuel levels and general fluid levels (hydraulic oil, coolant where applicable). Operational checklist
- Perform a function test in a clear area: raise, lower, steer, drive (if applicable), and test emergency stop and alarms. Function check
- Stop the machine and tag it out if you notice abnormal hydraulic noise, rapid oil temperature rise, sluggish movement, or unresponsive controls. Hydraulic system monitoring
Next, scan the work area before you move the lift into position.
- Identify overhead hazards: power lines, piping, sprinklers, beams, and low ceilings.
- Check ground conditions: firm, level, free from voids, ice, mud, or soft fill.
- Mark or barricade drop‑offs, floor openings, ramps, and loading dock edges.
- Confirm there is enough clearance to raise fully without striking structures.
- Assess traffic: forklifts, vehicles, and pedestrians; set up cones or barriers as needed.
- Plan an emergency route and confirm how to reach ground controls quickly.
Why a pre-start checklist prevents incidents
Most scissor lift incidents start with a small missed detail: a soft spot in the floor, a missing guardrail pin, or a hydraulic leak. A disciplined pre-start and area assessment step breaks that chain early and makes the rest of the operating sequence far more forgiving.
Platform setup, loading, and stability checks
This step focuses on positioning the machine, setting the platform, and managing load and stability before you elevate. It is the core of how to operate a scissor platform step by step without tip‑overs.
| Stability / Loading Check | What To Do | Why It Matters |
|---|---|---|
| Ground condition | Park on firm, level surface; avoid slopes, holes, covers, and soft soil. | Prevents tilt, wheel sink, or sudden shift during elevation. |
| Outriggers / stabilizers | Deploy and lock any outriggers or support legs fully before raising. Platform stability guidance | Widens the base and increases tipping resistance. |
| Guardrails / gates | Close and latch gates; confirm rails are locked and secure. | Prevents falls from the platform edges. |
| Platform housekeeping | Remove loose debris, packaging, and trip hazards from the deck. Platform must be clear | Reduces slips and trips when working at height. |
| Load planning | Calculate combined weight of people, tools, and materials. | Keeps total load within rated capacity. |
| Capacity limit | Check the capacity plate and never exceed the stated limit. Load capacity guidance | Overloading can cause structural failure or tipping. |
| Load distribution | Place heavy items near the center; avoid stacking at one edge. | Reduces platform tilting and stress on scissor arms. |
| Reach and access | Position machine close enough to work so you do not overreach. | Prevents leaning outside guardrails and loss of balance. |
- Confirm everyone on the platform wears required PPE and uses anchor points if a harness is required. PPE requirements
- Do not use boxes, ladders, or makeshift platforms on the deck to gain extra height.
- Keep body parts inside the guardrails; do not sit or climb on rails.
- Re‑check nearby openings, edges, and overhead structures after final positioning.
Typical capacity ranges to keep in mind
Scissor lifts cover a wide capacity range from a few hundred kilograms up to industrial units rated in tens of tons. Capacities from 300 kg to 40 tons This is why you must always read the actual capacity plate on your specific machine instead of assuming.
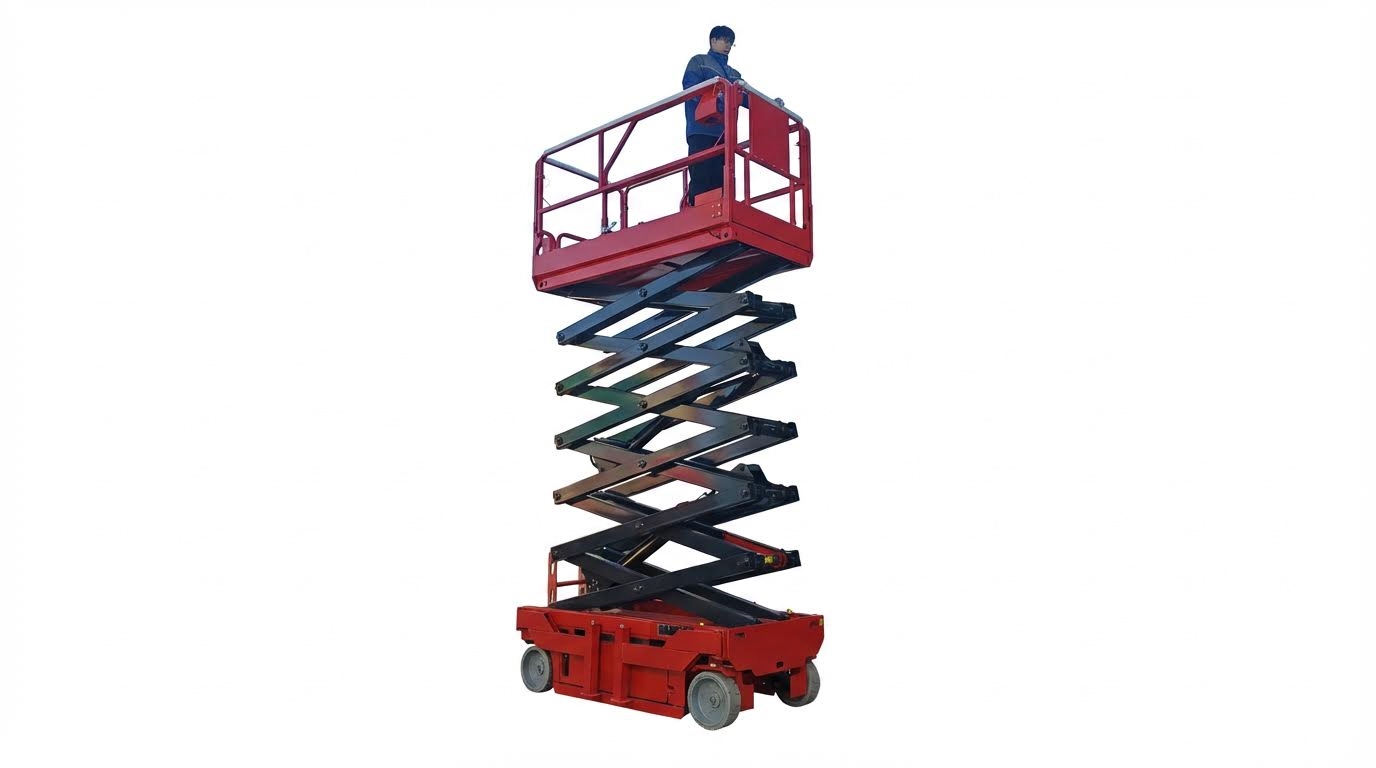
Control use, elevation, travel, and descent
Once the machine is inspected and set up, the final part of how to operate a aerial platform step by step is using the controls correctly while raising, traveling, and lowering.
- Before boarding, review the control layout and labels at both the ground and platform stations. Operational controls familiarization
- Identify the emergency stop buttons and any emergency lowering controls.
- Mount the platform using designated steps and handholds; close and latch the gate.
- With the platform at ground level, practice small, smooth movements of drive, steer, and lift controls in an open area.
| Operating Phase | Step-by-Step Actions | Key Safety Points |
|---|---|---|
| Elevation | 1) Sound any required warning device. 2) Verify area above and around is clear. 3) Press and hold the “up” control smoothly to raise. 4) Stop a short distance below the work height, re‑check surroundings, then make final adjustment. | Stop immediately if you feel sway, hear unusual noises, or see leaks. Hydraulic monitoring |
| Working at height | Keep feet flat on the deck, both hands within guardrails, and tools secured. Move the platform only in small increments if needed. | Do not lean out or climb rails to reach further. |
| Travel (if permitted while elevated) | Use slow speed mode; check travel path and floor condition before moving. Keep elevation as low as practical while driving. | Avoid sudden starts, stops, or turns; do not drive on slopes or over obstacles while raised. |
| Descent | Clear personnel, tools, and materials from below. Use the “down” control smoothly to lower to ground level. Release the control if anything feels abnormal. | Use emergency lowering only if normal lowering fails and you are trained to do so. Emergency decline valves |
- After lowering fully, open the gate carefully and maintain three points of contact while stepping off.
- Turn off platform controls, switch to ground control if required, and remove the key to prevent unauthorized use.
- Conduct a quick post‑operation walk‑around to spot new leaks or damage and report issues. Post-operation inspection
Emergency and rescue basics
All personnel should know how to hit the emergency stop, how to use ground‑level controls to lower a stuck platform, and how to contact emergency services. Emergency procedures These steps must be part of the job plan before anyone leaves the ground.
Technical Parameters, Power Options, And Maintenance
Load, height, speed, and duty cycle limits
Understanding basic performance limits is essential when planning how to operate a scissor platform step by step. Always work within the manufacturer’s stated envelope for load, height, speed, and duty cycle.
| Parameter | Typical Range / Guidance | Why It Matters For Safe Operation |
|---|---|---|
| Rated load capacity | Approx. 300 kg up to 40 tons depending on design and model (wide industrial range) | Prevents structural overload and tipping; includes people, tools, and materials. |
| Platform working height | Up to about 18 m for common mobile units (model-dependent) | Determines whether the lift can reach the task while keeping safe clearance overhead. |
| Lifting speed | Typically around 4–6 m/min for many hydraulic units (nominal values) | Affects cycle time and stability; faster speeds require smoother joystick control. |
| Duty cycle (work vs rest) | Common practice is limited continuous run with cooling intervals (check manual) | Prevents overheating of motors, hydraulics, and batteries during repeated lifts. |
| Machine self‑weight | Small electric units ≈ 1,500–3,000 lb; rough‑terrain units ≈ 4,000–8,000 lb (typical ranges) | Impacts floor loading, transport method, and ground bearing checks. |
- Never exceed rated platform capacity; include people, tools, materials, and accessories in the total load.
- Stay well inside maximum platform height when wind, slopes, or dynamic loading are present.
- Use slower lift speeds for precise positioning near overhead obstructions or live services.
- Plan job cycles (number of up/down movements per hour) to avoid overheating and battery abuse.
Practical engineering tips for setting safe limits
On most sites, supervisors should define a “working envelope” for each lift. This envelope combines maximum height, maximum load, and allowed wind speed for that job. Operators then follow that envelope as part of their daily routine, alongside the OEM limits printed on the data plate and in the manual.
Power systems, Li-ion, and control technologies
The power system and controls dictate how the lift behaves during each step of operation. Knowing these options helps you plan how to operate a aerial platform step by step with the right charging, noise, and emission profile for your site.
| Power / Control Feature | Typical Options / Characteristics | Operational Impact |
|---|---|---|
| Power supply type | AC mains, DC battery, or hybrid systems (AC and DC available) | AC suits fixed locations with power outlets; DC suits mobile indoor work with low noise. |
| Battery chemistry | Conventional lead‑acid or lithium‑ion packs; newer all‑electric designs with long life and opportunity charging (advanced examples) | Li‑ion typically offers longer life, faster charging, and less routine maintenance than flooded lead‑acid. |
| Hydraulic safety features | Overload protection, explosion‑proof valves, spillover (relief) valves, emergency decline valves, mechanical safety bars (typical safety set) | Protects against hose rupture, over‑pressure, and uncontrolled descent in power failure. |
| Control locations | Platform control panel, ground control panel, and sometimes remote control options (common configuration) | Enables both operator and ground person to move or lower the platform, especially in emergencies. |
| Advanced monitoring | Battery monitoring systems with state‑of‑charge, usage, and charge‑history data (illustrative features) | Supports predictive maintenance, better uptime, and fewer unexpected shutdowns mid‑task. |
- Confirm whether your lift uses AC, DC, or Li‑ion power before planning charging or cable routing.
- Inspect hydraulic safety components as part of your pre‑start checks, especially emergency‑lowering valves.
- Test both platform and ground controls at low height before starting work at full elevation.
- Use built‑in monitoring data to schedule charging during breaks and avoid deep discharges.
How control technology affects day‑to‑day operation
Modern lifts often include proportional joysticks, self‑diagnostics, and error codes. These systems guide the operator through safe sequences, lock out unsafe movements, and help maintenance teams troubleshoot faults quickly. When learning step‑by‑step operation, always include a brief control self‑test and error‑code check before raising the platform.
Preventive maintenance, inspections, and batteries
Reliable, compliant scissor lift operation depends on structured preventive maintenance. Integrate these tasks into your site’s standard procedure so they sit alongside the daily steps of how to operate a scissor platform lift step by step.
| Maintenance Area | Key Tasks | Typical Frequency / Notes |
|---|---|---|
| Daily / pre‑shift inspection | Check for leaks, structural damage, legible decals, correct operation of gate and guardrails, hydraulic fluid level, and perform a function test in a clear area (pre‑start guidance) | Before every shift or operator change. |
| Operational systems | Verify fluid levels (oil, fuel, coolant, hydraulics), inspect for leaks, check tires, steering, brakes, battery charge, alarms, and emergency controls (maintenance checklist) | Daily visual checks; deeper inspections weekly or as per OEM. |
| Structural components | Inspect scissor arms, pins, welds, guardrails, fasteners, cables, outriggers, stabilizers, and decals for wear or damage (structural focus) | At scheduled service intervals and after any impact event. |
| Lubrication | Grease pivot points, rollers, and other moving joints with specified lubricants (good practice) | According to hours‑run schedule (for example every 3–6 months or X operating hours). |
| Battery care | Clean and dry battery tops, check cables, perform amp‑draw and charge tests, verify charger operation; poor maintenance can cut life to ≈1 year, good care can extend to ≈3 years (battery guidance) | Visual checks weekly; testing as per site policy or OEM, often quarterly or annually. |
| Professional servicing | Comprehensive inspection of hydraulic, electrical, and structural systems by qualified technicians (service advice) | At statutory intervals or hours‑based schedule (e.g., annually). |
- Build a simple checklist that operators complete before and after each shift, and file it for traceability.
- Stop the lift immediately if you detect abnormal hydraulic noise, rapid oil‑temperature rise, or unresponsive controls, and call maintenance.
- Keep battery terminals clean and dry; moisture and dirt accelerate surface discharge and corrosion.
- Use any available advanced monitoring system to track state‑of‑charge and charging history for your fleet.
Integrating maintenance into daily operating steps
From an engineering standpoint, safe operation is inseparable from maintenance. A robust procedure treats pre‑start inspection, function testing, and post‑use checks as mandatory steps in the same sequence as travel, elevation, and descent. This approach reduces unplanned downtime, supports legal compliance, and keeps the lift performing within its designed safety margins.
Final Thoughts On Reliable, Compliant Lift Operation
Safe scissor lift work depends on how well you connect design limits, daily checks, and disciplined operation. The structure, hydraulics, controls, and safety systems create a protected envelope, but only if operators respect load, height, and duty‑cycle limits on every job. Ground conditions, outriggers, and correct loading protect stability; training, standards, and PPE protect people when conditions change or errors occur.
Power choices and battery technology shape how long you can work and where you can deploy the lift. Good charging habits and basic battery care prevent sudden shutdowns at height. Preventive maintenance then closes the loop by keeping hydraulic, structural, and control systems within their original design performance.
The practical takeaway for operations and engineering teams is clear. Treat the step‑by‑step procedure, pre‑start inspection, and post‑use checks as non‑negotiable. Define a safe working envelope for each lift and task, then train operators to stay inside it. Use checklists and simple records so you can prove compliance and spot trends early. When you apply these principles consistently, a scissor platform from Atomoving becomes a predictable, reliable tool instead of a source of risk.
Frequently Asked Questions
How to Operate a Scissor Lift Step by Step?
Operating a scissor lift involves several key steps to ensure safety and proper functionality. First, ensure the scissor lift is on a flat, stable surface. Turn on the power source, which will activate the hydraulic system or air compressor. Next, press the lift control button to raise the platform. Always check the surroundings for obstructions before moving the lift. Scissor Lift Guide.
- Ensure the lift is on a stable surface.
- Turn on the power source to activate hydraulics.
- Press the lift control button to raise the platform.
- Check for obstructions before moving.
How Does a Scissor Lift Work Step by Step?
A scissor lift operates using a hydraulic or pneumatic system. When powered on, hydraulic fluid or compressed air fills the cylinder. This pressure pushes the cylinder outward, causing the scissor legs to extend. As the legs expand, the platform rises. This mechanism provides a stable lifting action ideal for various material handling tasks. Scissor Lift Mechanics.
- Power on to fill cylinders with hydraulic fluid or air.
- Pressure pushes cylinders outward.
- Scissor legs extend as the cylinder moves.
- The platform rises as legs expand.