This guide explains how to use a hand pallet truck safely and efficiently, from components and controls to braking, ramps, and maintenance. You will learn practical techniques that reduce strain, protect loads, and keep your warehouse compliant and productive.
Hand Pallet Truck Basics And Core Controls
This section explains the basic structure and controls you must understand before deciding how to use a manual pallet jack safely and efficiently. Know where the load flows and how the handle valves work before you move any pallet.
Main structural components and load paths
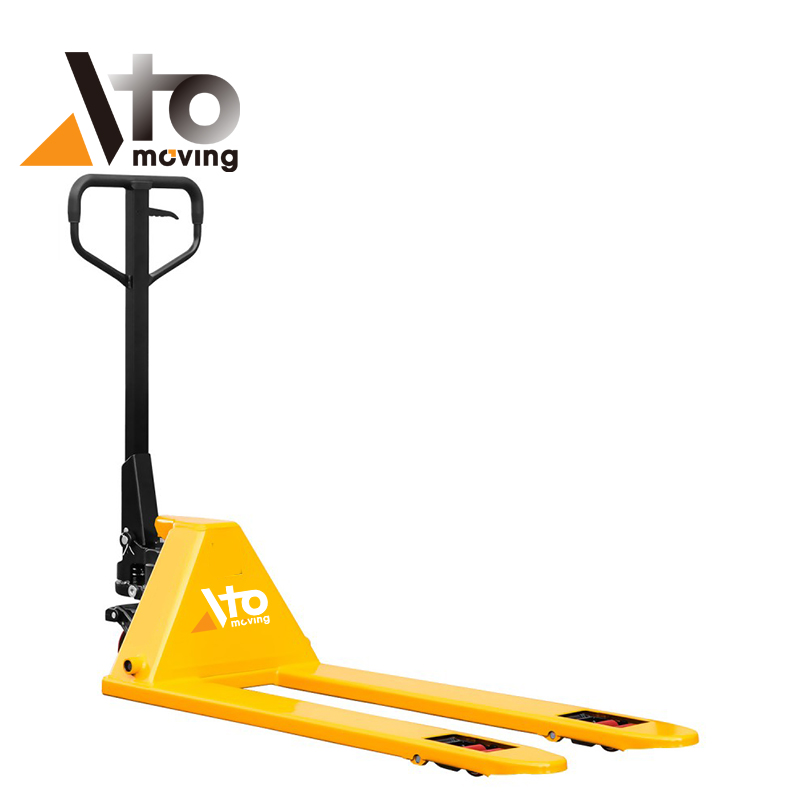
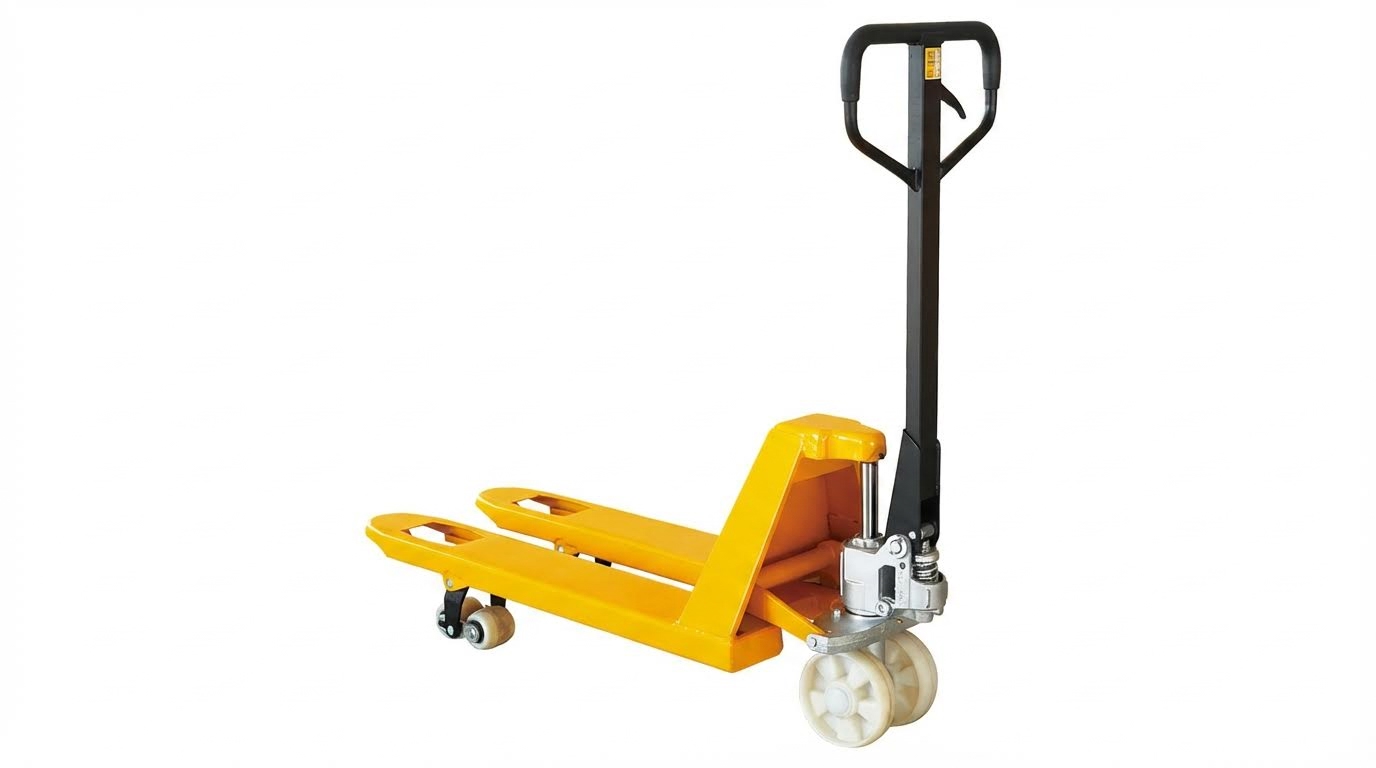
The main structural groups of a hand pallet truck are the tow handle, fork frame, hydraulic unit, and wheel assemblies, and together they define how loads flow into the floor. Understanding these paths is the foundation of safe operation and correct capacity use when learning how to use a hydraulic pallet truck.
| Component Group | Main Parts | Function In Load Path | Operational Impact |
|---|---|---|---|
| Tow handle and tiller arm | Handle loop, tiller arm, control lever | Connects operator to steer wheels and hydraulic valve, transmits push / pull and steering torque | Affects steering effort, turning radius, and body posture during use |
| Fork frame | Fork blades, fork heels, fork webs, cross-braces | Carries pallet load from deck boards into pump block and load wheels | Fork straightness and heel thickness control deflection and prevent fork tip failure under heavy loads Reference |
| Hydraulic unit | Pump block, reservoir, check valves, lift cylinder | Converts handle strokes into lifting force and transfers load into truck chassis | Determines rated capacity and number of strokes needed to reach travel height Reference |
| Wheel assemblies | Steer wheels, load wheels, axles, bearings | Transfer total load and truck weight into the floor | Wheel type and condition set rolling resistance, noise, and ability to cross joints and dock plates Reference |
In a typical manual pallet truck, load flows from the pallet deck boards into the fork blades, through the fork heels and pump block, and finally into the steering and load wheels. This closed load path keeps stresses within the reinforced fork webs, solid pump brackets, and wheel axles, provided you stay within the rated capacity of about 2,000–3,000 kg for common warehouse units Reference.
Standard fork lengths are often around 1,150 mm with an overall lowered height of about 75–85 mm, allowing entry into most EUR and standard pallets while keeping the load centre close to the wheelbase for stability Reference. Reinforced fork webs and robust pump brackets limit fork deflection so the pallet stays level when you move, which is critical when transporting liquids or stacked cartons.
- Fork blades: Thin horizontal members under the pallet – Carry the pallet and transfer bending loads into the fork heels.
- Fork heels: Thickened rear sections where forks meet the pump block – Key stress area; wear here reduces safe capacity.
- Hydraulic pump block: Central casting tying forks and steer wheels – Transfers both vertical load and steering forces.
- Steer wheels: Larger wheels under the pump body – Provide directional control and carry a major share of the load.
- Load wheels: Small wheels at fork tips – Support front of the pallet and help climb into pallet entries.
How to visually check the load path before use
Walk around the pallet truck and look along the fork blades from tip to heel for bends or twists. Check the heel area for thinning or gouges. Look under the pump block to confirm both steer wheels and all load wheels sit squarely on the floor, with no obvious tilt or missing components.
💡 Field Engineer’s Note: If you see fork heels worn thin by frequent ground contact, treat the truck as derated even if it still lifts. Heel wear shifts stresses into the fork webs and pump block, increasing the chance of sudden fork failure when you hit floor joints with a near-capacity load.
Three-position handle and hydraulic lift function
The three-position handle on a manual pallet truck selects raise, neutral, or lower modes in the hydraulic valve, and correct use of these positions controls lifting, holding, and lowering during every move. Mastering these positions is a key part of how to use a low profile pallet jack without damaging loads or seals.
| Handle Position | Hydraulic Valve State | Fork Behaviour | Best Used For… |
|---|---|---|---|
| Raise | Valve directs oil from pump to lift cylinder | Forks rise with each pump stroke | Lifting pallet from floor to 20–50 mm travel height Reference |
| Neutral | Valve blocks flow in and out of cylinder | Fork height stays fixed | Travelling with the load or positioning in racking aisles Reference |
| Lower | Valve opens controlled return to reservoir | Forks descend under load weight | Placing pallet on floor or dock at controlled speed Reference |
In the raise position, each handle stroke moves a small volume of oil from the reservoir through check valves into the lift cylinder, producing high lifting force despite modest hand effort. With seals and oil in good condition, manual pallet truck hydraulics typically operate at about 85–90% efficiency, allowing rated capacities in the 2,000–3,000 kg range without excessive pumping effort Reference.
In neutral, the valve isolates the cylinder so the forks hold their height while you travel, provided you stay below rated load and the system is free of internal leakage. In the lower position, the valve opens a restricted path back to the reservoir so the forks descend at a controlled rate under the pallet’s own weight; holding the handle in this position while moving can cause unexpected lowering on floor irregularities and should be avoided Reference.
- Thumb-release lever: Usually placed inside the handle – Allows quick switching between raise, neutral, and lower without changing grip.
- Pump piston: Converts handle stroke into oil pressure – Small diameter gives high pressure but needs good seals.
- Check valves: One-way valves in pump block – Prevent the load from forcing oil back and dropping the forks.
- Lift cylinder: Single-acting cylinder linked to fork frame – Extends to raise forks, retracts when load and gravity push oil back.
Quick functional check before operation
Before you start any job, move the handle to raise and give several full strokes; forks should rise smoothly without jerks. Shift to neutral and confirm the forks hold height for at least a short period without visible drift. Finally, move to lower and verify the pallet descends smoothly to the floor under its own weight without sudden drops or sticking points Reference.
💡 Field Engineer’s Note: If the handle feels “spongy” in raise or the forks creep down in neutral with a load, you likely have air in the hydraulic circuit or worn seals. Tag the truck out and service it before use; forcing it to lift near capacity in this condition is how operators blow seals and lose a pallet unexpectedly at dock edges.
Operating, Steering, And Braking Techniques

This section explains how to use a manual pallet jack safely in real warehouses: correct fork use, push vs pull, turning in tight aisles, and practical braking on ramps and different floors.
Understanding these techniques turns a basic pallet jack into a precise, low-risk handling tool that protects people, product, and floors.
Correct fork insertion, lifting, and travel height
Correct fork insertion, low lifting, and controlled lowering are the core of how to use a manual pallet jack without damaging pallets or overstraining the operator.
- Approach straight: Approach the pallet slowly and square-on – this keeps both forks loading the deck boards evenly and prevents side impact.
- Align fork spacing: Line up both forks with the pallet openings before entry – avoids striking stringers and splitting timber.
- Full fork insertion: Roll the forks fully under the pallet until the tips slightly project beyond the far deck board – ensures the load sits on the full fork length, not just the tips.
- Center the load: Keep the load’s center of gravity between the two forks – reduces twisting moments into the fork frame and wheels.
- Use raise/neutral/lower correctly: Set the handle to raise, pump to lift, neutral to travel, and lower only when parked – prevents unplanned descent while moving.
Reference procedures recommend approaching straight, inserting forks fully, and centering the load before lifting for stable handling. Detailed guidance also stresses full fork insertion, 20–50 mm travel height, and neutral position during movement to control load paths.
| Action | Typical Value / Setting | Operational Impact |
|---|---|---|
| Lift clearance for travel | 20–50 mm above floor | Clears joints and defects while keeping center of gravity low for stability |
| Common fork length | ≈1,150 mm | Matches standard 1,000 × 1,200 mm pallets so forks can fully support deck boards |
| Lowered fork height | ≈75–85 mm | Allows entry into standard pallet openings while clearing most floor irregularities |
- Step 1: Position the truck – Approach straight-on with forks fully lowered to avoid catching pallet edges.
- Step 2: Insert forks fully – Roll forward until fork tips are just beyond the far pallet deck board for full support.
- Step 3: Set handle to raise – This closes the hydraulic valve and routes pump strokes into the lift cylinder.
- Step 4: Pump to 20–50 mm lift – Just clear the floor; higher lift unnecessarily raises the center of gravity.
- Step 5: Move handle to neutral – Locks oil in the cylinder so the forks stay at a fixed height during travel.
- Step 6: At destination, check floor – Confirm it is level and clear before lowering to prevent load tilt or impact.
- Step 7: Lower smoothly – Move handle to lower and control descent to avoid shock into pallet and frame.
- Step 8: Return to neutral, then withdraw – Prevents accidental lowering while backing out.
Why low travel height matters
Keeping forks only 20–50 mm off the ground limits the overturning moment during turns or emergency stops. Higher forks shift the center of gravity up and forward, making top-heavy or uneven loads much more likely to tip or slide.
💡 Field Engineer’s Note: If you routinely need more than 50 mm clearance to avoid floor damage, the real problem is the floor, not the truck. Persistent high-lift travel bends forks over time and accelerates heel wear, especially on units near their 2,000–2,500 kg rating.
Push vs pull, steering arcs, and aisle constraints
Pushing instead of pulling, planning steering arcs, and respecting aisle width are the main ergonomic controls in how to use a manual pallet jack all day without injuries.
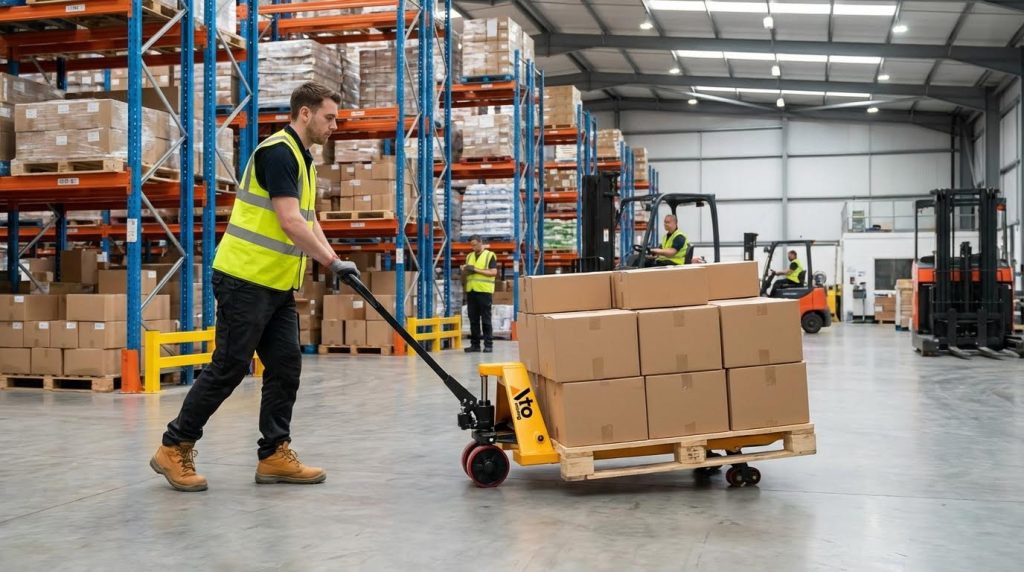
Guidance consistently recommends pushing rather than pulling whenever space allows to reduce strain and improve visibility. Detailed technique advice stresses pushing with body weight, elbows close, and both hands on the tiller, with pulling reserved only for constrained spaces.
- Push as default: Stand behind the handle and drive the load forward – body weight does the work, not just arm muscles.
- Pull only when forced: Pull lightly and with clear visibility when space is too tight to push – reduces backward fall risk.
- Use wide steering arcs: Turn gradually, not sharply – keeps the load stable and reduces side loads on wheels and forks.
- Keep elbows close: Maintain elbows near your torso and a staggered stance – protects shoulders and keeps the spine aligned.
- Plan the aisle path: Check aisle width and turning points before moving – avoids getting trapped in dead ends with limited reversing options.
| Technique | Recommended Practice | Operational Impact |
|---|---|---|
| Push vs pull | Push whenever possible; pull only in tight spots | Uses stronger leg and core muscles, lowers risk of strain and slip-related twists |
| Operator position | Body slightly to one side of the tiller | Improves sightline past the load and reduces risk of feet being run over |
| Steering motion | Smooth, gradual handle movements | Prevents sudden load shifts and tipping during turns |
Steering geometry links handle angle to wheel pivot angle. Longer tiller arms reduce steering effort but increase the swept path, which matters in narrow aisles.
- Step 1: Check route width – Confirm enough clearance for the load plus at least 100–200 mm each side for steering swing.
- Step 2: Start in neutral – Handle in neutral keeps fork height fixed while you focus on steering.
- Step 3: Begin moving with a push – Apply force smoothly with legs, not arms, to get the load rolling.
- Step 4: Plan turns early – Start the steering arc before the aisle corner so the load tracks cleanly around it.
- Step 5: Slow for tight turns – Reduce speed to limit lateral forces that can shift or topple stacked goods.
- Step 6: If pulling, walk backward carefully – Keep the path in view and stop if visibility is blocked.
Working in very narrow aisles
In aisles close to pallet width, the steering wheels and tiller arm define your minimum turning radius. If you cannot swing the handle without striking racking or product, treat that aisle as “straight-line only” and avoid attempting U-turns with a loaded truck.
💡 Field Engineer’s Note: Most minor foot injuries with pallet trucks come from operators cutting inside corners too tight. Train staff to “steer wide like a trailer” so the rear (fork tips) do not clip rack uprights or toes when the handle swings.
Braking methods, ramps, and floor condition effects
Braking with a manual pallet jack relies mainly on speed control, body positioning, and optional mechanical brakes, especially on ramps and low-friction floors.
Basic operating advice stresses low speed, wide turns, and careful navigation around obstacles. For slopes, operators should keep the truck downhill from the load, move straight up or down, and avoid turning on ramps. Where fitted, mechanical brakes act on steer wheels and must be inspected for cable tension and pad wear.
- Use your legs as the main “brake”: Control speed by limiting push force and planning stops early – manual trucks rely on human control, not high-torque brakes.
- Never stop with feet or hands: Do not brace the load with your body – impact loads can exceed joint limits instantly.
- On ramps, keep load uphill: Descend with the truck between you and the load, or ascend with the load leading – prevents the load running over the operator.
- Travel straight on slopes: Go straight up or down, never diagonally – avoids sideways tipping and wheel slip.
- Match speed to floor grip: Slow down on wet, dusty, or polished floors – reduced friction increases stopping distance.
| Condition / Feature | Recommended Practice | Operational Impact |
|---|---|---|
| Standard level floor | Low, steady speed; forks 20–50 mm high | Short stopping distance and stable load under normal push forces |
| Ramps / inclines | Keep truck downhill from load; move straight, no turning | Reduces risk of runaway loads and sideways tipping on slopes |
| Wet or steel dock plates | Very low speed, no sudden stops or starts | Prevents wheel slip on low-friction surfaces where braking torque exceeds grip |
| Mechanical hand brake (if fitted) | Use as parking brake and for controlled stops on mild slopes | Provides holding force on gradients when lever ratios and pads are correctly maintained |
- Step 1: Before moving, assess the floor – look for slopes, wet patches, loose dust, or expansion joints that affect stopping.
- Step 2: Set a low walking speed – choose a pace where you can stop the truck by simply reducing push force.
- Step 3: On level ground, brake by easing off – let rolling resistance and slight steering corrections bring the truck to a stop.
- Step 4: On ramps, position correctly – keep the truck between you and the load
Matching Truck Type, Loads, And Maintenance Strategy
Matching the right manual pallet jack to your loads and maintenance plan is the foundation of safe, low-effort operation and is a key part of how to use a hand pallet truck efficiently over many years.
Selecting wheel, fork, and capacity configurations
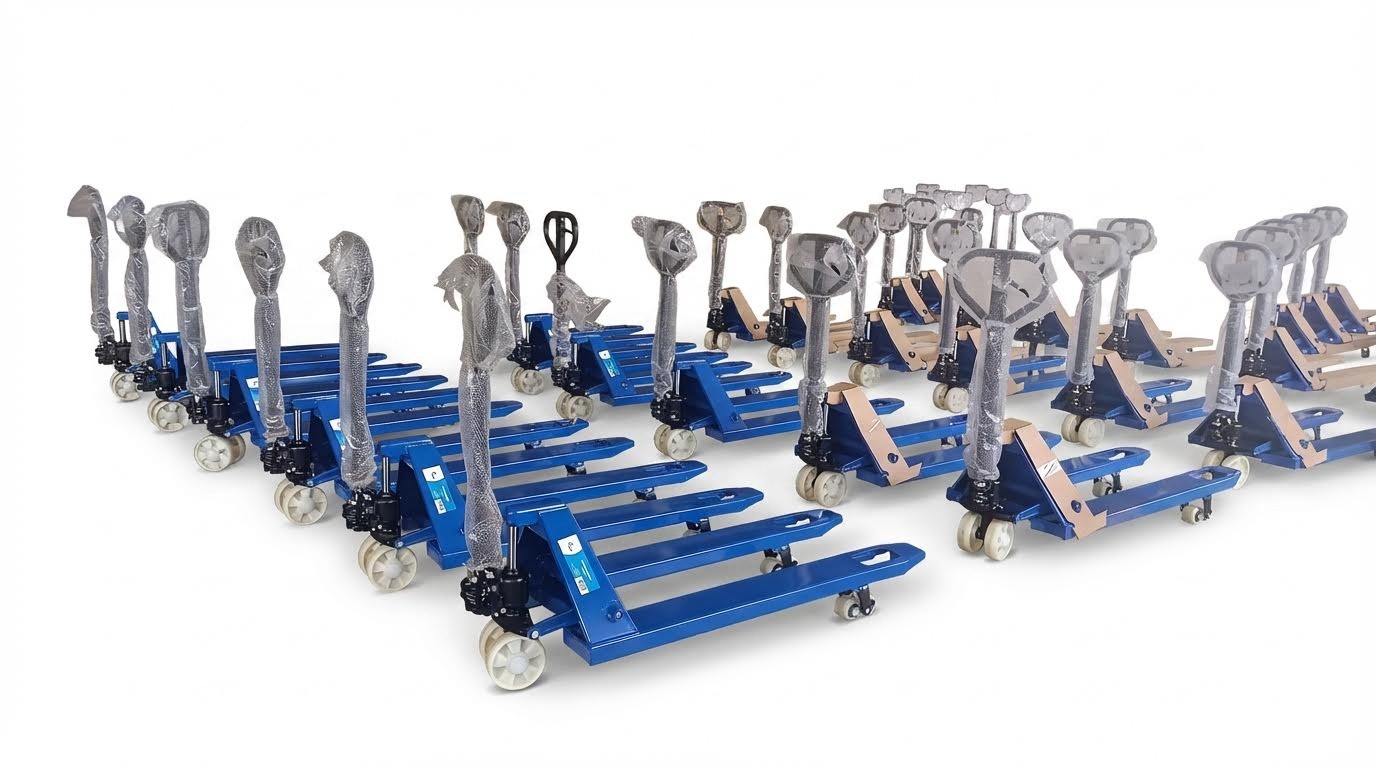
Choosing correct wheels, forks, and capacity ensures the truck actually rolls on your floor, fits your pallets, and carries the load without overstressing the frame or hydraulics.
When you learn how to use a hydraulic pallet truck properly, the first engineering decision is specification, not technique. Wheel material, fork size, and capacity rating must all match your floor, pallet style, and heaviest realistic load.
Selection Factor Typical Options / Ranges Best For / Operational Impact Rated capacity About 2,000–3,000 kg for manual warehouse trucks Rated capacities Prevents overload, seal failure, and frame bending when handling dense pallets. Fork length Around 1,150 mm for standard EUR/ISO pallets Common fork length Standard length fully supports most 1,200 mm pallets without tip-over risk. Lowered fork height Approx. 75–85 mm lowered height Lowered height Must be lower than pallet entry height to avoid jamming and deck damage. Wheel layout 2 steer wheels at pump body + 2 load wheel pairs at fork tips Wheel arrangement Defines stability and turning behavior under full load. Wheel material Polyurethane for smooth concrete; nylon for higher load and harder surfaces Wheel types Impacts push force, noise, floor marking, and shock into the load. Steering geometry Longer tiller arm = lower steering effort but wider swept path Steering geometry Affects how easily operators turn in 2.2–2.5 m aisles. - Capacity rating: Start from your heaviest realistic pallet (including packaging) and select a truck whose nameplate capacity is comfortably above that, typically in the 2,000–2,500 kg band for manual units – this maintains a safety margin and protects the hydraulic seals and fork structure.
- Fork length vs pallet size: Match fork length (often 1,150 mm) to pallet length so the fork tips sit just short of the far edge – this spreads load evenly and prevents the pallet tipping off the forks.
- Lowered height vs pallet entry: Confirm the truck’s 75–85 mm lowered height is less than the pallet’s bottom opening – this avoids smashing deck boards when you insert the forks.
- Wheel material vs floor: Use polyurethane on smooth indoor concrete to cut rolling resistance and noise, and consider harder nylon only where floors are tough and loads are very heavy – this reduces operator strain and floor damage.
- Wheel diameter and obstacles: Larger steer wheels handle dock plates and floor joints better – this reduces sudden stops that can throw the load forward.
- Steering geometry vs aisle width: In tight aisles, avoid excessively long tiller arms – this keeps the turning arc inside your typical 2.3–2.5 m aisle width and prevents collisions.
How to quickly check if a truck fits your pallet
Measure pallet length and entry height. Choose fork length equal to or slightly shorter than pallet length, and confirm the truck’s lowered height is at least 5–10 mm less than the pallet entry so forks slide in without lifting or breaking boards.
💡 Field Engineer’s Note: If operators complain that “the jack is heavy to push,” the root cause is often a mismatch between wheel material and floor, not operator strength. Switching from hard nylon to polyurethane wheels on smooth floors can cut push force dramatically and reduce musculoskeletal injuries.
Inspection, servicing, and brake maintenance intervals

Setting structured inspection and maintenance intervals keeps the manual pallet jack safe, preserves capacity, and ensures any brakes or hydraulics still behave predictably under load.
In practical terms, knowing how to use a hydraulic pallet truck safely includes knowing when not to use it. That means daily operator checks, scheduled technical inspections, and defined repair rules for hydraulic and brake issues before the truck returns to service.
Interval Main Tasks Operational Impact Before each shift (daily) Visual check of forks, wheels, handle, and hydraulics; basic function test Pre-use inspection Prevents using damaged trucks that could drop loads or fail mid‑shift. Weekly Deeper check of wheel behavior, hydraulic oil level, and overall condition Weekly checks Catches emerging wear before it becomes a breakdown. Annual (or per local regulation) Full structural, lifting, travel, and braking inspection by competent person Annual inspection Confirms the truck still meets its rated capacity and safety requirements. As needed – hydraulic faults Investigate leaks, low lift, or uneven lifting; check fluid level and seals Hydraulic problems Prevents sudden loss of lift or uncontrolled descent under load. As needed – brake issues Adjust cables, pad thickness, and free stroke on mechanical brakes Brake systems Maintains holding power on ramps and predictable stopping distance. - Daily operator inspection: Check forks for bends or cracks, look for oil around the pump or cylinder, spin each wheel for free rotation, and test the three‑position handle for clean raise/neutral/lower action – this is your first safety barrier.
- Tag-out rule: If any defect affects safe operation (e.g., leaking hydraulics, cracked fork, seized wheel), tag the truck out of service immediately – never “make do” with a damaged unit.
- Cleaning and lubrication: Remove debris from forks and wheels and lubricate moving joints on a regular schedule Daily maintenance tasks – this keeps rolling resistance low and extends wheel and bearing life.
- Hydraulic maintenance: If the forks will not lift, lift unevenly, or sink, check fluid level and look for leaks Hydraulic problems – air in the system or worn seals needs professional attention before further use.
- Brake inspections (where fitted): Regularly check mechanical brake cables, linkage, and pad thickness, and adjust free stroke so the brake bites early but releases fully Brake design and adjustment – this avoids both weak braking and brake drag.
- Record keeping: Keep simple maintenance and inspection records with dates, faults, and repairs Long-term maintenance – this supports compliance audits and replacement planning.
When to involve a specialist technician
Bring in a competent technician when you see structural damage, persistent hydraulic sinking, repeated wheel misalignment, or any brake behavior you cannot correct with simple cable or linkage adjustment. These issues directly affect load security and stopping capability.
💡 Field Engineer’s Note: Many warehouses only react when a pallet truck “dies,” but the more expensive incidents happen earlier—when a leaking hydraulic unit or dragging brake quietly increases push force and injury risk. Build 5‑minute daily checks into shift handover; it costs less than one lost‑time accident.

Final Thoughts On Safe Manual Pallet Truck Use
Safe, efficient hand pallet truck use depends on matching sound engineering with disciplined technique and maintenance. The fork structure, hydraulic circuit, and wheel layout set clear limits on load, geometry, and stopping ability. Operators must respect these limits by keeping loads within nameplate capacity, inserting forks fully, and travelling at low, controlled height. This keeps stresses inside the designed load path and prevents sudden failures.
Steering and braking technique then turn that hardware into a predictable tool. Pushing instead of pulling, planning wide arcs, and treating ramps and low‑grip floors as higher‑risk zones all cut strain and reduce incidents. Mechanical brakes, where fitted, only work as intended when technicians keep cables, pads, and linkages in adjustment.
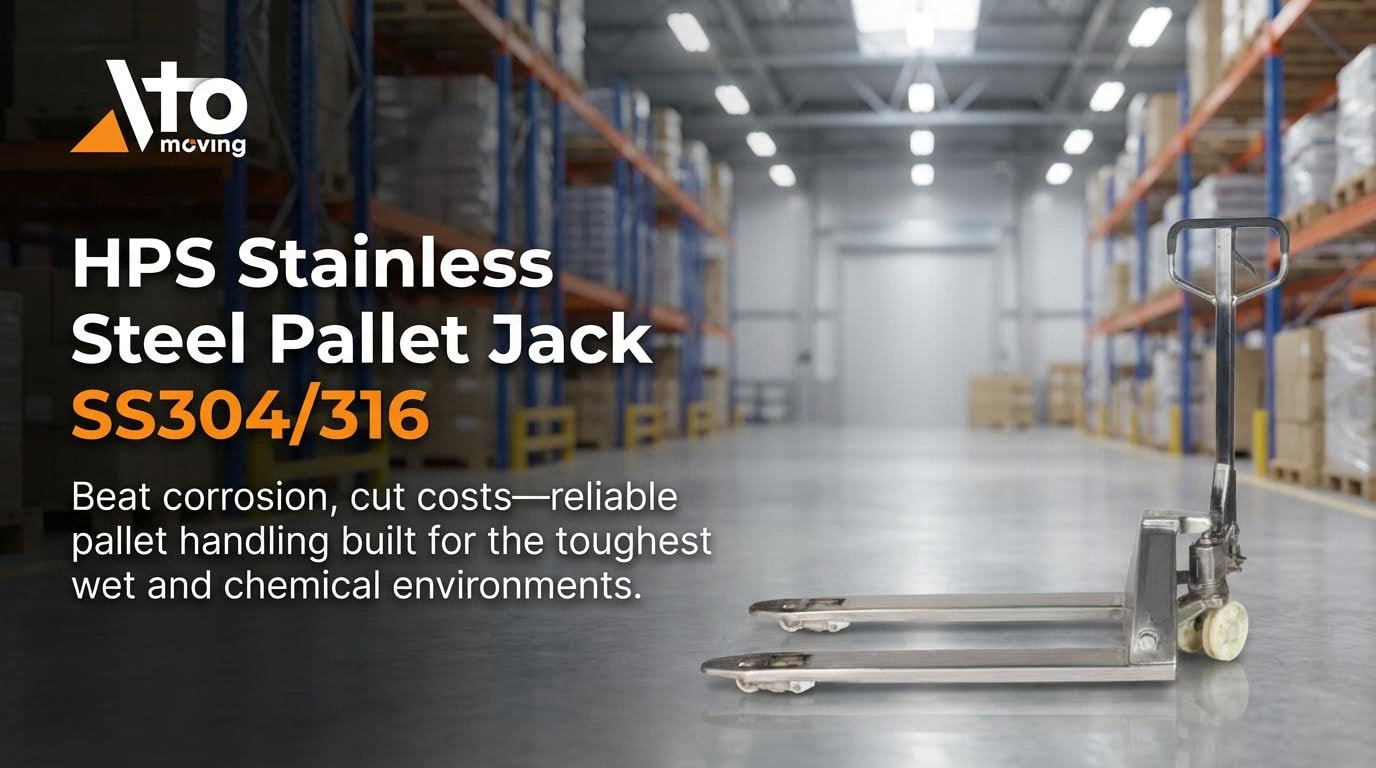
Finally, a structured inspection and servicing plan closes the loop. Daily checks, periodic technical inspections, and firm tag‑out rules stop small defects from becoming dropped pallets or runaways. Operations and engineering teams should standardise on correctly specified trucks, train staff on the three‑position handle and ergonomic posture, and enforce maintenance intervals. When you combine the right Atomoving pallet truck with these practices, you get lower injury rates, fewer product claims, and longer, more reliable service life from every unit.
Frequently Asked Questions
How does a hand pallet truck work?
A hand pallet truck uses a hydraulic pump system to lift pallets. The operator slides the forks underneath a pallet, then pumps the handle to raise the pallet off the ground. Once elevated, the user can push or pull the load to its desired location. Hand Pallet Guide.
Do you need training to use a manual pallet truck?
While formal certification is not always required for manual pallet trucks, proper training is essential for safe operation. Training typically covers equipment handling, risk awareness, and best practices for moving loads efficiently. Pallet Truck Training Tips.
What is another name for a hand pallet truck?
A hand pallet truck is also commonly referred to as a pallet jack. It is a manual tool used to lift and move pallets, widely utilized in warehouses, factories, and retail environments for short-distance transportation. Pallet Jack Overview.