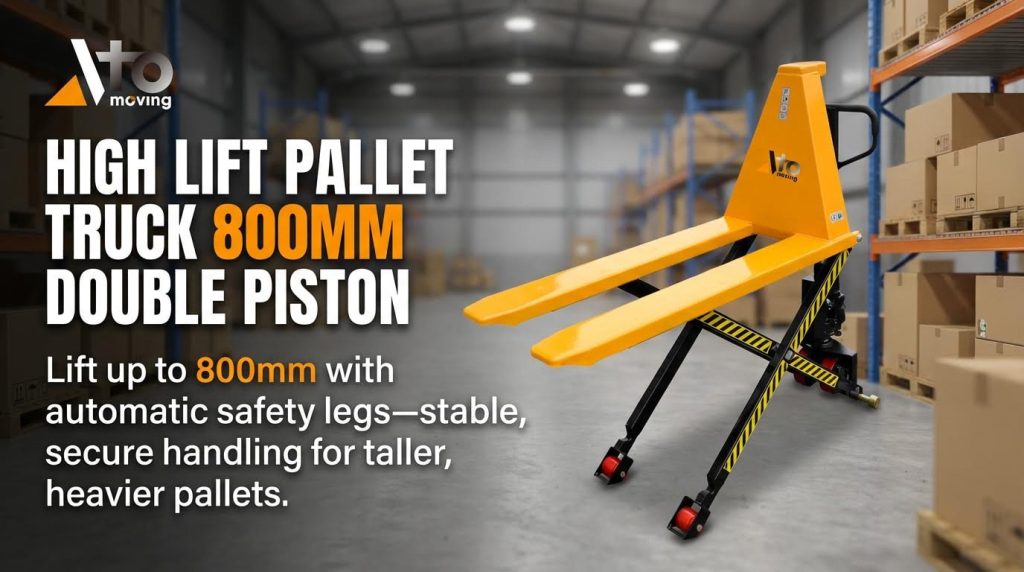
This guide explains how to put together your Roughneck high-lift hydraulic pallet truck step by step, from frame and hydraulics to forks and wheels. It is written for technicians and operators who want a clear, professional answer to how to put together my roughneck high-lifting hydraulic pallet truck while staying within safe capacity and stability limits. You will also find practical instructions for adjustment, testing, and routine maintenance to keep the truck lifting smoothly and safely. Use it alongside your model-specific manual for torque values, part numbers, and regulatory details.
Understanding Roughneck High-Lift Pallet Trucks
Key design features and components
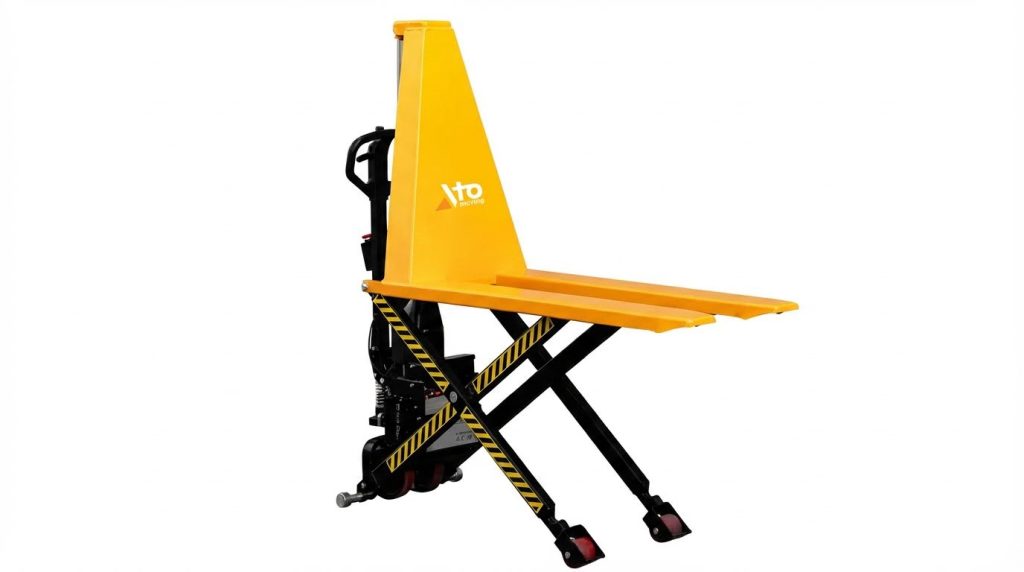
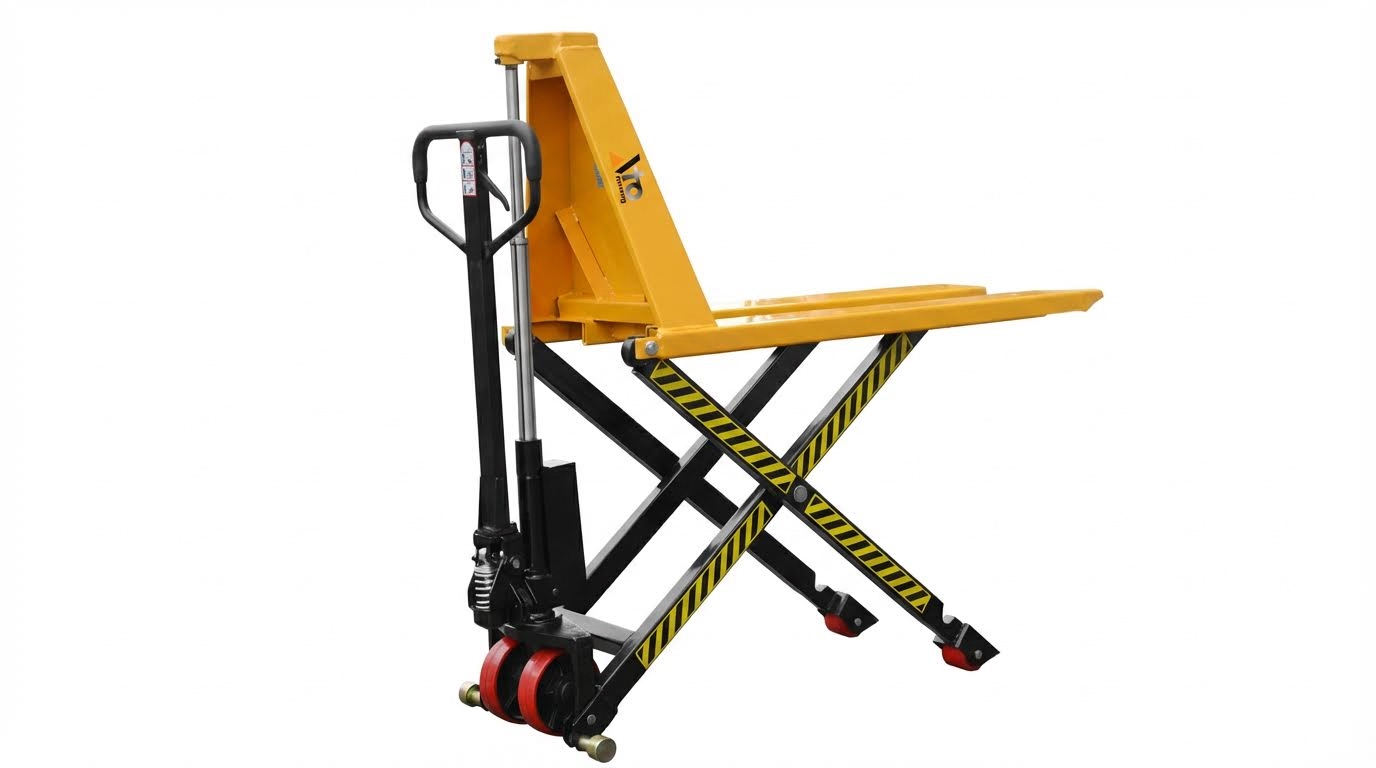
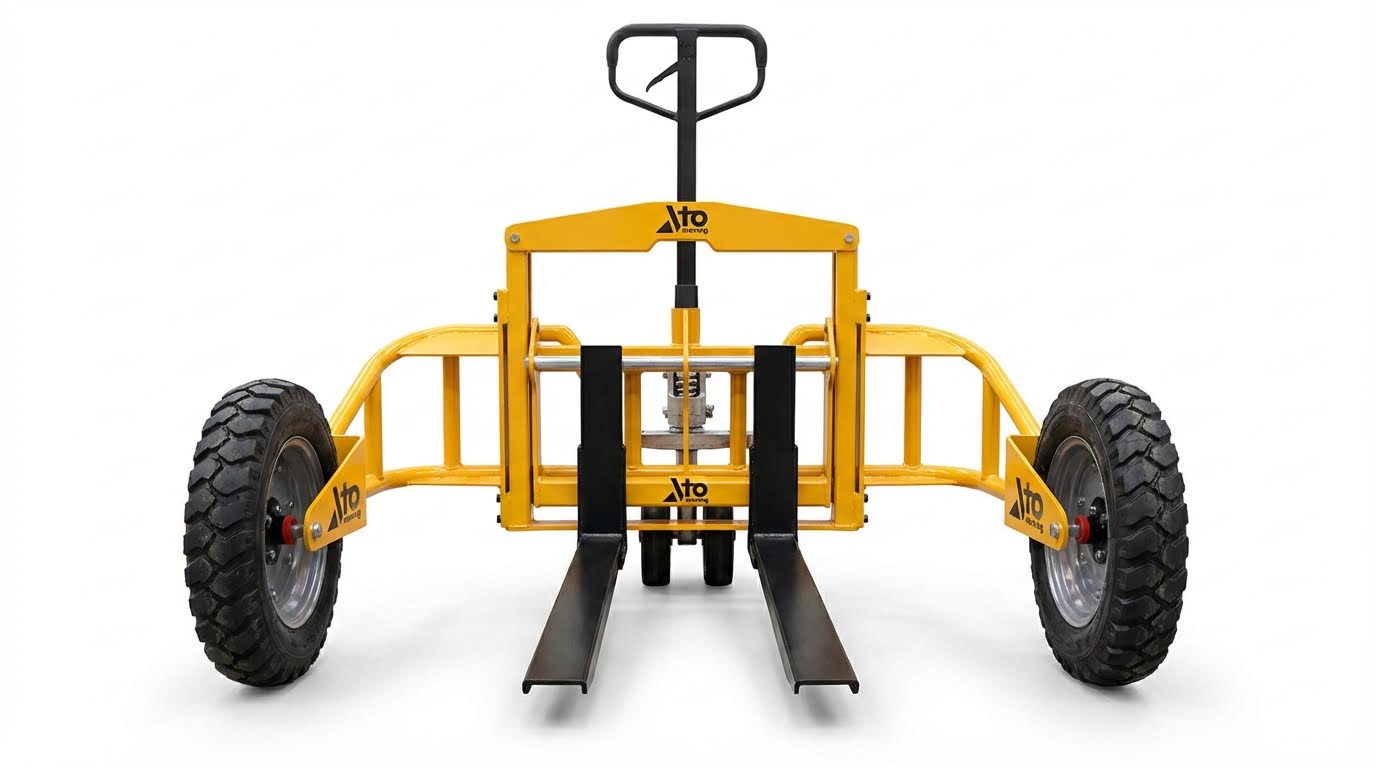
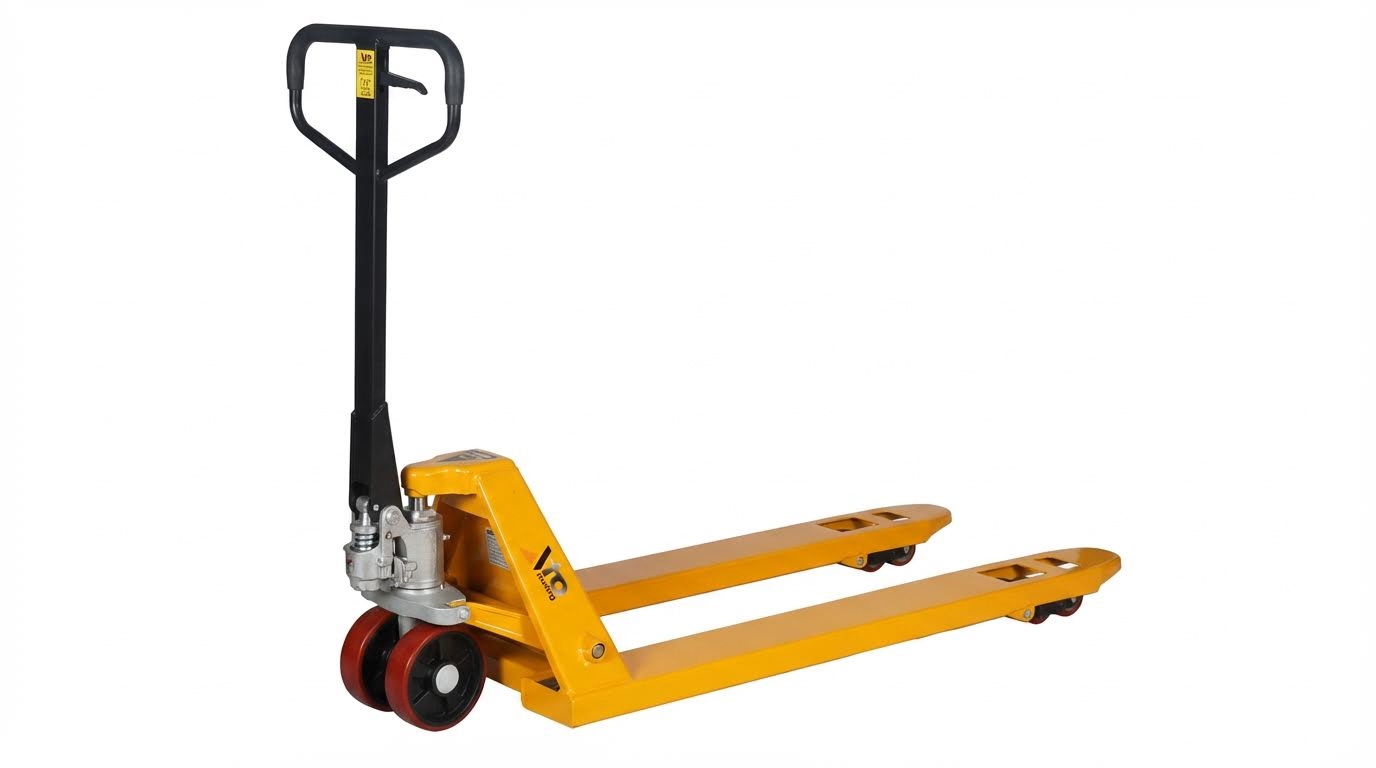
Before you focus on how to put together my roughneck high-lifting hydraulic pallet truck, it helps to understand its main structural and hydraulic elements. The chassis uses high-strength steel plate to provide high bearing capacity and long-term durability under rough-terrain loads high-strength steel plate. A compact hydraulic pump with integrated overload protection controls lifting, so the system limits pressure if the operator attempts to exceed rated capacity overload protection. Large-diameter terrain wheels on sealed bearings carry the load and improve rolling resistance on gravel, dirt, and uneven ground sealed bearings and terrain wheels. The forks mount on a straddle frame and are width-adjustable, so you can handle standard and special pallets while keeping the load centered over the axle line straddle fork arrangement. An ergonomic drawbar and linkage transfer your input to the pump and the lowering valve, allowing controlled lifting, travel, and lowering while keeping hand forces reasonable ergonomic design reduces effort. These design choices work together to provide stability, ground clearance, and safe hydraulic control in outdoor applications such as builders’ yards, construction sites, and garden centers outdoor applications and rough terrain.
Typical components you will see during assembly
- Welded steel frame with mast or high-lift structure
- Hydraulic pump unit with reservoir, ram, and overload valve
- Steering handle with linkage rods and adjustment studs
- Adjustable forks on a cross-beam or carriage
- Large front load wheels and rear steering wheels on sealed bearings
Capacity, dimensions, and stability limits
Understanding capacity and geometry is critical before deciding how to put together my roughneck high-lifting hydraulic pallet truck in a safe way. Many rough-terrain high-lift pallet trucks are rated for about 1200–1250 kg, so you must never exceed the marked capacity on your nameplate up to 1250 kg up to 1200 kg. Typical fork lengths are around 800–860 mm with load centers of 400–430 mm, which means the rated load assumes its center of gravity is roughly at mid-fork length fork length and load center. Fork width adjustment usually ranges from about 216 mm to 680 mm, so you can match the fork spacing to the pallet while keeping the load inside the wheel track for better stability 216 mm to 680 mm. A minimum fork height near 70 mm and a maximum height around 240 mm define the lift range, and you must keep the load as low as practical when travelling to reduce overturn risk on rough ground 70–240 mm fork height range. Overall dimensions near 1406×1670×1280 mm, a front-wheel spacing of about 1230 mm, and a turning radius around 1500 mm determine how much aisle width you need and how tight you can turn in yards or loading areas overall dimensions, wheel distance, turning radius. Net weight in the 210–238 kg range provides a low center of gravity, but you still need to respect the stability triangle formed by the wheels and avoid side slopes, off-center loads, and abrupt steering inputs with raised forks 210–238 kg net weight.
| Key parameter | Typical value | Stability impact |
|---|---|---|
| Rated capacity | ≈1200–1250 kg | Never exceed; de-rate on slopes or uneven ground |
| Fork length | 800–860 mm | Load center must stay within rated distance |
| Fork width adjustment | 216–680 mm | Set forks under outer stringers of pallet |
| Fork height range | 70–240 mm | Travel with forks just clear of ground |
| Front wheel distance | ≈1230 mm | Defines lateral stability base |
| Turning radius | ≈1500 mm | Sets minimum safe aisle and turning space |
Step-By-Step Mechanical Assembly Procedure
Pre-assembly checks and safety preparation
Before you start working out how to put together my roughneck high-lifting hydraulic pallet truck, clear and level the work area and block off pedestrian access. Confirm that all major parts are present: chassis, hydraulic unit, handle and linkage set, forks, steer wheels, load wheels, axles, pins, and fasteners, following the packing list in the manual. Check that the frame and forks are not bent or cracked and that welds and pivot points are sound, as the structure is designed for loads in the 1200–1250 kg range (typical rated capacity range). Wear safety shoes and gloves, and use appropriate lifting aids, because the net weight of a high‑lift rough‑terrain truck can exceed 200 kg (around 210–238 kg depending on configuration). Finally, read the manufacturer’s safety section so you understand stability limits, load‑center requirements, and pinch‑point hazards during assembly and first operation as outlined in typical high‑lift pallet truck manuals.
- Use axle stands or wooden blocks to support the chassis during wheel installation.
- Keep hydraulic components clean; plug open ports to avoid dirt ingress.
- Do not exceed the marked capacity during any test lift.
Hydraulic unit, handle, and linkage assembly
Mount the hydraulic pump unit squarely into the main frame and secure it with the specified bolts and locknuts, checking that the pump body sits fully against its locating faces. Connect the lift arm or yoke from the pump ram to the fork frame pivot, ensuring the pivot pin, washers, and retaining clips are correctly oriented for full stroke without binding. Install the handle base onto the pump control shaft, then link the handle’s control rod to the lowering valve lever so that neutral, lift, and lower positions are clearly defined; this adjustment is critical for safe operation and is emphasized in high‑lift pallet truck assembly instructions covering correct setup and adjustment. With the handle pinned in place, check that pumping the handle drives the ram out smoothly and that moving the control lever to “lower” opens the valve without sticking. At this stage, do not yet work under raised forks; you will fine‑tune lift height, lowering speed, and overload protection after bleeding and testing the hydraulic system.
- Lightly lubricate all handle pivots and linkage pins during assembly.
- Verify that the handle returns to neutral automatically when released.
- Ensure the overload protection feature in the pump is not bypassed or altered where overload protection is integrated into the pump.
Forks, wheels, and steering alignment setup
Position the fork frame under the mast or main carriage and insert the main pivot pin so the forks can articulate freely through the full lift range. Set the fork spacing to suit your typical pallets, staying within the adjustable range of about 216–680 mm overall width which is common for rough‑terrain pallet trucks, and make sure both forks sit level at the minimum height (around 70 mm) to maintain stability at the rated load center where typical fork height ranges from 70 to 240 mm. Install the large steer wheels on the rear axle and the front load wheels at the fork tips, using the correct spacers and ensuring the sealed bearings run freely for smooth travel on rough surfaces where large‑diameter terrain wheels on sealed bearings are standard. Align the steer axle so that, with the handle straight ahead, both steer wheels track symmetrically; incorrect toe‑in or toe‑out will increase rolling resistance and can compromise stability, especially near the 1200–1250 kg capacity limit typical for rough‑terrain pallet trucks. Once all wheels are fitted, roll the truck on a flat surface to confirm it tracks straight, the forks raise and lower without twisting, and ground clearance is even side to side.
| Assembly Point | Key Check | Why It Matters |
|---|---|---|
| Fork spacing | Within 216–680 mm adjustable range | Matches pallet size and keeps load center within design limits |
| Fork height | Both forks level at min height (~70 mm) | Prevents rocking and uneven loading at pickup |
| Steer wheels | Free rotation, equal tracking left/right | Reduces push effort and improves directional control on rough ground |
| Load wheels | Square to fork and frame | Ensures even contact and reduces pallet and wheel wear |
Adjustment, Testing, and Maintenance After Assembly
Setting lift, lowering speed, and overload protection
Once you finish assembly, verify that the lift, lowering speed, and overload protection are correctly set before you load the truck. This is a key step in how to put together my roughneck high-lifting hydraulic pallet truck so it works safely and consistently. Start with an unloaded truck and check that the forks reach full stroke smoothly and stop at the mechanical limit without hitting the frame. If the forks do not lift or stop short, first check the hydraulic oil level and top up or replace the oil as needed to restore normal lift.
The lowering speed is usually controlled by an internal adjustment stud linked to the release valve. If the forks lower too slowly under load, the stud is likely too far out and should be tightened in small increments until you get a steady, controlled descent without jerks or free fall. If the forks drop too fast, back the stud out slightly to restrict flow and re-test with a moderate load. Always adjust with the truck on level ground and the operator clear of the fork path.
Overload protection on the hydraulic pump prevents damage if someone exceeds the rated capacity (typically around 1200–1250 kg for this class of rough-terrain high-lift truck depending on model ). To confirm it works, place a test load slightly above the rated capacity and pump the handle; the forks should either not rise or rise only a few millimeters before the overload valve bypasses. If the truck continues to lift significantly above its rated capacity, remove it from service and have the hydraulic unit inspected, as field adjustment of overload valves is often restricted for safety.
Hydraulic bleeding, oil level, and leak checks
Air in the hydraulic circuit is common after assembly or oil changes and can cause spongy, slow, or uneven lifting. To bleed the system on a newly assembled roughneck high-lift pallet truck, first park it unloaded on level ground and confirm the reservoir is filled to the correct level with the specified hydraulic oil before you start bleeding. Then, with the release valve in the “lift” position, pump the handle repeatedly through its full stroke until the forks lift smoothly and the handle feels noticeably firmer indicating air has been purged.
Some high-lift units include a dedicated bleeder screw on the cylinder or valve block. If your model has one, follow the manual: slightly crack the bleeder open with a wrench, pump until a solid stream of oil (no bubbles) flows out, then tighten it again while still pumping to avoid reintroducing air. After bleeding, re-check oil level; both low and overfilled reservoirs can cause lifting issues, so adjust to the recommended mark only by adding or pumping out oil as required.
During these steps, visually inspect all hoses, fittings, and the cylinder for wet spots or drips. Persistent oil around the drain plug or fittings often points to a damaged seal that should be replaced before regular use to stop leakage. If, after proper bleeding, the truck still lifts or lowers very slowly, repeat the bleeding cycle and confirm that no rotating or linkage parts are bent or binding as mechanical obstruction can mimic hydraulic faults.
Routine inspection, lubrication, and troubleshooting
Good routine maintenance is what keeps a roughneck high-lift truck safe and reliable once you know how to put together my roughneck high-lifting hydraulic pallet truck correctly. Plan quick visual checks before each shift and deeper inspections on a 5–7 day cycle, focusing on the frame, forks, wheels, and hydraulic circuit as recommended for high-lift trucks. Look for cracked welds, bent forks, loose wheel hardware, and any signs of oil on the floor. Check that the handle returns freely and the steering pivots without binding.
Lubricate all rotating and pivot points, including wheel axles, steering knuckles, and linkage pins, with a light oil such as SAE 10W‑30 every few months or as usage demands to keep movement smooth and reduce wear. In dirty, outdoor environments, shorten this interval because grit quickly dries out lubrication. Keep the truck stored under cover on a flat surface to reduce corrosion and prevent accidental rolling when not in use.
For troubleshooting, use a simple fault-symptom approach: if forks will not lift, check oil level, look for leaks, confirm no rotating parts are bent or stuck, and adjust the control stud if needed before assuming major failure. If forks will not lower, or lower erratically, suspect bent components or incorrect stud settings and correct or replace parts as required to restore safe, predictable operation. Keeping a simple log of issues, adjustments, and oil changes helps you track patterns and plan professional servicing before small problems become major downtime.
“”
Final Checks, Compliance, and Operational Handover
Correct assembly and adjustment turn the Roughneck high-lift pallet truck from a pile of parts into a stable lifting system. Frame geometry, fork spacing, wheelbase, and load center all work together to keep the center of gravity inside the wheel triangle. The hydraulic unit, overload valve, and lowering control then make sure the structure is not pushed past its limits during use.
When you finish building the truck, treat final checks as a safety gate, not a formality. Confirm rated capacity on the nameplate, verify smooth full-stroke lifting and controlled lowering, and check tracking and steering on level ground. Prove that overload protection prevents lifting above the rated load and that no leaks or air remain in the hydraulic circuit.
Only then should you hand the truck over to operations, together with clear instructions on capacity limits, fork height during travel, and inspection routines. Keep a simple maintenance and fault log and schedule regular lubrication and structural checks. If any behavior falls outside what this guide describes, remove the truck from service and seek expert support, for example from Atomoving. This disciplined approach gives you safe, predictable rough-terrain lifting and longer equipment life.
Frequently Asked Questions
How to Assemble a Roughneck High-Lifting Hydraulic Pallet Truck
Assembling a high-lifting hydraulic pallet truck involves several key steps. First, ensure all components are present, including the forks, hydraulic cylinder, handle, and wheels. Refer to the manufacturer’s manual for specific instructions. Begin by attaching the forks securely to the main body using provided bolts and tools. Next, connect the hydraulic cylinder to the lifting mechanism, ensuring there are no leaks in the system. Finally, attach the handle and test the lift function before use. For more details on hydraulic mechanisms, check out this Hydraulic Mechanisms Guide.
Do Hydraulic Pallet Trucks Require Maintenance?
Yes, hydraulic pallet trucks require regular maintenance to ensure safe and efficient operation. Key maintenance tasks include checking hydraulic fluid levels, inspecting for leaks, and lubricating moving parts. Additionally, regularly examine the forks and wheels for wear and tear. Proper maintenance extends the equipment’s lifespan and ensures reliable performance. For comprehensive guidance on maintaining hydraulic systems, refer to this Hydraulic Maintenance Guide.