If you can’t start an electric scissor lift, the fastest fix is to move in a logical order: safety, power, controls, then hydraulics. This roadmap walks you step‑by‑step from simple checks to deeper electrical and hydraulic diagnostics so you restore uptime without guessing or creating new faults.
You’ll learn how to verify lockouts, batteries, fuses, wiring, control switches, and hydraulic issues using basic tools and indicator lights. The goal is a safe, repeatable process you can use every time your lift refuses to move.
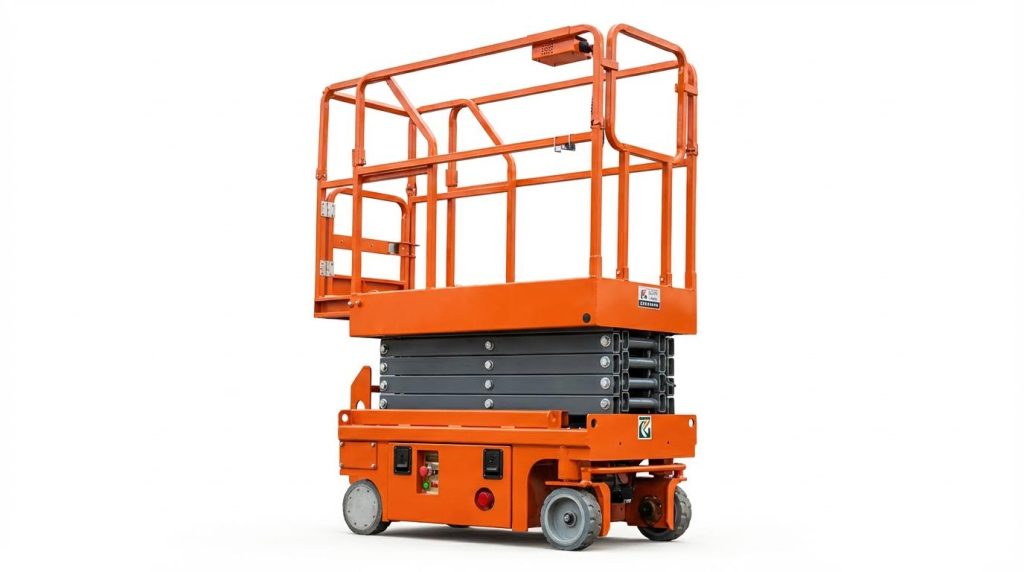
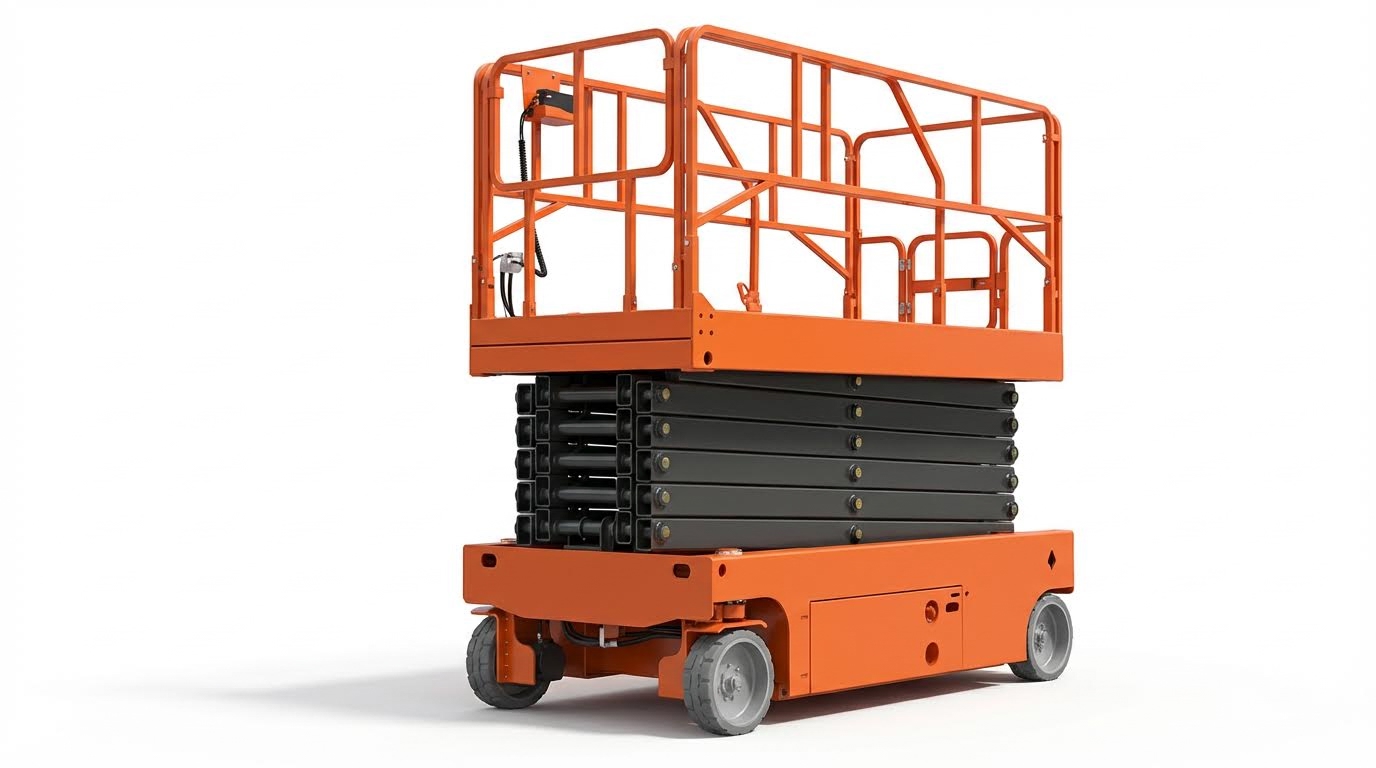
Core Start-Up Checks Before Deep Diagnostics

If you can’t start an electric scissor lift, rule out simple start-up interlocks before opening panels or chasing wiring. These quick checks often restore operation in minutes and prevent needless parts swapping.
- Stabilize the lift: What it is – Confirm the lift is on firm, level ground and wheels/chocks are correctly set. This avoids tilt sensor lockouts and prevents unsafe movement during troubleshooting.
- Verify power source: What it is – Confirm batteries are connected and any external power leads are unplugged or correctly connected, depending on design. This prevents chasing “faults” that are just missing supply power.
- Check all emergency and key controls first: What it is – Walk around the base and platform controls and positively set every e-stop, key, and selector switch to the normal operating position. This clears most “can’t start scissor platform” complaints without tools.
- Observe indicator lights and alarms: What it is – Watch battery, fault, and enable lights as you attempt to start or move a function. Their behavior gives you a fast yes/no on whether the control system is even waking up.
💡 Field Engineer’s Note: When operators say they “can’t start electric scissor lift,” nine times out of ten I find an e‑stop punched in, the key in the wrong mode, or the platform/ground selector in the opposite position to where they’re standing.
Safety lockouts and emergency stops
Safety lockouts and emergency stops are the first things to verify when you can’t start an electric scissor lift, because any engaged e‑stop or safety sensor will completely block motion by design.
- Emergency stop buttons released: What it is – Ensure both base and platform emergency stop switches are pulled out / set to ON. A pushed‑in e‑stop will prevent any function from responding. This is a documented cause when a function control fails to respond according to service guidance.
- Platform/ground select switch set correctly: What it is – Confirm the platform/ground select switch matches where you are trying to operate from. If it is set to ground, platform controls will appear “dead,” and vice versa. This mis-setting is a known cause of unresponsive controls in troubleshooting guides.
- Safety sensor status: What it is – Check tilt, overload, and other safety sensors for visible damage or obstructions, and verify the emergency stop button itself functions correctly. Safety guidance states that the lift must not be used until sensor faults are resolved by a qualified technician because they can block operation.
- Battery charge indicator check: What it is – Look at the battery charge indicator lights in the control box. If they show low charge, plug the lift into the charging socket before further diagnosis. This simple step is specifically recommended when troubleshooting an electric scissor lift that will not operate by service tips.
- Control box cord integrity: What it is – Inspect the cord between the machine and the control box for cuts, crushed sections, or loose plugs. A damaged or partially unplugged cord can make all controls appear dead. Visual inspection and secure fastening are explicitly advised in troubleshooting guidance for intermittent or no operation.
How to quickly prove if a safety lockout is active
Watch the control panel as you pull each e‑stop out and toggle the platform/ground selector. If indicator LEDs suddenly wake up or a beeper sounds, you just cleared a lockout. If nothing changes, move on to battery voltage and fuses in the next section of your troubleshooting roadmap.
💡 Field Engineer’s Note: Always reset every e‑stop and selector before you grab a meter. I have seen teams replace batteries and contactors only to discover a single emergency stop mushroom still pushed in at the base station.
Key, mode, and function selector positions
Key, mode, and function selector positions are the second major cause when you can’t start an electric scissor lift, because the lift only energizes the circuit that matches the selected station and mode.
- Key switch in correct position: What it is – Confirm the key switch is in the proper ON/operate position in the control box, not in OFF or service. An incorrectly positioned key can prevent the machine from starting altogether, as highlighted in troubleshooting advice for scissor lifts.
- Platform vs. ground mode selection: What it is – Set the mode selector so that the active station (platform or ground) is enabled. If you stand at the platform with the selector still on ground, you will read it as a dead lift. Service documentation calls out the platform/ground select switch as a root cause of unresponsive controls when misaligned and recommends verifying its position.
- Function switch health: What it is – Cycle each function selector (lift, drive, steer) and feel for positive detents. If a function switch does not respond or feels loose, it may be internally defective. Troubleshooting procedures explicitly state that non‑responding function switches should be replaced when found defective to restore control.
- Controller power and fault codes: What it is – Once key and mode are correct, verify the controller is powered and check for any fault codes on the LCD screen. Guidance recommends checking the LCD for codes when the lift still does not operate, as these point to specific electrical or control issues that need attention instead of guessing, and also verifying electrical input to the controller if no power reaches it during diagnostics.
Fast checklist for key and selector issues
1) Turn key fully to ON/operate and leave it there. 2) Set platform/ground selector to the station you are using. 3) Confirm e‑stops are released at both stations. 4) Select a single function (lift only) and try again while watching the indicator lights and listening for any relay click or pump hum.
💡 Field Engineer’s Note: Treat keys and selectors like a “software login” for the lift. If the machine thinks the wrong user or station is active, it will sit there like a brick no matter how many times you stab the joystick.
“”
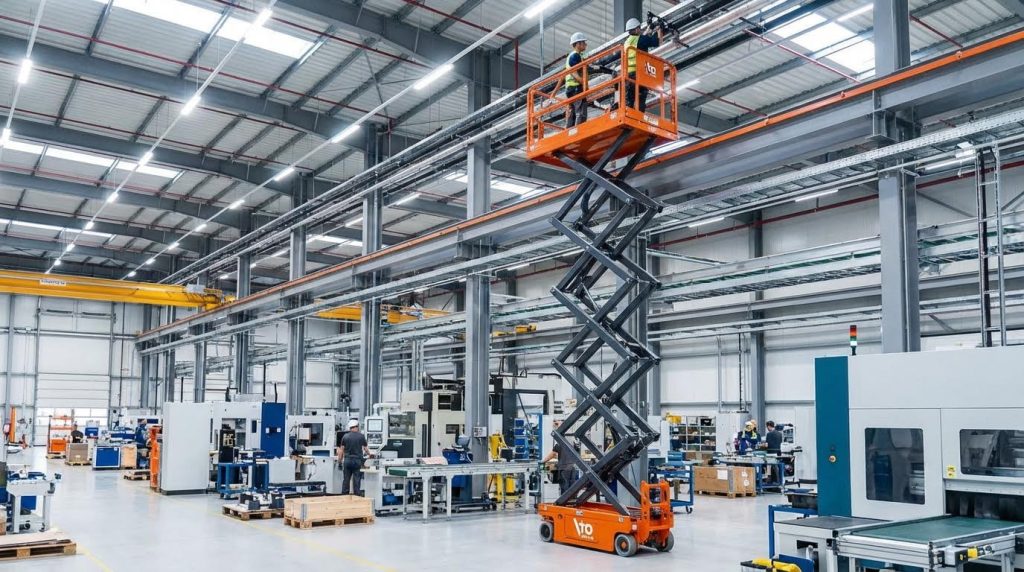
Hydraulic And Mechanical Causes Of No-Lift Conditions
Hydraulic and mechanical faults often explain why you can’t start scissor platform functions even when electrics look fine, because low fluid, air lock, leaks, or seized linkages stop pressure turning into vertical motion. This section walks you through the fastest checks to confirm whether the problem is in the hydraulic circuit or the scissor mechanism itself, before you start swapping expensive parts.
Fluid level, leaks, and pump/motor operation
Low or leaking hydraulic fluid and a non-performing pump/motor are the most common hydraulic reasons a scissor platform lift will not raise even though the power unit runs. You must confirm fluid level, leak points, and whether the pump is actually building pressure, not just spinning.
| Symptom | Likely Cause | Quick Check / Test | Corrective Action | Operational Impact |
|---|---|---|---|---|
| Motor does NOT run when UP is pressed | No supply to power unit, blown transformer fuse, tripped breaker, faulty relay coil, limit switch engaged | Use a meter on power unit input and control circuit when pressing UP | Reset breaker, replace fuse, test/replace control transformer or relay as required according to service manual guidance | Lift will appear dead; users may think they can’t start electric scissor lift when the issue is actually upstream of the hydraulics. |
| Motor runs, but platform does not move | Low hydraulic fluid, pump not producing pressure, contamination in valves, structural damage | Check reservoir sight level, listen for pump load change, inspect for bent scissor arms or blocked movement | Top off fluid, clean/replace valves, test pump output, repair structural issues as recommended | Motor wear, overheating, and long downtime while operators keep “bumping” the UP function with no lift. |
| Slow, jerky, or “spongy” lift motion | Low fluid level, clogged filter, air in system, weak pump | Inspect reservoir level and filters; observe fluid for foaming; monitor speed changes under light load | Refill fluid, replace filters, bleed air, evaluate pump condition per troubleshooting guide | Unpredictable platform behavior, operator discomfort, and higher risk of nuisance shutdowns from safety devices. |
| Visible oil on floor or structure | Leak at hoses, fittings, cylinders, or valves | Trace wet areas from reservoir outward; check under scissor pack and at cylinder rod ends | Tighten fittings, replace damaged hoses/seals, and refill with correct hydraulic oil as recommended | Loss of lift capacity, slipping platforms, environmental and housekeeping issues, possible slip hazards around the machine. |
| Lift will not lower or lowers very slowly | Air in system triggering cylinder velocity fuse or valve contamination | Check for foamy fluid, erratic lowering, or platform “hangs” mid‑stroke | Cycle lift to purge air and inspect lowering/velocity valves for contamination per service instructions | Stuck personnel aloft, emergency lowering use, and increased wear on safety components. |
| Hydraulic power unit runs intermittently | Weak batteries, poor power wiring, excessive voltage drop | Measure battery/line voltage at rest and under load | Charge or replace batteries, upsize or repair undersized/loose supply wiring as outlined | Erratic lift behavior that operators often misinterpret as a control fault instead of a hydraulic power issue. |
Before blaming “bad hydraulics,” always verify fluid level and quality. Many manufacturers specify that with the platform fully lowered, fluid should sit roughly 1–1½ inches below the reservoir fill opening to prevent aeration. Milky or foamy oil is a red flag for air ingress or contamination.
- Check reservoir level with lift fully lowered: What it is – Confirm oil sits within the recommended band below the fill port. Why it prevents downtime/injury – Running low pulls air into the pump, causing cavitation, weak lift, and sudden stops under load.
- Inspect for leaks along the entire circuit: What it is – Walk the hoses, cylinders, and fittings looking for wet spots and drips. Why it prevents downtime/injury – Small leaks quickly become major volume losses and can dump pressure during a lift, risking uncontrolled movement.
- Listen and “feel” the pump when pressing UP: What it is – A healthy pump changes tone as it builds pressure; a free‑spinning pump sounds light and whiny. Why it prevents downtime/injury – Identifying a non‑loading pump early avoids overheating the motor and unexpected failure mid‑shift.
- Evaluate motor operation under load: What it is – Watch for motor bogging, stalling, or failing to start when UP is commanded. Why it prevents downtime/injury – Weak motors or voltage drop can mimic hydraulic problems and leave the platform stuck part‑way up.
How to distinguish electrical “no start” from hydraulic “no lift”
If the motor never runs when UP is pressed, you likely have an electrical or control problem: fuses, breakers, limit switches, or relay coils can block power to the unit as documented. If the motor runs but there is no platform motion, focus on fluid level, pump output, and valve contamination per hydraulic troubleshooting guidance.
💡 Field Engineer’s Note: When operators complain they can’t start scissor platform lift movement “first thing Monday,” I often find a slow weekend leak dropped the reservoir just below the suction port. Top off the oil, then mark the tank and floor under the unit; if the level keeps falling or the floor spot grows, you have a leak, not a mysterious electrical fault.
Air in the hydraulic system and bleeding procedures
Air trapped in the hydraulic circuit can completely prevent a drum dolly from rising or cause spongy, noisy, or inconsistent movement. You must bleed the system correctly whenever the lift is new, has been shipped, or has had hoses/components opened.
| Air‑Related Symptom | Diagnostic Clue | Recommended Bleeding / Fix | Operational Impact |
|---|---|---|---|
| Platform will not rise on first startup | Lift just “twitches” or rises a few inches then stops; new install or post‑shipping | Apply gentle upward force with a floor jack while holding UP to help push air out of cylinders as described | New machines are often labeled “dead on arrival” when the real issue is trapped air, not defective hardware. |
| Spongy motion, “bouncing” platform | Platform feels elastic, with delayed response to joystick; audible gurgling in tank | Cycle platform fully up and down several times without load to purge air through the reservoir per bleeding instructions | Reduced operator confidence and higher risk of overshoot near delicate work areas. |
| Foamy or milky hydraulic fluid | Small bubbles visible in tank; fluid level appears to “rise” with foam | Stop the lift, let foam dissipate, correct low fluid or suction leaks, then re‑bleed system as outlined | Erratic cylinder speeds and accelerated wear on pump and valves from aerated oil. |
| Platform will not lower or hangs mid‑stroke | Lift stops and then “drops” suddenly when it moves again | Bleed cylinders and check cylinder velocity fuses; trapped air can falsely trigger these safety devices according to manual | Potential for uncomfortable or alarming motion for personnel, increasing the chance of panic or misuse. |
| Persistent no‑rise after cycling | Platform still stuck after repeated up/down attempts with no load | Loosen the dedicated bleed screw/bolt on the pump while pressing UP until a steady oil stream (no bubbles) appears, then retighten per procedure | Eliminates stubborn air locks that would otherwise be misdiagnosed as a bad pump. |
- Initial “air lock” after installation or transport: What it is – Cylinders and hoses contain pockets of air that compress instead of transmitting pressure. Why it prevents downtime/injury – If you assume a bad pump and start replacing parts, you add cost and delay while the real issue is simple bleeding.
- No‑load cycling as a first bleed step: What it is – Run the platform fully up and down, with no one on the deck, several times to move air back to the tank as recommended. Why it prevents downtime/injury – Simple cycling often restores full stroke without tools, keeping the machine in service.
- Using the pump bleed bolt correctly: What it is – Some power units include a hex bleed bolt on the pump body that you crack open slightly while holding UP until oil runs clear per instructions. Why it prevents downtime/injury – Targeted bleeding saves time on stubborn air pockets and avoids over‑stroking a partially purged system under load.
- Watching fluid level while bleeding: What it is – Monitor reservoir level as air purges; level will drop as bubbles collapse. Why it prevents downtime/injury – Topping off too late can suck new air into the pump, restarting the problem and keeping the lift out of service.
Safe practices while bleeding a hydraulic scissor lift
Always bleed with the platform unloaded and clear of overhead obstructions. Keep hands and tools out of the scissor stack and pinch points. If you must use a floor jack to assist a stuck platform, position it on a solid support point and never rely on the jack as the sole support once the lift begins to move Final Recommendations For Reliable Lift Availability
If you can’t start an electric scissor lift reliably, lock in a simple routine: standardize checks, log recurring faults, and schedule preventive maintenance so the machine is ready when people and materials are already on site waiting.
- Standardize a “won’t start” checklist: Build a one-page startup flow covering battery indicator, key position, emergency stop, and platform/ground selector. This turns a vague “can’t start electric scissor lift” complaint into a fast, repeatable diagnostic.
- Make battery condition a controlled variable: Check indicator lights and confirm voltage with a meter during scheduled inspections, not just when there is a problem. This prevents surprise dead batteries and keeps duty cycles predictable.
- Log recurring electrical faults: When you see the same blown fuse, flash code, or tripped breaker, record the date, condition, and repair. Patterns reveal undersized wiring, weak components, or misuse before they cause full downtime.
- Treat hydraulic issues proactively: Include fluid level checks, leak inspections, and periodic bleeding after major work or transport. This avoids slow, jerky, or stuck platforms that operators often misreport as “lift won’t start.”
- Schedule mechanical and lubrication intervals: Lubricate pins, hinges, and scissor pivots and inspect moving parts on a fixed calendar, not reactively. Reduced friction keeps current draw down and prevents mechanisms from binding under load.
- Protect control boxes and cables: Inspect pendant/joystick cords and connectors for damage and strain, and route them away from pinch points. Good cabling avoids intermittent “dead” controls that mimic major electrical failures.
- Use fault codes, don’t ignore them: Train techs and key operators to read and record fault codes from the display before power cycling. Accurate codes cut troubleshooting time and reduce unnecessary parts swaps.
- Align with safety and lockout procedures: Make sure troubleshooting steps always start with confirming emergency stops and lockouts. This both shortens diagnostics and keeps you compliant with safety policies and regulations.
- Define “out-of-service” triggers: Set clear rules for when a lift must be tagged out (repeated fuse blows, hydraulic foaming, structural damage). This prevents unsafe improvisation when the lift is clearly not fit for use.
- Close the loop with operator feedback: After each no-start incident, review cause and fix with operators. This reduces bad habits, like riding the emergency stop or ignoring low-battery indications.
How to turn this into a simple site-ready procedure
Create three laminated sheets: a pre-use checklist for operators, a “can’t start scissor platform” troubleshooting tree for technicians, and a monthly inspection sheet for maintenance to sign off. Keep them stored at the charger or key station so they are always within reach.
💡 Field Engineer’s Note: The lifts that “never fail” are rarely the newest; they are the ones with boring, consistent routines. If you lock in battery care, hydraulic checks, and quick cable inspections as part of daily habits, most no-start calls disappear before they ever hit your phone.
Final Recommendations For Reliable Lift Availability
Consistent, reliable lift availability comes from process, not guesswork. When teams follow a fixed order of checks, they find faults faster and avoid creating new ones. Start every “won’t start” call with safety circuits, keys, and selectors. This protects people and often restores motion without a tool.
Once safety and control logic are proven, move to batteries, fuses, wiring, and contactors. Treat voltage and continuity as hard facts, not assumptions. This stops repeated part changes and hidden overheating that shorten component life.
Only then shift focus to hydraulics and mechanics. Correct oil level, clean fluid, bled cylinders, and free‑moving scissor arms turn motor power into smooth, predictable lift. Ignoring leaks or air in the system turns small issues into stuck platforms and emergency recoveries.
The most effective sites standardize checklists, log every repeat fault, and tie maintenance intervals to calendar dates, not complaints. They train operators to notice indicators and respect lockouts. They also choose well‑supported equipment from suppliers like Atomoving and keep documentation at the machine.
Build that discipline into your operation and “lift won’t start” becomes a rare, short event instead of a shift‑stopping surprise.
Frequently Asked Questions
Why is my electric scissor lift not starting?
To troubleshoot, start by checking the power supply. Ensure the lift is switched on and inspect the circuit breaker for any issues. Common Lift Problems Guide. Next, examine the control system for faults in the circuit paths. Verify that all doors are properly closed, as interlocking mechanisms may prevent operation if they are open.
How do I check the battery on an electric scissor lift?
Inspect the battery to ensure it is fully charged. Overcharging can cause permanent damage or even a fire, so monitor the charging process closely. Battery Charging Tips. Check the battery fluid level before charging and avoid topping off until after the charge is complete. If the battery does not hold a charge, it may need replacement.
What should I look for in the power connection of my scissor lift?
Ensure all connection cables are free and not pinched or damaged. Inspect the power cable from the control box to the transformer for crimps, cuts, or cracks. If any damage is found, replace the power cable or external transformer as needed. Lift Chair Troubleshooting Guide.