This step-by-step beginner’s guide explains how to use a pallet jack step by step with safe, repeatable techniques. You will learn pallet jack types, key components, operating procedures, and maintenance practices to move loads efficiently while protecting people, floors, and equipment.
Understanding Pallet Jack Types And Key Components
This section explains pallet jack types and anatomy so beginners know what they are driving before learning how to use a pallet jack step by step. Clear understanding of parts, dimensions, and limits prevents overloads, tip‑overs, and costly damage.
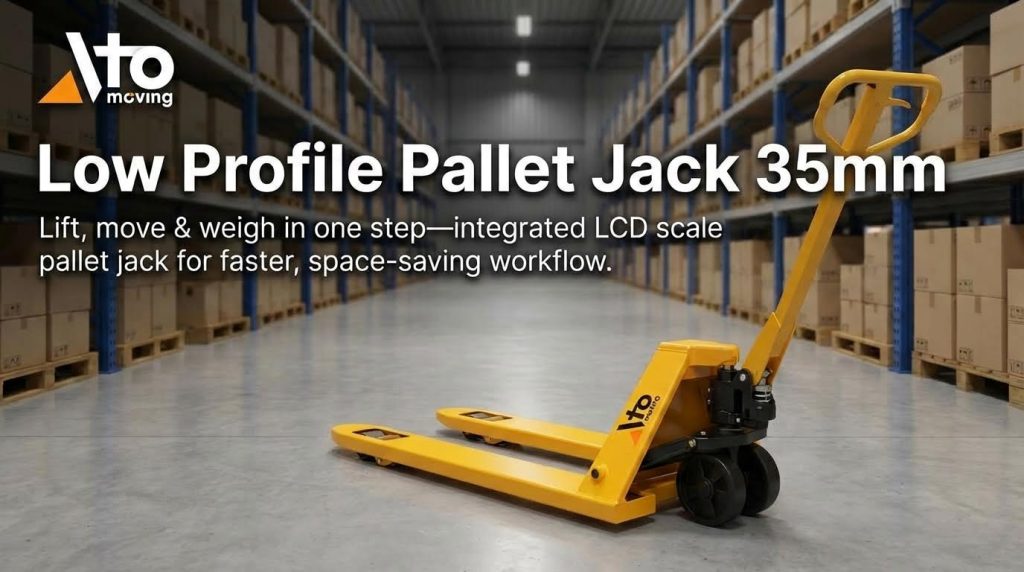
Manual vs. electric pallet jack operation
Manual and electric pallet jacks move pallets the same way, but they differ in how lifting and travel forces are generated and controlled. Knowing the difference affects training, floor layout, and maintenance planning.
- Manual pallet jack: Operator provides all push/pull and pump force – best for short distances and lighter daily workload.
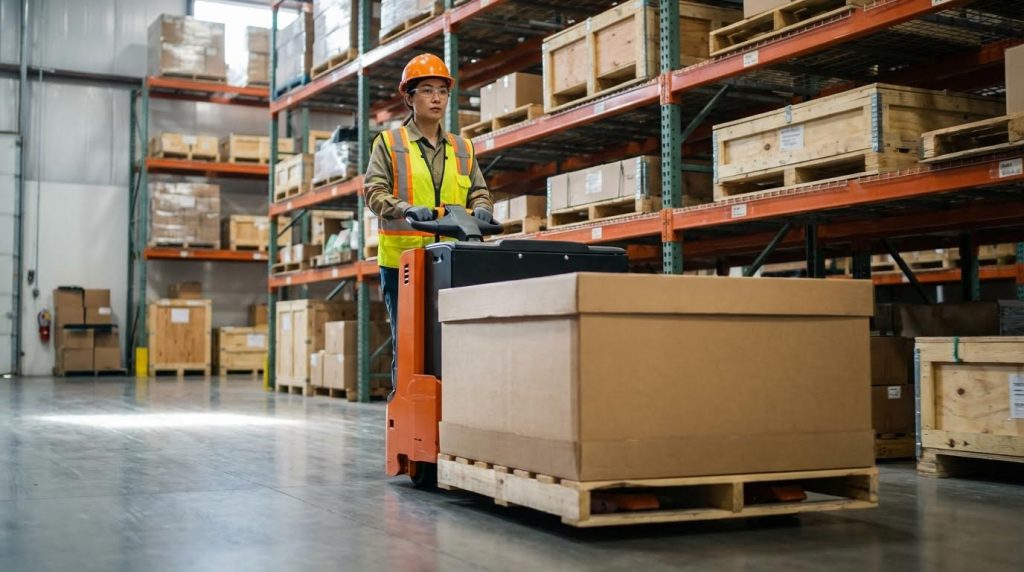
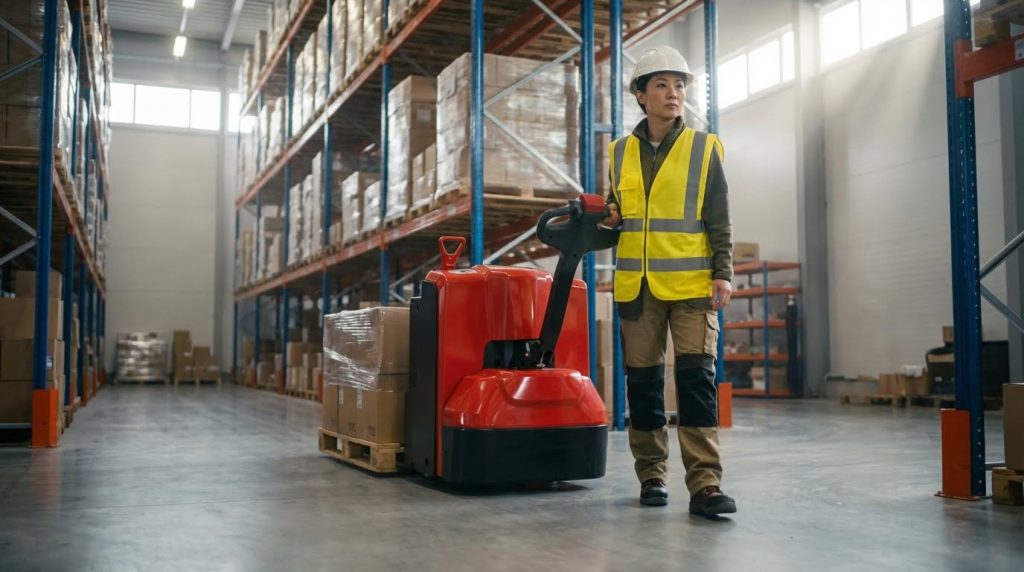
- Electric pallet jack (walkie): Electric traction and lift motor – reduces operator strain and increases throughput on longer runs.
- Control style – manual: Mechanical handle and 3‑position lever (lift / neutral / lower) – simple, low-failure design for basic warehouses.
- Control style – electric: Tiller head with buttons or rockers for travel and lift – allows precise speed control in tight aisles.
- Power source – manual: Human power only – no batteries, chargers, or electrical hazards.
- Power source – electric: Lead‑acid or lithium battery pack – supports multi‑shift use with proper charging routines.
- Safety interlocks – manual: Very few; safety relies mostly on technique and environment – demands strict operator discipline.
- Safety interlocks – electric: Dead‑man switch, emergency stop, reduced‑speed modes – mitigates runaway and impact risks in busy areas.
Electric pallet jacks typically operate in three core modes—travel, lift/lower, and emergency stop—with control logic that limits speed when forks are raised or in congested zones, and dead‑man switches that cut traction power when released. Modern units also use creep or “turtle” mode and safety interlocks that block travel with fully lowered forks against obstructions or with the parking brake engaged, while fault detection triggers alarms for low battery, overload, or sensor failure to support timely maintenance. These electronic protections are unique to powered units
💡 Field Engineer’s Note: When facilities upgrade from manual to electric pallet jacks, aisle widths under about 2.2 m and tight dock approaches often become the bottleneck, not motor power—check turning radius and stopping distance before standardizing on one electric model.
Core structural parts and dimensions
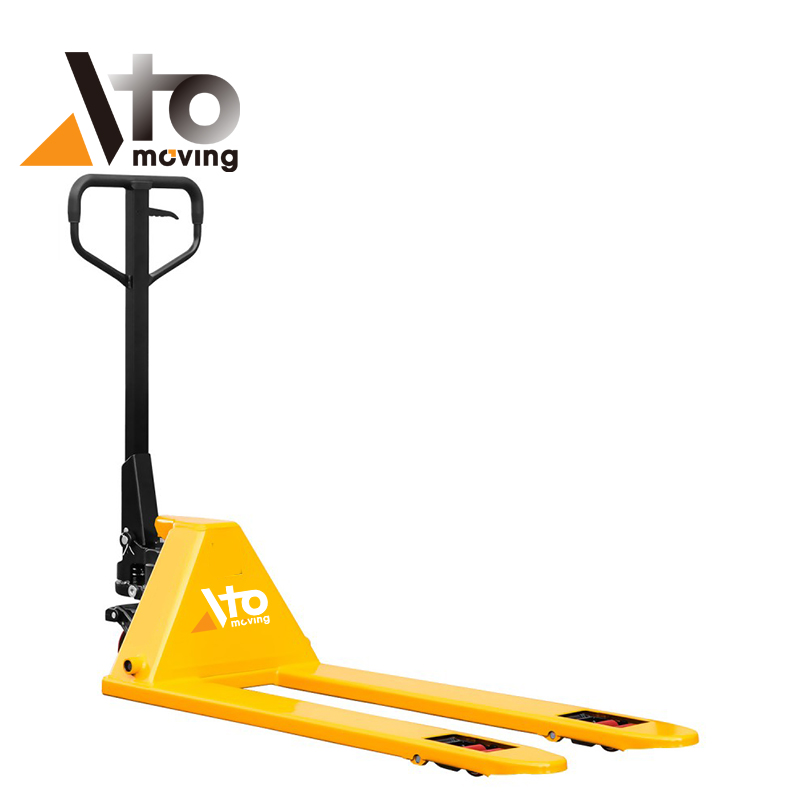
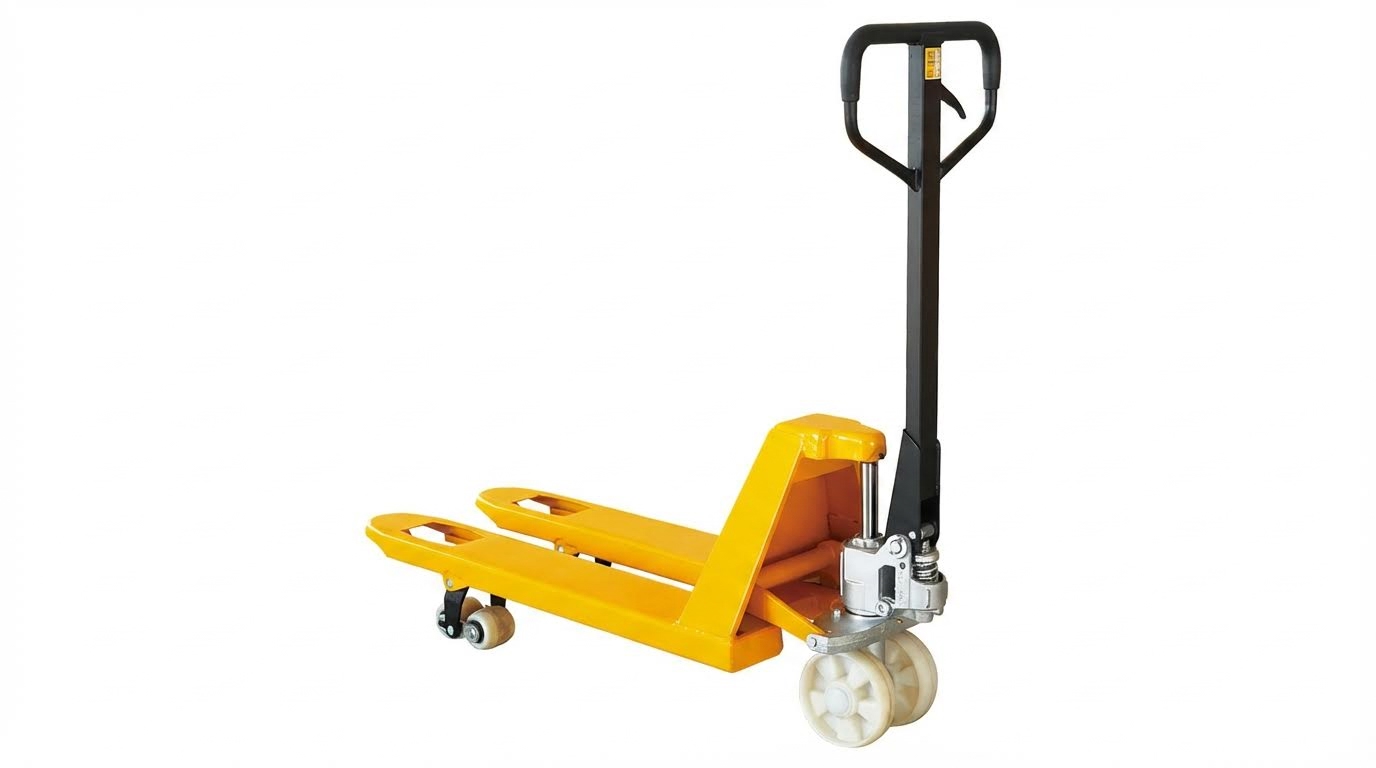
A pallet jack is basically a short, low-lift forklift with two forks, a steering handle, wheels, and a small hydraulic system. Knowing each part and its typical size helps you judge if a jack will physically fit your pallets, doors, and aisles.
| Component | Typical Spec (from sample manual) | Operational Impact |
|---|---|---|
| Rated capacity | ≈2,500 kg (5,500 lbs) rated capacity | Defines maximum safe load; use only on pallets whose combined weight stays below this. |
| Fork length | ≈1,220 mm (48 in) fork length | Designed for standard 1,000–1,200 mm pallets; must fit fully under the pallet for stability. |
| Fork outside width | ≈535 mm (21 in) fork width | Must match pallet opening; too wide and forks will not enter, too narrow and load may rock. |
| Lowered fork height | ≈75 mm (3 in) lowered height | Needs to be lower than pallet entry height; critical for old or damaged pallets. |
| Steer wheel diameter | ≈165 mm (6.5 in) steer wheels | Larger wheels roll easier over cracks and dock plates; improves push force and comfort. |
| Load wheel diameter | ≈75 mm (3 in) load wheels | Small wheels fit under pallets but are sensitive to floor damage and debris. |
- Forks: Two parallel steel blades that carry the pallet – their length and width must match your pallet standard.
- Fork heels and tips: Heel at the pump end, tip at the entry end – damaged tips snag pallets and increase push force.
- Steer wheels: Larger wheels under the handle end – take most of the steering and impact loads.
- Load wheels/rollers: Small wheels at fork tips – lift the pallet and carry front load share.
- Handle/tiller: Long lever for steering and pumping – gives mechanical advantage for lifting and turning.
- Control lever: Small lever on handle for lift / neutral / lower – sets the jack into pumping or lowering mode.
- Hydraulic pump and cylinder: Converts handle strokes into fork lift – critical for reliable, smooth raising of loads.
- Chassis/frame: The welded body tying forks, pump, and handle together – cracks here are a serious structural hazard.
How these parts show up when you use a pallet jack step by step
When you learn how to use a pallet jack step by step, you interact with almost every component in sequence: you steer using the handle and steer wheels, insert the forks to full length under the pallet, pump the hydraulic system to lift, then travel on the steer and load wheels while the frame and forks carry the weight.
💡 Field Engineer’s Note: If operators complain that “this jack is harder to push,” check load wheel diameter and tread first—worn or undersized wheels on rough concrete can increase starting push forces by 30–40%, even when the hydraulics are perfect.
Rated capacity and stability limits
Rated capacity and stability limits tell you how much weight a pallet jack can safely carry and under what conditions. Ignoring these limits is one of the fastest ways to bend forks, blow seals, or lose a load on a ramp.
- Rated capacity label: Shows maximum load, often around 2,500 kg for standard units – never exceed this number, including pallet weight.
- Load distribution: Capacity assumes the load is centered between fork tips and heels – offset or overhanging loads reduce real stability.
- Full fork insertion: Forks must run completely under the pallet – keeps the center of gravity over the fork structure, not hanging off the tips.
- Lift height: You only need about 25–75 mm clearance – higher lift raises the center of gravity and increases tipping risk.
- Floor conditions: Ratings assume firm, level floors – slopes, potholes, and dock transitions effectively derate the system.
- Component condition: Bent forks, worn wheels, or leaking hydraulics reduce safe working capacity – defects must trigger out‑of‑service tagging.
Correct fork positioning and lifting technique requires aligning forks with pallet entry points so both blades enter square and parallel, fully lowering forks before insertion, and pushing until forks sit completely under the pallet with the load centered between tips and heels. Operators then lift the load only to the minimum height that clears floor irregularities—typically 25–75 mm—which keeps the center of gravity low and improves lateral stability during travel. This positioning is a core part of safe capacity use
During transport, operators should maintain a steady pace, avoid sudden movements, and take extra care at corners and narrow spaces to prevent collisions or destabilizing the load. On ramps or dock plates, best practice is to keep the load upgrade when traveling uphill and downgrade when moving downhill, avoid diagonal paths, and travel with forks just clear of the surface to reduce lateral instability and side‑roll potential. These techniques effectively “protect” the rated capacity in real conditions
💡 Field Engineer’s Note: If you routinely move loads close to the nameplate limit, treat 80–90% of rated capacity as your practical ceiling—real floors are never perfectly flat, and a small pothole or dock gap can add shock loads that briefly exceed the design rating.
Step-By-Step Safe Operation Procedures
This section explains how to use a pallet jack step by step so beginners can move loads safely, protect floors, and avoid back injuries. Follow these procedures in order: inspect, position, lift, travel, then park and tag out if needed.
Pre-use inspection and functional checks
Pre-use inspection is a quick 5–7 minute routine that confirms the pallet jack is structurally sound, leak-free, and fully controllable before you go near a load.
- Chassis and forks: Check for cracks, bent blades, twisted fork tips, or damaged welds – Prevents sudden fork failure under load.
- Fork height and straightness: Confirm both fork heels sit parallel and level on the floor – Ensures stable lifting and even load sharing.
- Wheels and rollers: Inspect for flat spots, embedded debris, or cracked tread – Reduces push forces and avoids sudden jerks.
- Steering and handle: Turn the tiller through full travel and check the control lever moves freely – Maintains precise control in tight aisles.
- Hydraulic system: Look for oil on the floor or wet pump housing – Early leak detection prevents no-lift or sudden sinking.
- Lift test (empty): Pump 3–5 strokes and hold; forks should stay at height without sinking – Confirms internal seals and check valves are sound.
- Capacity and labels: Ensure the capacity plate is readable and matches your load – Prevents accidental overloading beyond rated kg.
Typical manual pallet jack check data
One common manual pallet jack has a rated capacity of about 2,500 kg (5,500 lbs) with fork length around 1,200 mm and lowered fork height near 75 mm (3 in). It should steer freely and show no hydraulic leaks during the daily inspection. Daily inspection guidance and specs describe checking steering rotation, hydraulic function, wheel condition, and label legibility at the start of each workday.
💡 Field Engineer’s Note: If the forks slowly sink under a moderate test load, tag the jack out immediately; this “slow leak” is often internal bypass through worn seals and can turn into a sudden drop when you hit a floor joint or ramp.
- Step 1: Park on level ground – Gives a true read on fork height, wheel wear, and oil leaks.
- Step 2: Do a 360° walk-around – Catches damage on fork tips, heels, and pump housing.
- Step 3: Test steering and handle travel – Confirms you can turn and stop without binding.
- Step 4: Pump the handle to full stroke, then hold – Checks hydraulic integrity before lifting real loads.
- Step 5: If you see cracks, leaks, or jerky lifting, tag out – Removes unsafe equipment from service before it hurts someone.
Positioning forks, inserting, and lifting the load
Correct fork positioning and low, controlled lifting keep the pallet stable, protect the forks, and dramatically reduce tipping risk during travel.
- Align with pallet openings: Square the jack to the pallet so both forks line up with the entry gaps – Prevents one fork riding the deck board.
- Forks fully lowered: Drop forks completely before entry – Reduces friction and avoids prying up broken boards.
- Full fork insertion: Push until the forks extend nearly to the far end of the pallet – Places the load over the fork structure, not hanging off the tips.
- Centered load: Keep the load evenly distributed between fork tips and heels – Improves lateral stability and steering control.
- Minimum lift height: Pump only until the pallet clears the floor by about 25–75 mm – Maintains a low centre of gravity and reduces overturning moment.
- Controlled pumping: Use legs and body weight, not just arms, when pumping – Protects shoulders and keeps strokes smooth.
How to use a pallet jack step by step for lifting
To understand how to use a pallet jack step by step during lifting, follow this sequence: align the forks with the pallet gaps, lower forks fully, push until fully inserted, center the load, then pump the handle until you reach the smallest height that clears floor joints and thresholds. Detailed lifting instructions explain pressing the control lever and using a pumping motion to raise the pallet, then releasing the lever to hold height. Load stability guidance stresses full fork insertion and even load distribution to prevent tipping during transport. Pallet positioning and load stability procedures emphasise these same points.
- Step 1: Stop 300–500 mm from the pallet – Gives room to straighten the jack and line up forks.
- Step 2: Lower forks to their minimum height – Ensures clean entry under the pallet deck.
- Step 3: Push straight forward until the pallet almost touches the jack frame – Confirms full fork insertion.
- Step 4: Check that the load is not overhanging one fork – Prevents side loading and twisting.
- Step 5: Pump the handle until the pallet clears the floor by just a few centimetres – Enough to roll, but still low for maximum stability.
💡 Field Engineer’s Note: If you cannot fully insert the forks because of broken stringers or odd skids, do not “make do” with half insertion; that is where we see tip-overs when crossing 10–20 mm floor height changes.
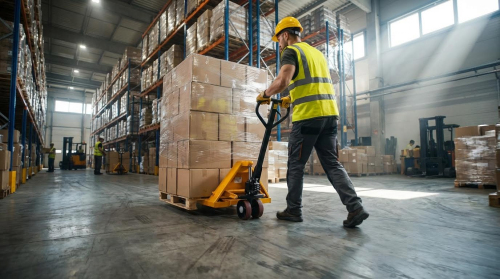
Traveling, pushing vs. pulling, and ramp usage
Safe travel technique is about body positioning, direction of force, and controlling speed, especially when you transition from flat floors to slopes, dock plates, and thresholds.
- Prefer pushing on level floors: Walk behind the load and push the jack using your legs – Uses stronger leg muscles and reduces back strain.
- Use pulling only for short repositioning: Pull slowly when backing out of a rack or tight corner – Improves visibility and avoids twisting your spine under load.
- Keep forks low while moving: Travel with forks just above the floor – Reduces centre of gravity and limits damage if you strike an obstacle.
- Control speed in corners: Slow down and widen your turning radius – Prevents load shift and wheel skidding.
- On ramps uphill: Keep the load uphill of you and push – Prevents the jack from rolling back onto your legs.
- On ramps downhill: Keep the load downhill and stay uphill of the handle – Lets you act as a brake and avoid runaways.
- Avoid diagonal paths on slopes: Travel straight up or straight down – Minimises side-roll and lateral tip-over risk.
Travel and ramp safety details
Travel guidelines for pallet jacks recommend maintaining a steady walking speed, avoiding sudden movements, and taking extra care in narrow spaces and blind corners to prevent collisions or destabilising the load. Transportation guidelines highlight cautious movement around corners and in tight aisles. Best practice on ramps is to keep the load upgrade when moving uphill and downgrade when moving downhill, avoiding diagonal paths and keeping fork height slightly above the surface to maintain control and stability.
- Step 1: Before moving, scan 3–5 m ahead – Identifies pedestrians, floor damage, and obstructions early.
- Step 2: On level floors, stand behind the handle and push – Aligns force with your body and reduces shear on your lower back.
- Step 3: Approaching corners, slow to a walking pace – Gives time to react if someone steps out.
- Step 4: At ramps or dock plates, line up straight and keep the load on the high side – Prevents sideways roll and jack runaways.
- Step 5: Stop well clear of edges and door thresholds, then lower the load before leaving it – Eliminates rolling hazards and ankle-height fork strikes.
💡 Field Engineer’s Note: Manual pallet jacks struggle on even mild slopes if the floor is dusty or smooth; a 1,000 kg load on a 3–4% ramp can require more push force than a single operator can safely generate, so respect your site’s gradient limits and get powered help when needed.
End-of-task parking and tagging out
When you finish using the pallet jack, always lower the forks fully to the floor to remove ankle-height trip hazards and park outside walkways, exits, and emergency routes. On sloped floors, park perpendicular to the slope or use wheel chocks to prevent rolling. If you noticed structural damage, hydraulic leaks, or control problems during use, attach an out-of-service tag, remove the jack from the operating area, and report it according to your site procedures so maintenance can inspect and repair it before the next shift.
Maintenance, Troubleshooting, And Fleet Practices

This section explains how to keep pallet jacks safe and efficient through routine maintenance, quick troubleshooting, and smart fleet practices that directly support how to use a pallet jack step by step in real operations.
Daily and scheduled maintenance routines
Daily and scheduled maintenance keeps pallet jacks lifting smoothly, steering easily, and reduces sudden failures that can injure operators or damage loads.
For beginners learning how to use a pallet jack step by step, a simple, repeatable maintenance routine is as important as correct travel technique. Short, consistent checks catch problems early, when repairs are still cheap and downtime is minimal.
| Task Type | Key Checks / Actions | Typical Interval | Operational Impact |
|---|---|---|---|
| Visual walk-around | Check forks straight, no cracks; handle intact; labels readable (inspection guidance) | Daily (≤7 minutes) | Prevents use of structurally damaged units that can drop loads. |
| Hydraulic function test | Lift and hold a moderate load; check for sinking or jerky lowering (daily checklist) | Daily | Confirms the jack will not unexpectedly drop pallets in use. |
| Wheel and steering check | Inspect steer and load wheels for wear, flat spots, debris; confirm full steering rotation (wheel specs and checks) | Daily | Reduces push forces and avoids sudden jamming in tight aisles. |
| Lubrication of moving joints | Grease wheel bearings, pivot points, and steering joints with specified lubricants (lubrication standards) | Weekly to monthly (usage dependent) | Maintains light steering effort and smooth lifting under full load. |
| Fastener and frame inspection | Check bolts, nuts, and axle retainers for tightness; inspect welds and fork heels for cracks | Monthly or quarterly | Prevents catastrophic failures at welds and axle points. |
| Deep cleaning and corrosion check | Clean under forks, around axles and pump; inspect for rust and apply inhibitors (corrosion measures) | Monthly (more often in wet/chemical areas) | Extends frame life and preserves rated capacity in harsh environments. |
- Daily check: 30-second walk-around plus quick functional test – Ensures the jack is safe before the first pallet moves.
- Weekly tasks: Lubricate joints, check wheel wear, bleed hydraulics if lift is slow – Prevents creeping performance loss.
- Monthly tasks: Deep clean, inspect forks and welds, tighten fasteners – Stops minor defects turning into structural failures.
- Electric extras: Clean battery terminals, inspect charger cord – Reduces electrical faults and charging downtime.
Typical daily inspection flow (under 7 minutes)
1) Walk once around the jack. Look at forks, wheels, handle, and labels. 2) Remove debris from wheels. 3) Pump the handle to full height and lower again. 4) Lift a moderate test load and hold for 10–20 seconds to check for sinking. 5) Tag out and report any oil leaks, bent forks, or steering issues immediately.
💡 Field Engineer’s Note: If operators complain that a pallet jack is “hard to push,” check wheel condition and lubrication first. Worn or dry wheels can double push force, which is a major ergonomic and safety issue long before anything actually breaks.
Hydraulic system care and no-lift diagnosis
Hydraulic system care focuses on clean oil, correct fluid levels, and proper bleeding so the jack lifts to full height without sinking or “no-lift” failures.
The hydraulic circuit in a pallet jack is simple but unforgiving of contamination and air. Most no-lift complaints trace back to a few root causes that a technician can check in a logical order.
| Hydraulic Task / Symptom | Likely Cause | Recommended Action | Operational Impact |
|---|---|---|---|
| No lift or very weak lift | Air trapped in circuit or low fluid level (no-lift conditions) | Cycle handle 15–20 strokes with no load to bleed; check and top up oil with correct grade. | Restores normal lifting without replacing parts if caught early. |
| Jack lifts but slowly sinks under load | Internal bypass from worn seals or check valves (seal issues) | Inspect pump and cylinder seals; replace O-rings and rod seals matched to the model. | Prevents unexpected pallet drop and protects operators’ feet and product. |
| Visible oil on floor or wet pump housing | External leak from damaged seals or scored piston (oil maintenance) | Tag out the jack; replace leaking components, then refill and bleed system. | Eliminates slip hazards and avoids complete hydraulic failure. |
| Jerky or uneven lifting | Contaminated or degraded oil; possible air pockets (fluid checks) | Drain reservoir, flush if needed, refill with specified hydraulic oil, and bleed thoroughly. | Smoother, predictable lifting that protects fragile loads. |
| Normal lift, reduced maximum height | Low fluid level or incorrect fluid volume (manuals specify around 250–300 mL for some units) (oil volume) | Top up to just below fill port with recommended oil; do not overfill. | Ensures forks clear floor irregularities and dock plates reliably. |
- Oil replacement: Change hydraulic oil roughly every 12 months or per manufacturer guidance – Maintains viscosity and protects seals.
- Standardized oil grade: Use one ISO-grade oil plant-wide for temperatures 0–40°C – Reduces seal degradation and mixing errors.
- Bleeding procedure: Always bleed air after any oil change or major leak – Prevents “ghost” no-lift complaints after service.
- Tag-out rule: Any visible hydraulic leak or sinking under load – Immediately remove from service and report.
Step-by-step: basic no-lift troubleshooting
1) Confirm the jack is unloaded and on level floor. 2) Check for visible oil leaks under the pump and cylinder. 3) Verify fluid level at the reservoir; top up if low with the correct hydraulic oil. 4) Cycle the handle 15–20 times through full stroke to bleed air. 5) Test-lift a known load within rated capacity and hold for 30–60 seconds. 6) If the forks still do not lift or they sink, schedule seal and valve inspection and keep the unit tagged out.
💡 Field Engineer’s Note: In cold rooms near 0°C, thick hydraulic oil can mimic a “no-lift” fault because it flows slowly. Before tearing down the pump, move the jack to a warmer area for 30 minutes and retest; if performance improves, switch to an oil grade suited for low temperatures.
Wheels, axles, and corrosion control measures
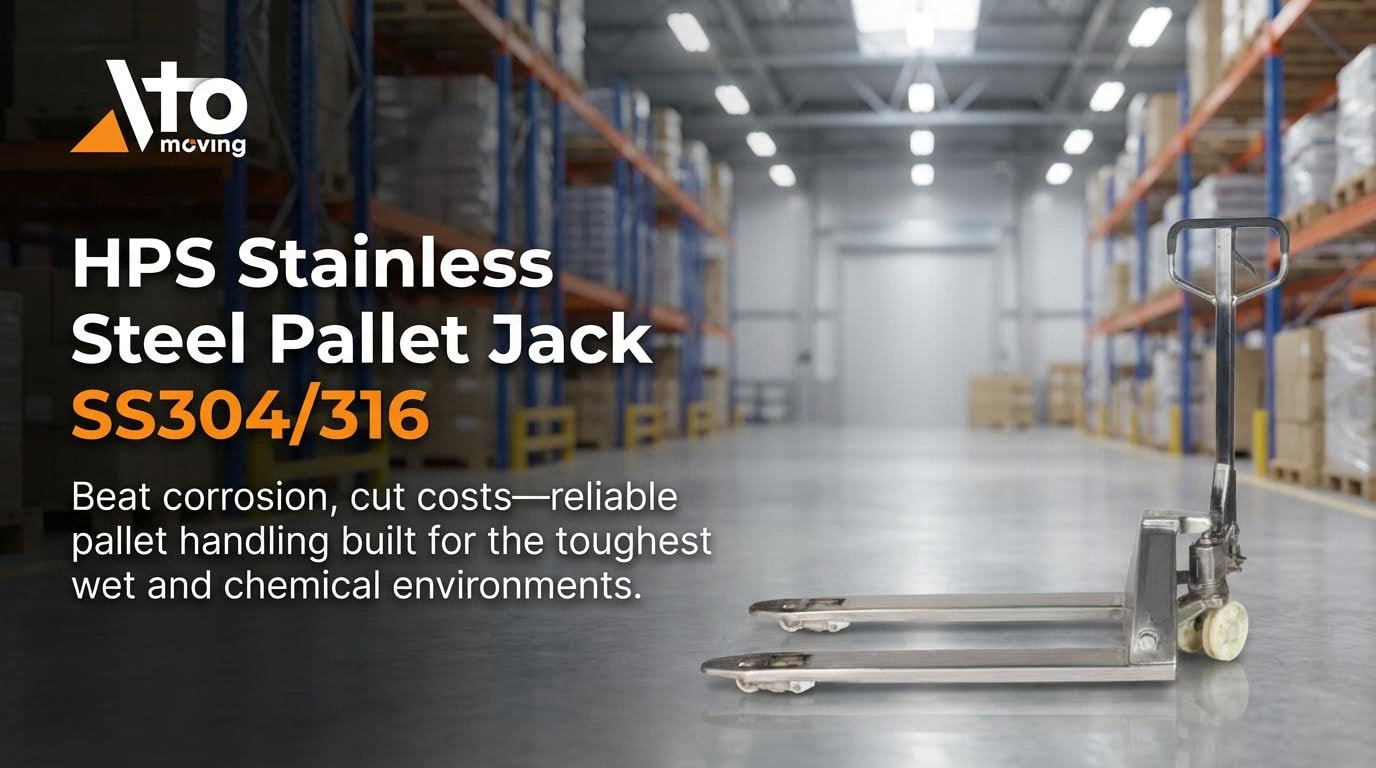
Wheel, axle, and corrosion control work keeps rolling resistance low and protects the steel structure so the jack maintains its rated capacity over years of service.
Wheels are the first point of contact with the floor, and corrosion is the slow, silent killer of frames and forks. Both need structured attention, especially in high-throughput or wet environments.
| Component / Area | Common Issues | Preventive Actions | Operational Impact |
|---|---|---|---|
| Steer wheels (≈165 mm diameter) and load wheels (≈75 mm diameter) (typical sizes) | Flat spots, cracked tread, embedded debris, high rolling resistance | Inspect daily; remove debris; replace worn or damaged wheels; lubricate bearings weekly or monthly. | Lowers push/pull force and reduces risk of sudden wheel failure under load. |
| Wheel axles and bearings | Abrasion, misalignment, seized bearings (wheel and axle maintenance) | Use specified greases or silicone sprays; verify axle fit and bearing condition; tighten axle fasteners. | Ensures smooth tracking and prevents the jack from “dragging” sideways. |
| Fork heels and underside | Impact damage, paint loss, rust initiation | Monthly cleaning; inspect for gouges and pitting; touch up coatings and apply corrosion inhibitors. | Preserves fork strength where bending stresses are highest. |
| Frame, pump housing, and welds | Rust in humid, coastal, or chemical areas (corrosion control) | Hot-water wash with mild detergent; thorough drying; apply heavy-duty inhibitors to welds and axle mounts. | Slows structural degradation and extends safe service life. |
| Wheel material selection | Excessive noise, floor marking, poor life on rough floors | Use polyurethane wheels where compatible for lower rolling resistance and longer life on smooth floors. | Improves ergonomics and reduces floor damage in warehouses. |
- Daily wheel check: Spin each wheel and look for wobble or debris – Prevents sudden jams under a loaded pallet.
- Scheduled lubrication: Follow plant lubrication standards for axles and pivots – Keeps steering light and predictable.
- Corrosion hotspots: Focus on fork heels, weld toes, and axle mounts – These are the first areas to lose capacity from rust.
- Cleaning method: Avoid pressure-washing near seals and electronics – Reduces water ingress into bearings and hydraulic components.
Practical corrosion-control routine for wet or food areas
1) At shift end, hose off heavy contamination with low-pressure warm water and mild detergent. 2) Raise forks slightly to expose wheel and axle areas; scrub under forks and around the pump base. 3) Dry with compressed air or clean rags, especially at welds and axle mounts. 4) Apply a thin film of approved corrosion inhibitor to bare or previously rusted steel. 5) Record units with advanced pitting or flaking for engineering review and possible removal from service.
💡 Field Engineer’s Note: If you track push-force complaints by unit number, you will almost always find the worst offenders have flat-spotted load wheels and dry axles. Replacing a set of wheels is far cheaper than dealing with a musculoskeletal injury claim from excessive manual effort.

Final Thoughts On Safe And Efficient Pallet Jack Use
Safe pallet jack use depends on matching the right equipment to the job, then operating within its mechanical limits every shift. Fork dimensions, wheel sizes, and rated capacity are not just catalog data; they define where the jack can go, what it can carry, and how close you are to a tip‑over or structural failure. When operators align forks correctly, fully insert under the pallet, and lift only a few centimetres, they keep the centre of gravity low and protect both frame and load.
Daily inspections, hydraulic care, and wheel maintenance turn that design safety into real‑world reliability. Teams that tag out leaking or cracked units, bleed air after oil work, and replace worn wheels early avoid sudden drops and excessive push forces. Good travel habits on slopes and dock plates then close the loop, keeping operators out of crush zones and away from runaways.
The best practice for operations and engineering teams is clear: standardise on pallet jacks whose geometry fits your pallets and aisles, train to one simple step‑by‑step method, and enforce short, routine checks. With that foundation, an Atomoving pallet jack can move heavy loads day after day while protecting people, floors, and product.
Frequently Asked Questions
How to Operate a Pallet Jack Step by Step?
To operate a pallet jack, start by locating the release lever and moving the pallet jack towards the load. Engage the lever to lower the prongs and position them under the pallet. Use the handle to lift the load by moving it to the “down” position. Pallet Jack Guide.
- Move the handle to the “neutral” position to transport the load safely.
- To lower the load, move the handle to the “up” position once you’ve reached the desired location. Pallet Jack Operation Tips.
How to Operate a Pallet Jack on an Incline?
When using a pallet jack on an incline, always keep the pallet jack in front of you for better control. If frequent use on ramps is required, ensure the pallet jack is equipped with brakes. Secure the load properly to prevent slipping or shifting during movement. Incline Safety Guidelines.