Knowing how to use a pallet lifter safely requires more than just picking up a pallet and moving it. This guide explains the core components and setup of manual pallet jack attachments, their load capacity limits, and how load center and ground conditions affect stability. It also details safe lifting angles and operating techniques for different load types and operator conditions. Finally, it summarizes best practices and compliance considerations so engineers and operators can specify, set up, and operate hydraulic pallet truck lifters with confidence.
Core Components and Setup of Pallet Lifters

Understanding core components and setup is the first step in learning how to use a manual pallet lifter safely and efficiently. The attachment type, mounting method, and machine configuration directly affect capacity, visibility, and stability. Correct installation and systematic inspections reduce tip-over risk and structural failures. Hydraulic, tire, and track settings then fine-tune the system for the specific terrain and duty cycle.
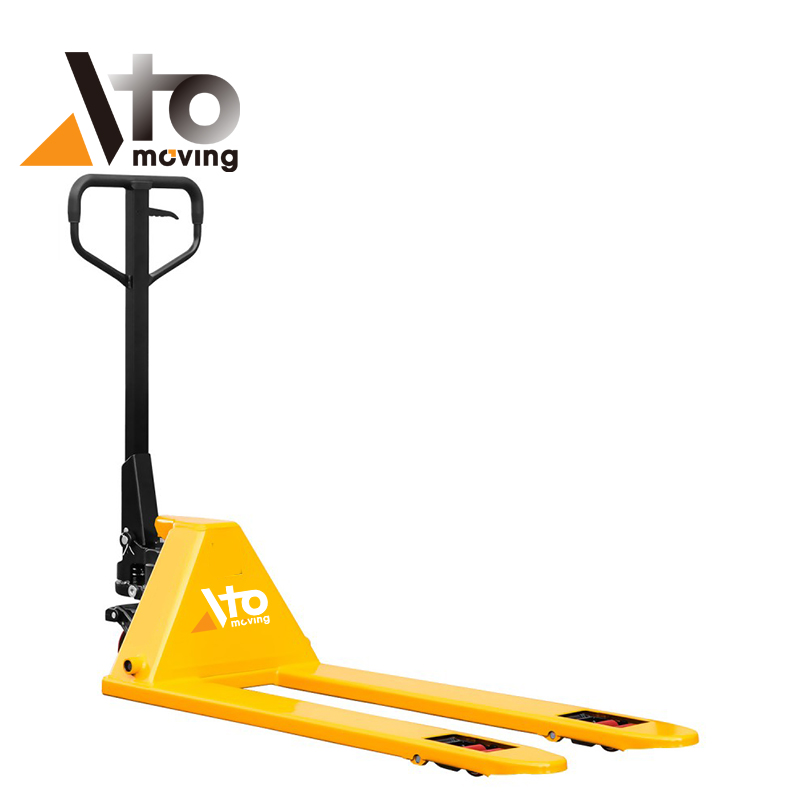
Types of Pallet Lifter and Fork Attachments
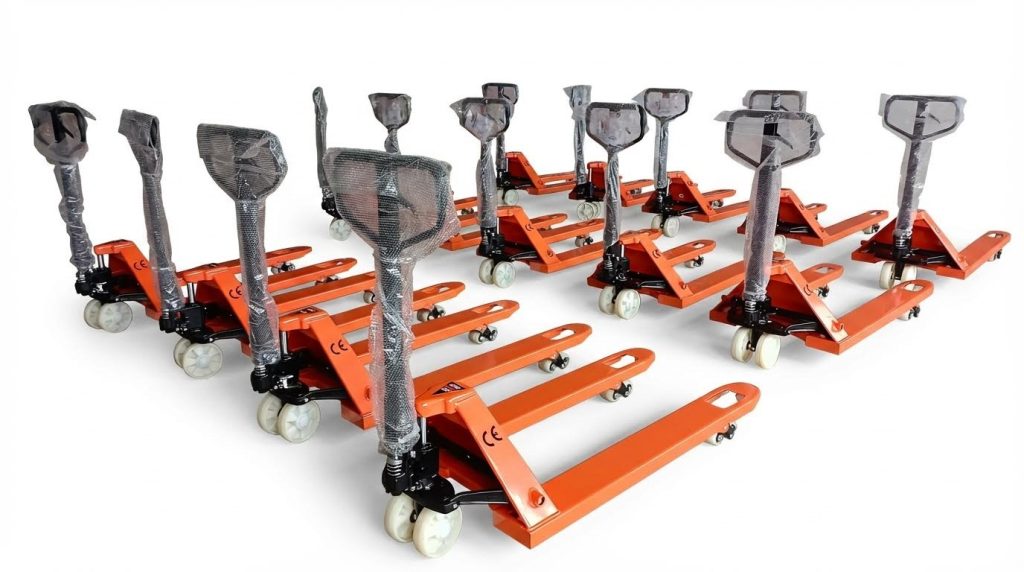
Pallet lifters for loaders and tractors included frame-mounted forks, clamp-on bucket forks, and dedicated carriage systems. Frame-mounted forks attached directly to the quick-attach plate and preserved most of the machine’s rated capacity while improving operator visibility. Bucket-mounted or clamp-on forks bolted to the bucket lip, installed quickly, and converted light loaders into basic forklifts, but typically reduced effective capacity by about 30%. Adjustable tine spacing allowed operators to match fork width to pallet dimensions, improve load distribution, and avoid concentrating weight on a single tine. Heavy-duty forks handled 900–2,500 kg, while light-duty versions suited infrequent or low-mass loads such as seed pallets or fencing bundles.
Correct Installation on Loaders and Tractors
Correct installation started with verifying compatibility between the pallet lifter attachment and the loader or tractor quick-attach system. Operators positioned the machine on level ground, lowered the boom, and engaged the attachment plate fully before locking the pins or latches. For clamp-on forks, installers slid the fork sleeves over the bucket edge, aligned both tines symmetrically, and tightened clamping bolts uniformly to prevent slippage under load. After mounting, they checked that the back frame or heel of the forks seated firmly against the bucket or carrier to minimize flex. A short test lift with a low, light pallet confirmed that the attachment remained locked, the hydraulic functions responded correctly, and visibility to the fork tips was adequate.
Pre-Use Inspection and Maintenance Checks
Pre-use checks were essential for anyone asking how to use a hydraulic pallet truck without unexpected failures. Operators inspected fork tines for cracks at the heel, distortion, or excessive wear at the tips, since these areas carried the highest bending stresses. They confirmed that locking pins, quick-attach latches, and clamp bolts were present, correctly seated, and free from deformation. Hydraulic hoses, cylinders, and couplers were checked for leaks, abrasion, or damaged fittings, especially where hoses flexed during tilt and lift. Daily inspections also included verifying that all fasteners on frames and side-shift mechanisms were tight, and that any moving fork carriages or channels were lubricated according to the maintenance schedule. Detecting damage early prevented progressive cracking and reduced the risk of sudden structural collapse during a lift.
Hydraulic, Tire, and Track Setup for Stability
Hydraulic configuration influenced how smoothly and predictably a pallet lifter handled rated loads. Machines with hydraulic flow below about 0.9 L/s achieved slower lift speeds, which improved fine control but reduced productivity on repetitive cycles. Operators set engine speed and flow controls to allow gradual feathering of lift and tilt, avoiding abrupt movements that could destabilize tall or fragile loads. Tire or track condition played a major role in stability, particularly on uneven or soft ground. Correct tire inflation preserved the designed contact patch and kept the machine level, while underinflation increased sidewall flex and lean. Track loaders provided a larger footprint and lower ground pressure, which improved stability on mud or gravel compared with wheeled loaders. Before lifting, operators evaluated ground slope and avoided operating with significant cross-slope, since even small lateral angles combined with elevated loads increased tip-over risk.
Load Capacity, Load Center, and Stability Limits
Understanding load capacity, load center, and stability limits is critical when learning how to use a pallet lifter safely and efficiently. These factors governed whether a loader, tractor, or skid-steer could lift a palletized load without structural damage or tip-over risk. Operators who respected rated capacity, used correct load centers, and evaluated ground conditions reduced incidents significantly. This section explained how to interpret capacity ratings in practice and apply them to real job-site conditions.
Rated Capacity, Attachment Weight, and Derating
Rated capacity defined the maximum load the base machine could lift at a specified load center and lift height. When a pallet lifter or fork attachment was installed, its own mass reduced the remaining usable capacity. Operators had to subtract the attachment weight and any additional frames from the machine’s rated capacity to obtain real working capacity. For example, if a compact loader had a rated capacity of 1,800 kg at a 500 mm load center, and the pallet lifter plus frame weighed 300 kg, the maximum pallet load dropped to about 1,500 kg.
Bucket-mounted or clamp-on forks typically caused a larger derating than frame-mounted forks because they shifted the load further forward. Field data indicated capacity reductions of up to 30% for bucket-mounted forks compared with dedicated carriage forks. This forward shift increased the overturning moment around the front axle or track contact line. Operators therefore had to treat the machine as lighter, use conservative load estimates, and avoid lifting to maximum height when nearing the derated limit.
Load Center, Load Charts, and Real Capacity
The load center was the horizontal distance from the fork vertical face to the load’s center of gravity. Standard ratings often used 500 mm load centers for palletized loads, but long or irregular loads moved the center further out. As load center increased, the allowable capacity decreased according to the machine’s load chart. For example, a machine that lifted 2,500 kg at a 500 mm load center might only lift 1,200 kg at 1,000 mm.
Operators had to read the loader or telehandler load chart, not rely on nominal “lift capacity” from brochures. Charts usually plotted capacity versus lift height and reach, with separate curves for different load centers. When learning how to use a manual pallet jack correctly, operators estimated the load length, calculated or approximated the center of gravity, and selected the appropriate curve. If the operating point fell outside the chart envelope, the lift was unsafe, even if the rated capacity number seemed adequate.
Real capacity also depended on hydraulic performance. Low hydraulic flow, for example below roughly 0.9 L/s, slowed lifting but did not increase capacity; structural and stability limits still governed. Operators had to avoid “testing” capacity by forcing the hydraulics at relief pressure, because this practice accelerated wear and could mask dangerous instability until too late.
Load Distribution, Off-Center Loads, and Tip Risk
Correct load distribution across the forks was essential for both structural integrity and stability. The ideal condition placed the pallet square on both tines, with the load centered laterally and packed so that the center of gravity sat near the fork carriage centerline. Even when total mass remained below capacity, a heavily unbalanced load could overload one fork or one side of the axle. This imbalance increased the likelihood of fork bending, frame distortion, or side-tip incidents.
Off-center loads shifted the combined center of gravity sideways relative to the machine’s support polygon. On wheeled loaders, this polygon was defined by the tire contact patches; on tracked machines, by the track footprint. As the lateral offset grew, the side-tip margin decreased, especially when turning or operating on a cross-slope. Long, asymmetric loads such as lumber bundles or roofing packs were particularly sensitive to side loading. Operators should reduce speed, avoid sharp steering inputs, and keep such loads as low as possible during travel.
Concentrating weight on a single fork tine was a frequent misuse that led to localized overstress. Manufacturers specified that loads be shared between both tines unless the attachment was explicitly rated for single-tine operation. Repeated single-tine loading could cause undetectable fatigue cracks, which later propagated to sudden fork failure under moderate loads.
Ground Conditions, Slopes, and Lift Path Effects
Ground conditions strongly influenced the practical stability of hydraulic pallet truck mounted on loaders and tractors. Firm, level surfaces provided the widest stability margin, while soft soil, mud, or gravel reduced effective contact area and increased sinkage. Tracked machines typically offered better flotation and lateral stability than wheeled machines on soft ground. Before lifting, operators evaluated whether the surface could support the combined mass of machine and load without differential settlement.
Slopes introduced additional overturning components. Industry guidance recommended avoiding loaded travel on slopes steeper than approximately 10 degrees; lower limits applied for high or long loads. Traveling uphill or downhill with the load facing uphill improved stability, but side slopes remained particularly hazardous due to lateral center-of-gravity shift. When learning how to use a pallet lifter on uneven terrain, operators planned routes that minimized cross-slope segments and avoided sudden steering corrections.
Lift path geometry also mattered. Vertical-lift linkage provided more consistent capacity through the stroke compared with radial-lift designs, which moved the load forward at mid-height and reduced stability. Operators referred to the machine’s load chart, which accounted for this path, to determine safe lift heights for a given load. Keeping the load low during travel, raising only at the final position, and avoiding abrupt boom movements reduced dynamic effects and tip-over risk.
Safe Lifting Angles and Operating Techniques
Safe lifting angles determine how to use a pallet lifter without exceeding stability limits. Operators must control approach, fork tilt, lift height, and travel speed to keep the center of gravity inside the loader’s stability triangle. Correct technique reduces tip-over risk, protects the pallet lifter structure, and improves cycle efficiency on site.
Approaching, Engaging, and Centering the Pallet
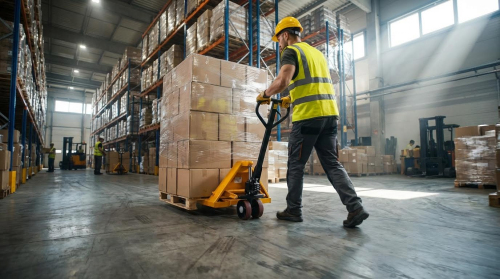
Approach the pallet square to the face, with the machine aligned in the travel direction. Keep the mast or loader arm vertical and forks level with the entry openings. Enter at low speed, ideally walking pace, to avoid striking or shunting the pallet. Drive forward until the forks extend close to the full pallet depth, not only under the leading deck boards. Adjust fork spacing so each tine carries similar load and sits under the heaviest stringers. Check that the pallet and load sit within the carriage width and do not overhang excessively on one side. If the load is offset, back out and re-approach; do not try to correct a badly positioned pallet with steering alone.
Fork Tilt, Lift Height, and Transport Position
Once the forks fully engage, lift only enough to clear the ground by 50–100 mm. Apply a slight rearward tilt to lock the load against the backrest or frame and move the combined center of gravity closer to the machine. Avoid excessive rear tilt with tall or top-heavy loads because it can increase the risk of load shedding. During travel, keep the pallet low, typically less than 0.6 m above ground, to meet common safety guidance and maintain a low center of gravity. Raise the pallet to working height only when stationary and on level, firm ground. When stacking, use minimal forward tilt and precise inching to place the pallet without pushing racks or adjacent loads.
Handling Long, Asymmetric, and Unstable Loads
Long loads such as lumber or pipe increase the load center distance and reduce real capacity, even when the weight is within the rated value. Widen the fork spacing as much as the carriage allows and position the load symmetrically over both tines. For asymmetric loads, estimate the heavy side and bias the forks slightly under that region while still keeping the visual center aligned with the machine. Reduce lift height and travel speed with unstable or poorly wrapped loads to limit sway and shifting. Use additional restraints such as straps or blocking for tall, multi-layer, or shrink-wrap-damaged pallets. If the load blocks forward visibility, travel in reverse where site rules allow and use a spotter in congested areas.
Operator Skill, Ergonomics, and Fatigue Effects
Operator skill strongly affects how to use a manual pallet jack safely over a full shift. Skilled operators use smooth, progressive hydraulic inputs, which limit dynamic load transfer and pallet sway. They plan lift paths to avoid tight turns on slopes and keep the machine within recommended gradient limits, typically less than 10° when loaded. Good ergonomics reduce fatigue; the operator should adjust seat, controls, and mirrors to maintain neutral spine posture and clear visibility. Training should stress staying close to the load when ground-handling, bending more at the knees and less at the lumbar spine. Fatigued operators tend to rush, oversteer, and misjudge clearances, so work-rest cycles and rotation of high-intensity tasks are important. Structured, task-specific training and periodic refreshers help maintain safe habits and consistent performance.
Summary of Best Practices and Compliance Considerations

Using a pallet lifter safely requires disciplined adherence to capacity limits, correct technique, and regulatory rules. Operators should understand rated capacity, attachment weight, and load center before any lift. Always subtract attachment mass from the machine’s maximum rating and consult the load chart for the actual configuration. Treat off-center or long loads as effectively heavier because they shift the load center forward and reduce stability.
For how to use a pallet lifter in daily work, start with a documented pre-use inspection. Check forks for cracks, bent tines, and worn heels. Verify secure latching of the attachment, correct tire or track pressure, and leak-free hydraulics at hoses and cylinder seals. Lubricate sliding and pivot points at the intervals specified in the manual. Remove from service any pallet lifter that shows structural damage or hydraulic defects until a qualified technician inspects it.
Safe operation focuses on approach, angle, and travel height. Approach the pallet square, insert forks fully, and center the load across both tines. Lift smoothly, then tilt slightly back to stabilize the load. During travel, keep the pallet low, typically less than 0.6 m above ground, and avoid slopes greater than about 10° when loaded. Never turn sharply on a grade or carry unstable, loosely stacked loads at head height.
Compliance considerations extend beyond technique. Construction and industrial sites followed requirements equivalent to OSHA 29 CFR 1926.602, including operator training, certification, and documented inspections. Training programs should integrate ergonomic principles that reduce lumbar flexion and keep the operator close to controls and load, especially for repetitive tasks. Future practice will likely combine telematics, stability sensors, and geo-fenced speed limits to further reduce tip-over incidents and overloads while still relying on well-trained operators to make final safety decisions.