This guide explains how to lift a pallet jack safely, lower loads in control, and move pallets without damaging people, product, or floors. You will learn the core mechanics, inspection steps, and route-planning habits that prevent tip-overs, foot injuries, and back strain. We translate rated capacities, load centers, and floor conditions into clear, practical rules you can apply on every shift. Whether you use manual or electric pallet jacks, the focus is simple: safe, efficient handling in real warehouses and docks.
Core Principles Of Safe Pallet Jack Operation
Core principles for safe pallet jack operation focus on matching the right truck to the job, staying within rated capacity and load center limits, and using proper PPE and training every time you lift, lower, and move a pallet.
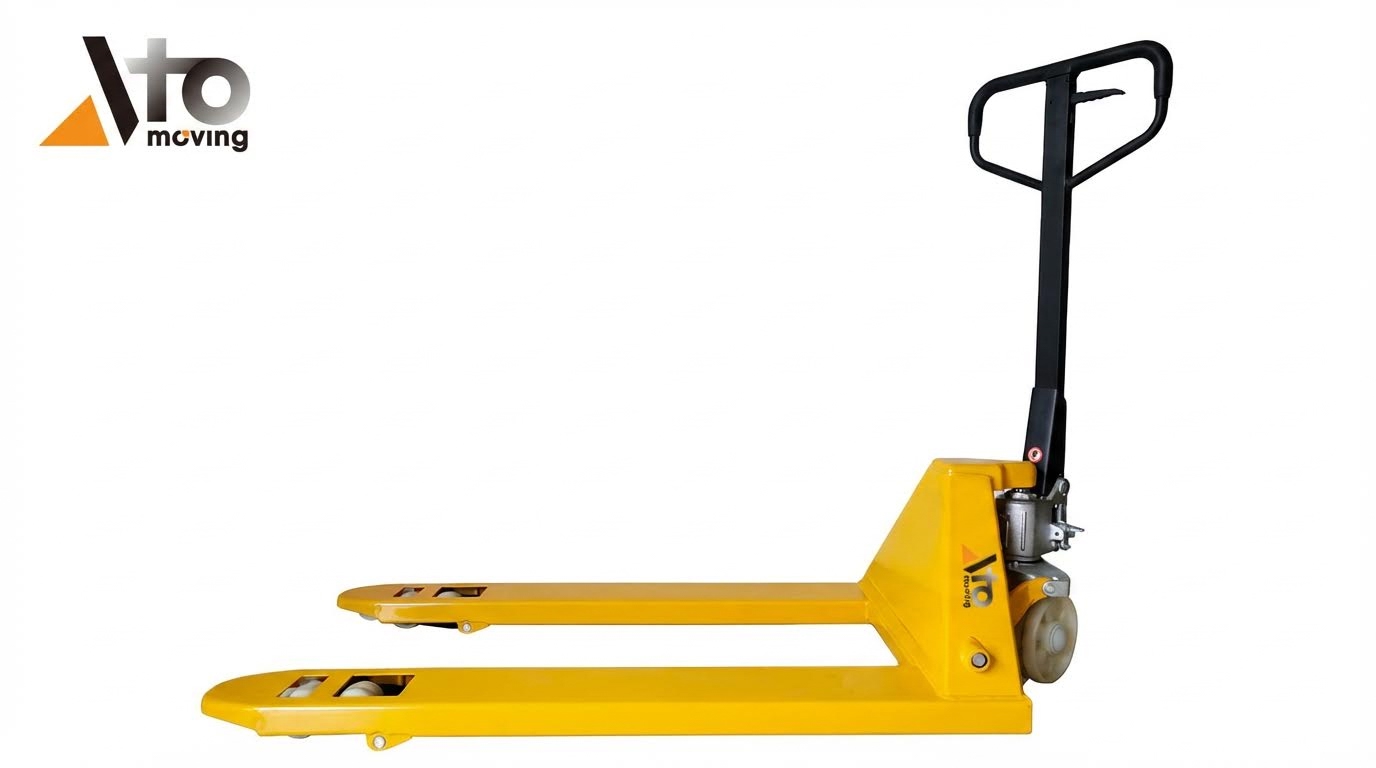
Manual vs. Electric Pallet Jack Capabilities
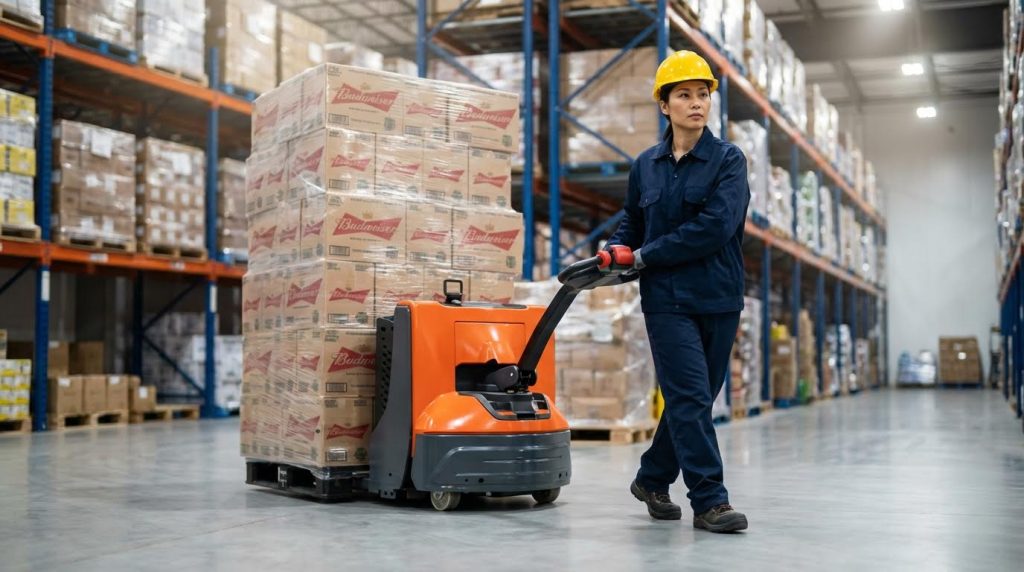
Manual and electric pallet jacks handle similar loads, but their capabilities, ergonomics, and best-use scenarios are very different and must guide how you plan routes and choose equipment.
| Feature | Manual Pallet Jack | Electric Pallet Jack | Operational Impact / Best For… |
|---|---|---|---|
| Typical rated capacity | 1,000–5,000 kg (manual range) | 1,000–2,500 kg (electric range) | Manual suits heavier single moves; electric suits frequent handling of moderate loads. |
| Load center (typical rating) | Often 600 mm assumed | Standard 600 mm load center for nameplate rating (electric spec) | Both lose stability with long or overhanging loads; route planning must reflect this. |
| Power source | Human push/pull and pump strokes | Battery-powered drive and lift | Electric reduces operator fatigue on long runs and slopes. |
| Best travel distance | Short runs on flat floors (short travel guidance) | Medium to long runs, frequent cycles (throughput benefit) | Choose electric for high-throughput aisles and dock work; manual for spot moves. |
| Push / pull forces | High at 2,000–3,000 kg on rough floors | Greatly reduced by powered drive (reduced forces) | Electric mitigates back and shoulder strain in repetitive operations. |
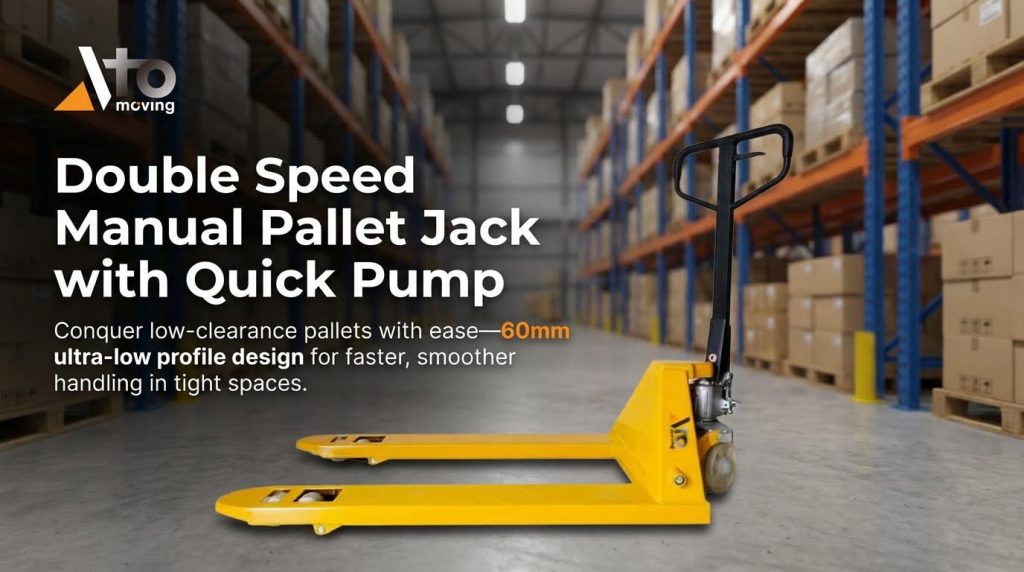
| Typical fork lift height | ≈25–50 mm clearance via manual hydraulic pump (fork lift range) | Similar clearance, powered lift | Both only lift just enough to clear floor joints; they are not stackers. |
| Ideal applications | Occasional moves, tight spaces, light-duty shifts | High-volume loading bays, long aisles, multi-shift use | Match jack type to duty cycle to avoid fatigue and downtime. |
- Capability planning: Treat manual units as short-range tools – they are not designed for all-day 2,500 kg runs.
- Ergonomics: Electric units reduce push forces and repetitive handle pumping – this directly cuts strain injuries.
- Floor dependence: Manual jacks suffer most on rough or sloped floors – electric drive masks some friction but not stability limits.
- Control complexity: Electric jacks add brakes, travel controls, and emergency stops – this raises the training requirement.
How to choose between manual and electric for your site
Estimate average load (kg), travel distance (m), and cycles per shift. Above a few hundred loaded meters per shift or frequent 1,500–2,500 kg moves, an electric unit usually pays back in reduced injuries and higher throughput.
💡 Field Engineer’s Note: In cold rooms near 0°C, manual jacks quickly become hard to push as oil thickens and floor friction rises, while electric units keep moving but still respect the same stability and stopping-distance limits.
Rated Capacity, Load Center, And Stability Limits
Rated capacity, load center, and stability limits define the real safe envelope of a pallet jack, and ignoring them is the fastest way to bend forks, lose braking, or tip a load.
| Parameter | What It Is | Typical Value / Rule | Operational Impact |
|---|---|---|---|
| Rated capacity | Maximum safe load mass from data plate | ≈1,000–5,000 kg depending on model (capacity ranges) | Exceeding this risks structural failure and brake loss. |
| Load center | Distance from fork heel to load center of gravity | Standard rating assumes 600 mm load center (600 mm spec) | Long or overhanging loads push the center forward and reduce safe capacity. |
| Fork lift height | Vertical travel of forks when raised | ≈25–50 mm clearance above floor (lift range) | Higher than necessary lift increases tipping leverage without benefit. |
| Floor condition | Friction, levelness, and defects | Smooth, level concrete is preferred; wet/oily floors are high risk (floor impact) | Low friction increases stopping distance and reduces steering control. |
| Route slopes | Ramps, dock plates, and gradients | Gravity shifts center of mass downhill on slopes (slope behavior) | Operator must stay on the high side and avoid turning on ramps. |
- Data plate discipline: Always read the rated capacity and load center before using a new jack – this is your primary stability limit.
- Load geometry: A 1,000 kg long load can be more dangerous than a 1,500 kg compact one – because the center of gravity moves forward.
- Pallet condition: Broken or missing deck boards concentrate load at fork tips – this can exceed local capacity even if total kg is within the rating.
- Floor effects: Rough or damaged floors increase push force and can snag wheels – this leads to sudden stops and load shift.
How to check if a load is within safe limits
Confirm the load mass from paperwork or labeling. Compare it to the data plate capacity at 600 mm load center. Check that the pallet allows full fork insertion and that the load does not overhang so far that most weight sits beyond mid-fork. If in doubt, reduce load or use higher-capacity equipment.
💡 Field Engineer’s Note: Most tip-overs I investigated were under the nameplate kg but over the real limit because the operator only looked at mass and ignored the longer load center and the slope they were on.
PPE, Training, And Compliance Requirements
PPE, training, and compliance requirements ensure that when something goes wrong with a pallet jack move, the operator’s body and legal exposure are both protected.
- Foot protection: Safety shoes with toe protection are mandatory – pallet jacks concentrate several thousand kilograms onto small wheel footprints.
- Hand protection: Snug gloves with good grip improve handle control – especially in cold rooms where bare hands lose strength quickly (PPE guidance).
- Clothing: Close-fitting work clothes prevent snagging on pallets or racks – loose garments can pull operators off balance.
- Hearing and visibility: Hearing protection is needed in noisy areas, and high-visibility vests help others see operators – this reduces collision risk in busy aisles.
- Fitness to operate: Operators must not use pallet jacks if dizzy, fatigued, or impaired – reaction time and judgment are critical when loads start to move (impairment warning).
- Control knowledge: Operators must understand raise, neutral, and lower positions and any brake or emergency features – this is foundational to knowing how to lift a pallet jack safely and how to lower it under control.
- Formal training: Motorized pallet jacks require structured training, evaluation, and written authorization under powered industrial truck rules, while manual jacks still need documented instruction on safe lifting, moving, and emergency response.
- Refresher triggers: Incidents, near-misses, or equipment changes should trigger refresher training – this keeps techniques aligned with current risks.
- Communication protocols: Verbal calls and hand signals in shared aisles prevent foot strikes and side impacts – especially when visibility is blocked by tall loads.
Minimum training topics for new pallet jack operators
Cover equipment identification, reading the data plate, rated capacity and load center, how to lift a pallet jack (handle positions, pump strokes, and safe lift height), route and floor assessment, ramp and dock rules, PPE requirements, and parking / shutdown. For electric units, add battery charging, brake checks, and emergency stop use.
💡 Field Engineer’s Note: The fastest safety win I have seen is a 20-minute refresher focused only on foot placement and handle control; it dramatically cut crushed-toe incidents without buying a single new truck.
Mechanical Setup, Lifting, And Travel Techniques
This section explains how to lift a pallet jack safely by understanding its components, doing fast inspections, and using correct lifting and travel techniques for stable, low-effort operation. It connects real-world handling to the physics of load, hydraulics, and floors.
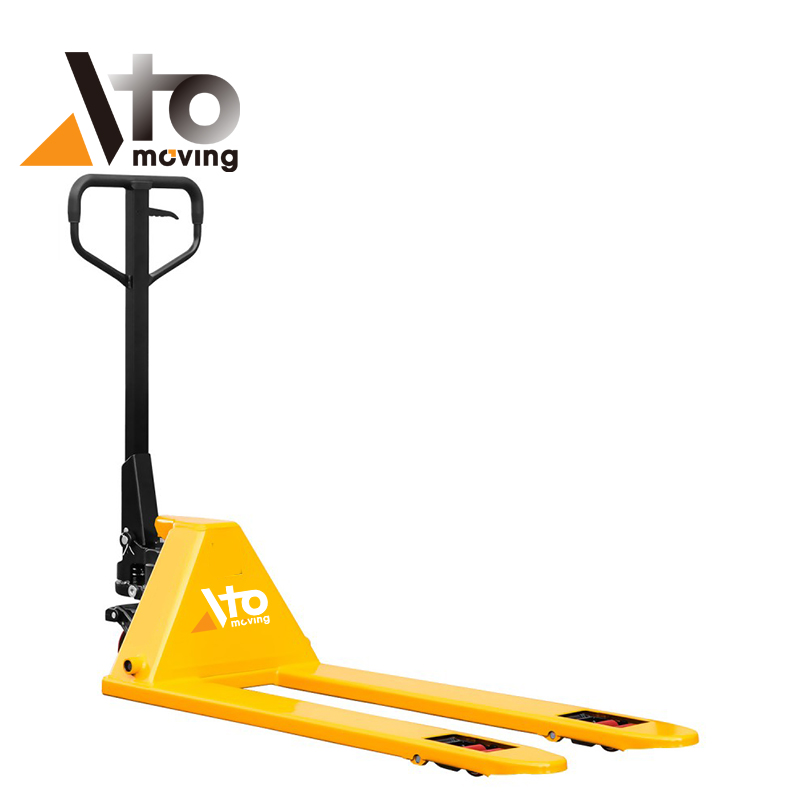
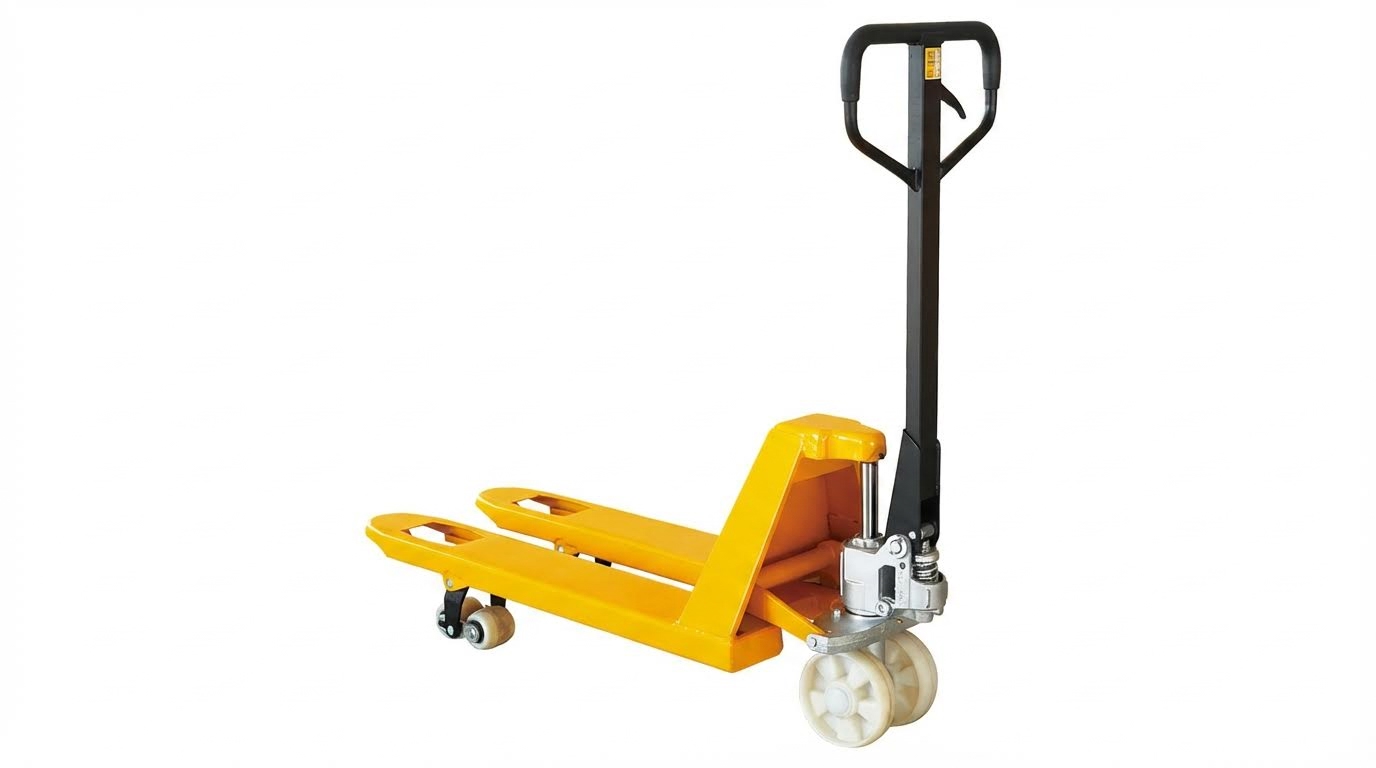
Key Components: Forks, Hydraulics, And Wheels
Knowing each mechanical component is the foundation of how to lift a pallet jack safely and avoid overload, tip, or “no-lift” faults.
- Frame and Chassis: Rigid steel structure carries the load into wheels – Controls deflection and keeps forks level under 1,000–5,000 kg loads.
- Fork Blades: Typically 800–2,000 mm long, sized to pallet openings – Full fork support keeps the load center within the safe 600 mm range.
- Fork Heels and Tips: Heels take bending, tips guide into pallet – Damage here is an early warning of overload or impact.
- Hydraulic Pump Unit: Converts handle strokes into oil pressure – Provides 25–50 mm fork lift for ground clearance without raising the center of gravity too high under typical designs.
- Control Handle: Steering tiller plus raise/neutral/lower controls – Gives leverage for steering and precise lowering control.
- Steer Wheels: Usually larger polyurethane-tread wheels at the handle end – Carry a high share of load and affect turning effort and floor marking on smooth floors.
- Load Rollers: Small wheels under fork tips – Climb pallet entry points and carry concentrated loads at fork ends.
- Linkages and Pivot Pins: Connect handle motion to pump and lowering valve – Wear here causes sloppy control or failure to lift/lower when commanded and needs periodic lubrication and pin replacement.
| Component | Typical Spec / Range | Engineering Role | Operational Impact |
|---|---|---|---|
| Fork length | 800–2,000 mm | Defines pallet compatibility and load support span | Longer forks support long pallets but need wider aisles for turning. |
| Lift height (clearance) | ≈25–50 mm | Raises pallet just off floor | Enough to clear joints and debris without making the load unstable. |
| Rated capacity (manual) | ≈1,000–5,000 kg | Max safe load at rated load center | Choose model to match heaviest pallets and duty cycle. |
| Rated capacity (electric) | ≈1,000–2,500 kg at 600 mm load center | Motorized lifting and travel | Reduces push forces and suits long horizontal runs |
| Load center | 600 mm (standard) | Distance from fork heel to load CG for rating | Long or off-center loads reduce real safe capacity. |
| Wheel tread | Polyurethane common | Controls rolling resistance and floor wear | Smoother rolling on concrete and less floor damage. |
💡 Field Engineer’s Note: When operators complain that “this jack is heavy to move,” I first check wheel material and debris. A few nails in load rollers or worn polyurethane tread can add 30–40% to push force, even if the hydraulics are perfect.
How these components affect how to lift a pallet jack
When you learn how to lift a pallet jack correctly, you are really managing three things: fork geometry, hydraulic health, and wheel condition. Healthy hydraulics give smooth lift, straight forks keep the load center inside the safe triangle, and clean wheels keep rolling resistance low so you do not exceed safe push/pull forces.
Pre-Use Inspection And Hydraulic Function Checks
A fast, structured pre-use inspection is the safest way to confirm how to lift a pallet jack without hydraulic failure, sudden drop, or steering loss.
- Walk-around visual check: Look at forks, frame, wheels, and handle – Spots cracks, bends, and missing parts before they fail under load.
- Hydraulic leak check: Inspect pump area and under-chassis for oil – Oil on the floor signals seal failure and future “no-lift” or sudden lowering that must be repaired.
- Control positions: Test lower, neutral, and raise – Ensures the valve block responds cleanly before you get under a rack or into a truck.
- Empty-lift test: Pump handle several times with no load – Verifies forks rise evenly and hold height without creeping down during a short observation.
- Bleed trapped air (if needed): With forks lowered, pump 4–6 times – Restores firm lift if air has entered the hydraulic circuit after storage.
- Rating plate check: Confirm capacity and load center marking – Makes sure your planned load mass and geometry are within limits.
- Wheel and roller spin: Turn wheels and check for flat spots or debris – Prevents jamming and sudden steering changes under load by catching embedded nails or plastic.
- Fork straightness: Sight along forks or use a straightedge – Detects twist or permanent bend that shifts the load center and increases tip risk on heavy-use units.
- Step 1: Park on level, clear floor – Gives a true reading of fork height and wheel condition.
- Step 2: Check under pump and along forks for oil and cracks – Prevents lifting with a compromised structure or hydraulic circuit.
- Step 3: Cycle handle through lower, neutral, raise – Confirms you can control the load before you pick it up.
- Step 4: Pump to full lift with empty forks – Shows maximum lift height and reveals creeping or “spongy” response.
- Step 5: If lift is weak, bleed air with 4–6 strokes at full lower – Restores pressure by moving air back to the reservoir.
- Step 6: Reject the jack if forks still drop or lift unevenly – Indicates seal, valve, or structural problems needing maintenance.
| Inspection Item | What To Look For | Risk If Ignored | Operational Impact |
|---|---|---|---|
| Hydraulic pump | Oil leaks, “spongy” lift | Sudden loss of lift under load | Load may drop during travel or at rack face. |
| Forks | Bends, cracks at welds | Fork fracture or pallet punch-through | Unstable loads and potential tip events. |
| Steer wheels | Flat spots, cracked tread | Jerky steering, high push force | More strain on operators and poor control. |
| Load rollers | Embedded debris | Jamming at pallet entry | Partial fork entry and shifted load center. |
| Handle & linkages | Loose pins, excess play | Unexpected lowering or no-lift | Harder to feather the load down smoothly. |
💡 Field Engineer’s Note: If operators report “it sometimes doesn’t lift,” but you see no external oil, suspect trapped air or worn O-rings. A 15–20 stroke bleed with forks unloaded often restores lift; if not, schedule seal replacement before someone tries to “muscle through” with extra strokes.
Hydraulic oil and temperature considerations
Hydraulic oil viscosity changes between 0°C and 40°C. Using oil outside the recommended viscosity index can cause slow lift in cold rooms or weak holding in hot areas, so maintenance should match oil grade to the ambient temperature band to keep lift speed and control consistent.
Correct Fork Positioning, Lifting, And Load Handling
Correct fork positioning and lifting technique are the core of how to lift a pallet jack safely, keeping the load center inside the stability triangle and minimizing manual force.
- Approach straight-on: Align jack with pallet centerline – Prevents lateral offset that twists forks and shifts the center of gravity sideways before you even lift.
- Check pallet condition: Look for broken boards, loose wrap, offset stacks – Weak pallets concentrate stress at fork tips and can collapse during lift.
- Lower forks fully before entry: Ensure forks are at minimum height – Reduces impact on pallet entry and keeps load rollers from catching when you start under the pallet.
- Full fork insertion: Drive in until fork heels nearly touch opposite deck boards – Keeps the effective load center near 600 mm instead of at the tips.
- Center the load laterally: Keep weight balanced left-right on forks – Prevents side tipping and uneven wheel loading.
- Lift only 25–75 mm: Raise just enough to clear joints and debris – Limits the rise in center of gravity and reduces tipping risk while still rolling freely.
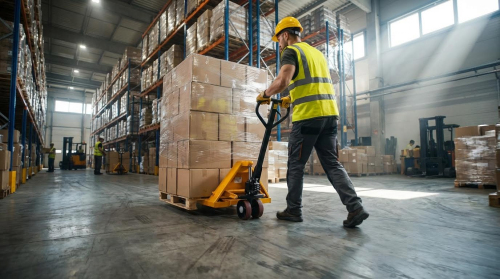
- Push, don’t pull: Stand behind the handle and push for travel – Uses body weight and improves visibility, lowering back strain especially on long runs.
- Step 1: Plan the path first – Confirm the floor is clear, dry, and wide enough so you do not stop mid-lift to reroute.
- Step 2: Position the jack one fork length from the pallet – Gives room to visually check pallet condition and wrap.
- Step 3: Lower forks fully, then drive straight in – Prevents impact loading on pallet deck boards.
- Step 4: Confirm full fork insertion and centered load – Ensures the load center is within the rated 600 mm zone.
- Step 5: Stand behind the handle, feet clear of steer wheels – Protects toes from being run over when the load first moves.
- Step 6: Use short, smooth pump strokes to raise 25–75 mm – Keeps lift controlled and avoids sudden “jerk” that could destabilize stacked goods.
- Step 7: Shift to neutral and begin pushing at walking pace or slower – Maintains control and allows quick stopping on changing floor conditions.
| Technique | Correct Practice | Common Mistake | Operational Impact</
Route Planning, Floor Conditions, And Special SituationsSafe pallet jack operation in real facilities depends more on route planning and floor conditions than on how to lift a pallet jack mechanically. This section shows you how to match speed, route, and technique to real-world hazards.
Evaluating Floors, Ramps, And Dock InterfacesEvaluating floors, ramps, and docks is about predicting how the pallet jack will behave under load before you even pump the handle. You use what you see on the ground to decide if the route is safe, how high to lift, and whether extra controls are needed. Smooth, level concrete gives the lowest rolling resistance and most predictable braking, so it is the preferred surface for moving 1,000–5,000 kg pallet loads. Rough or damaged floors increase push force and vibration, which can overload the operator and shake the load apart. Wet or oily patches reduce friction, increasing stopping distance and making steering less precise. Environmental and floor condition impacts matter as much as rated capacity when you choose a travel path.
Before you even think about how to lift a pallet jack under a pallet, you should inspect the planned path for hazards such as wet spots, loose wrap, broken boards, or sharp debris. You also need sufficient aisle width to turn without striking racks or columns, and adequate lighting to see floor joints and thresholds. For ramps, confirm the surface is dry and free of loose material, and avoid planning tight turns on slopes. When loading vehicles, chock wheels and ensure dock plates are rated for the total mass of pallet jack, load, and operator. Route evaluation before lifting is a mandatory step, not an optional extra. How to quickly assess a route before liftingStep 1: Walk the full path empty – you see hazards without fighting load forces. Step 2: Mark or clean obvious risks (wrap, straps, spills) – these are leading causes of wheel jams. Step 3: Identify slopes and dock transitions – decide if the load and jack are suitable before committing. Step 4: Choose turning points and safe passing zones – prevents “dead‑end” situations with no space to maneuver.
Safe Travel, Steering, And Ergonomic Pushing PracticesSafe travel and steering come from combining low, stable fork height with controlled speed and ergonomic pushing posture. You keep the jack predictable by avoiding sudden moves, tight turns under full load, and unnecessary pulling.
Stand behind the handle with your feet clear of the steering wheels and use short, smooth pump strokes to raise the forks only high enough to clear floor defects, typically 25–75 mm. Travel speed should always match conditions: walking pace or slower in tight aisles or near doors, and even slower on wet or damaged floors. You should always push the pallet jack when possible to reduce back strain and improve sight lines, pulling only for short repositioning. Riding on the pallet jack or allowing others to ride is unsafe and must be prohibited. These safe lifting and travel practices are detailed in industry guidance on pallet jack operation. Safe lifting and travel practices emphasize that travel technique is as important as rated capacity. Ergonomic pushing checklistItem: Neutral spine posture – reduces disc loading during long pushes. Item: Hands between waist and chest height on handle – keeps shoulder load reasonable. Item: Short, controlled steps – better traction and balance on variable floors. Item: Push in line with the jack, avoid twisting – prevents torsional strain on the lower back.
Ramps, Elevators, And Vehicle Loading Protocols Ramps, elevators, and vehicle loading zones are where pallet jacks most often exceed their safe operating envelope. You must adjust your lifting height, travel direction, and verification steps to account for gravity, moving platforms, and changing support conditions.
On ramps, you must keep the operator above the load, standing on the high side and moving in a straight line only. Turning on a ramp is prohibited because the combined center of mass shifts downhill and sideways, increasing tip‑over risk. If the ramp is steep or slippery, the safest approach is to lower the load and use alternative equipment. For elevators, confirm that the rating covers the pallet jack, load, and operator, then enter with the load first at very low speed and keep forks as low as possible while still rolling freely. Only the operator should ride with the pallet jack. These ramp and elevator protocols are outlined in safe pallet jack operating guidance. Ramp and elevator operation protocols highlight that many serious incidents occur on slopes and moving platforms. When loading vehicles, you must treat the trailer as a potentially unstable platform. Chock wheels and ensure dock plates or bridge devices are rated for the combined mass of the pallet jack, load, and operator. The surface must be dry and free of loose material, and you should cross dock plates straight, not at an angle, to avoid catching wheels or twisting the pallet. Proper route planning here includes confirming that the trailer bed and dock heights are compatible with your fork lift range so you do not have to over‑pump the handle or travel with forks excessively high. Guidance on route evaluation before lifting stresses these checks at docks and vehicles. Route evaluation before lifting should always cover ramps, elevators, and vehicle interfaces. Step-by-step: Using a pallet jack on a rampStep 1: Assess ramp surface and gradient – if it is wet, oily, or very steep, do not proceed with a manual jack. Step 2: Position with operator uphill of the load – this ensures you control the jack instead of being dragged. Step 3: Lift forks just enough for clearance – low center of gravity reduces tipping risk. Step 4: Move slowly in a straight line, no turning – prevents lateral instability. Step 5: Once clear of the ramp, stop on level ground and reassess the load – check for shifting or damage before continuing.
“” Final Considerations For Safe, Efficient Pallet Jack UseSafe pallet jack operation depends on how well you connect equipment limits, load geometry, and route conditions into one plan. Rated capacity and 600 mm load center values only protect you if forks are fully inserted, pallets are sound, and fork height stays low. Pre‑use checks catch hydraulic leaks, bent forks, and damaged wheels before they turn into dropped loads or tip events. Floor and route choices matter as much as data plates. Smooth, dry concrete keeps push forces low and braking predictable. Slopes, dock edges, and vehicle beds shift the center of gravity and can exceed slab or dock‑plate ratings. On ramps and elevators, you must keep forks just clear of the floor, stay on the high side, and move straight with strict speed control. PPE, training, and clear rules on pushing posture, speed, and no‑riding policies turn these engineering limits into daily habits. The best practice for operations teams is simple: select the right manual or electric unit for the duty cycle, enforce disciplined inspections, engineer safe routes, and refresh training whenever conditions or equipment change. Do this, and pallet jacks become low‑risk, high‑productivity tools in any Atomoving‑equipped facility. Frequently Asked QuestionsHow do I raise a pallet jack?To raise a pallet jack, ensure the forks are properly aligned under the pallet. Use the hydraulic pump handle to lift the forks by repeatedly pressing it down and pulling it back up. This mechanism builds pressure in the hydraulic system, raising the forks smoothly. Never overload the pallet jack beyond its rated capacity, as this can cause operational issues or failure. For more details on safe operation, refer to Pallet Jack Safety Tips. Why won’t my pallet jack lift up?If your pallet jack isn’t lifting, check for common issues like low hydraulic fluid, air trapped in the system, or a damaged pump seal. Ensure there’s no debris blocking the mechanism and that you’re not exceeding the load capacity. Regular maintenance, such as lubricating moving parts and inspecting seals, can prevent these problems. If troubleshooting doesn’t resolve the issue, consult a professional technician for repairs. Should you push a pallet jack?Yes, always push a pallet jack instead of pulling it. Pulling places unnecessary strain on your shoulders and back, increasing the risk of injuries like rotator cuff damage. Start the pallet jack slowly to maintain control and avoid sudden movements. For additional safety guidelines, see Manual Pallet Jack Safety. |
|---|