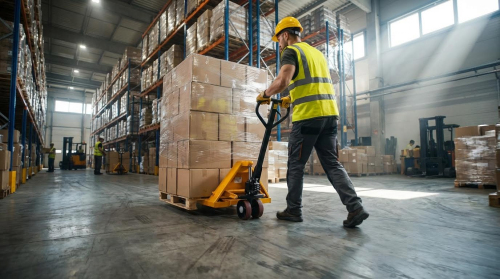
This guide explains how to safely operate a manual pallet jack, from understanding the controls to maneuvering, inspections, and basic maintenance. You will learn practical, step-by-step methods that reduce strain, prevent tip-overs, and protect floors, pallets, and people. Whether you are new or just want to refine how to operate mighty lift pallet jack models and similar units, the same physics, safety checks, and handling rules apply to all standard manual pallet jacks.
Understanding Manual Pallet Jack Controls And Design
Understanding manual pallet jack controls and design means knowing how each lever, wheel, and hydraulic part affects stability, force, and safe maneuvering in tight aisles. This section builds the foundation for how to operate mighty lift pallet jack type equipment safely and efficiently.
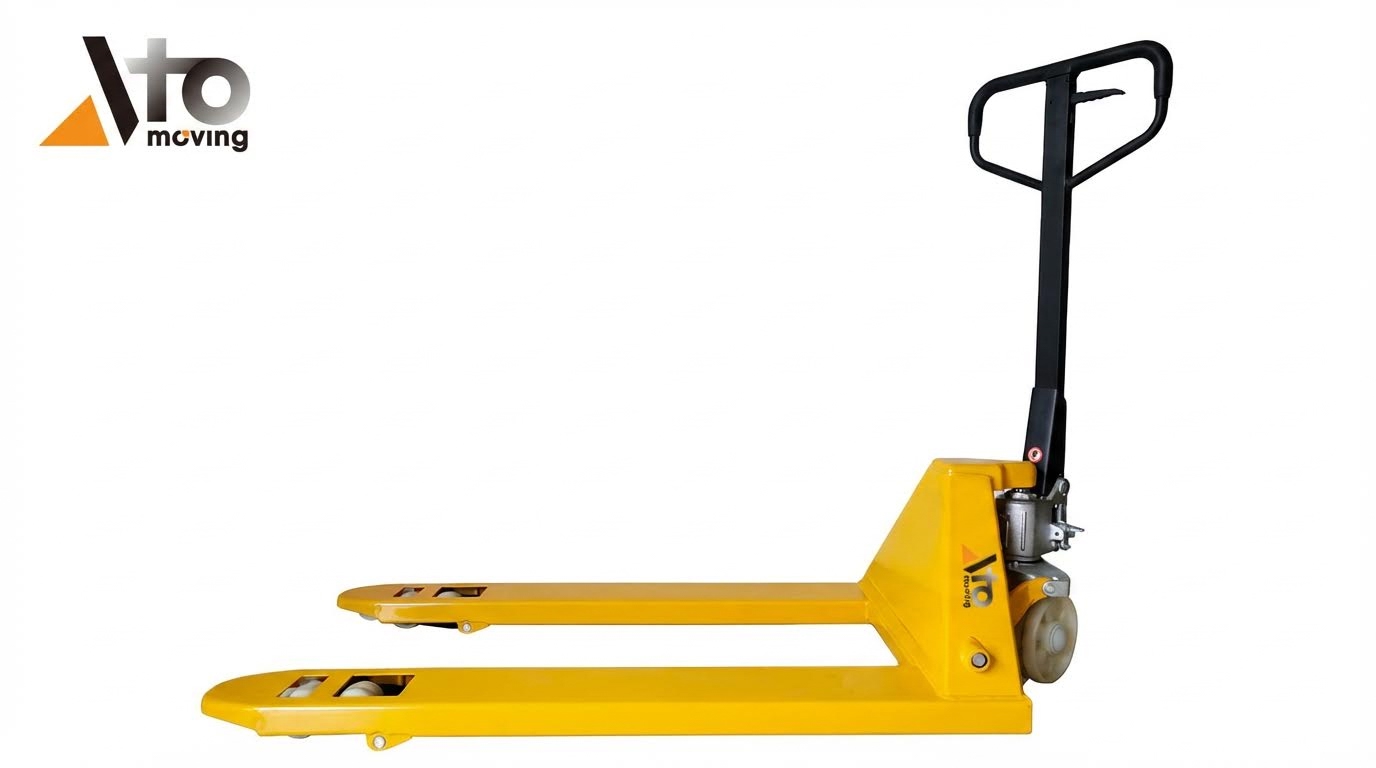
Most manual pallet jacks share the same core layout: a steer handle, a three‑position control lever, front load wheels, a rear steering axle, and a compact hydraulic pump that raises the forks about 200–250 mm for travel. Once you understand what each part does mechanically, it becomes much easier to avoid overloads, tip‑overs, and damaged pallets.
Key components and control functions
Key components and control functions on a manual pallet jack convert your hand and body force into controlled lifting, steering, and braking of loads up to around 2,500–3,000 kg. Whether you study generic manuals or guides on how to operate mighty lift pallet jack style trucks, the control logic is almost identical.
- Steering handle and tiller arm: The long handle gives leverage for steering and pushing – reduces effort and improves directional control in narrow aisles.
- Three‑position control lever: Typically marked Raise / Neutral / Lower – lets you select lifting, travel, or lowering modes without tools.
- Hydraulic pump unit: Converts handle strokes into oil pressure – raises forks smoothly when you pump 3–6 times under no load to confirm function under no load.
- Forks (blades): Two parallel arms that support the pallet – must stay straight and parallel for stable load sharing and to avoid pallet damage stay straight and parallel.
- Load wheels (front): Small wheels under the fork tips – take most of the load weight and allow entry into pallets.
- Steer wheels (rear): Larger wheels at the handle end – carry part of the load and provide the turning axis for tight corners.
- Frame and pivot points: Connect forks, pump, and handle – stiffness here controls how the jack reacts under full rated capacity.
- Capacity and warning labels: Mark rated load, typically about 2,500–3,000 kg – tell you the safe limit so you do not overload the structure or hydraulics safe limit.
| Component | Main Function | Typical Check | Operational Impact |
|---|---|---|---|
| Control lever | Selects raise / neutral / lower | Moves freely and returns correctly | Prevents unexpected fork drop or failure to lower when positioning loads |
| Steering handle | Push / pull and steer | No cracks, bends, or looseness | Good control in 2.0–2.5 m aisles and reduced strain on shoulders |
| Forks | Support pallet and load | No cracks, bends, or loss of parallelism | Keeps load centered and stable, reduces pallet breakage under high loads |
| Load wheels | Carry front load and roll under pallet | No flat spots, debris, or deep cracks | Smoother entry into pallets and shorter stopping distance on flat floors |
| Steer wheels | Carry rear load and steer | Spin freely, no wobble | Allows tight turns without scraping or sudden resistance |
| Hydraulic pump | Raises forks via oil pressure | 3–6 test pumps lift smoothly without sinking | Ensures you can lift to 0.20–0.25 m without jerks or mid‑stroke failure |
How the three‑position lever typically works
Raise: Lever up; pumping the handle raises the forks via the hydraulic pump.
Neutral: Lever centered; handle moves and wheels roll, but fork height stays fixed for travel.
Lower: Lever down; pulling the lever opens the release valve so forks descend in a controlled way.
💡 Field Engineer’s Note: Train operators to “feel” the lever detents with gloves on. In cold rooms, stiff seals can blur the positions, and grabbing the wrong one can dump a 1,000 kg pallet unexpectedly if you hit Lower instead of Neutral.
Hydraulic lifting system fundamentals
The hydraulic lifting system on a manual pallet jack uses a compact pump, cylinder, and oil to raise the forks roughly 200–250 mm, and its condition directly controls stability and safe stopping of loads. Understanding this system is essential when learning how to operate mighty lift pallet jack style units under full rated capacity.
When you pump the handle, a small piston pushes hydraulic oil into the main cylinder, which extends and forces the fork frame upward. A release valve, controlled by the lowering position of the lever, meters oil back to the reservoir so the forks descend at a safe, steady speed rather than dropping suddenly. Most manuals recommend a quick function check: pump the handle three to six times under no load and watch for smooth lift, no jerks, and no sinking of the forks once you stop pumping three to six times.
- Working pressure: The pump multiplies your hand force into high oil pressure – lets a person move loads in the 2,500–3,000 kg range without powered assistance 2,500–3,000 kg range.
- Lift height: Typical maximum fork height is about 0.20–0.25 m – just enough to clear floor irregularities while keeping the center of gravity low 0.20–0.25 m.
- Travel clearance: Recommended fork height during travel is 20–50 mm above the floor – minimizes tipping risk and trip hazards while still rolling freely 20–50 mm.
- System health indicators: Jerky motion, sinking forks, or visible oil leaks – signal internal seal wear, contamination, or low fluid level that require maintenance require maintenance.
- Air in the circuit: If the truck sat unused, air may enter the hydraulic line – operators can purge it by fully lowering and pumping the handle several cycles until lift becomes smooth again several cycles.
| Hydraulic Aspect | What to Check | What It Tells You | Operational Impact |
|---|---|---|---|
| Lift test (no load) | 3–6 handle pumps, smooth rise | Confirms pump and valves work correctly | Reduces risk of losing lift mid‑operation in a truck or elevator |
| Hold test | Forks stay up without sinking | Confirms cylinder seals are sealing | Prevents slow collapse of a 1,000+ kg pallet during staging |
| Oil leaks | No oil around pump or cylinder | Shows seals and hoses are intact | Avoids slip hazards and sudden loss of capacity |
| Fork lowering speed | Controlled, not free‑fall | Release valve correctly adjusted | Allows precise placement on racking beams or dock plates |
Why 20–50 mm travel height matters
Keeping forks only 20–50 mm above the floor during travel limits how far the load can fall if it shifts and keeps the jack stable by holding the combined center of gravity close to the wheelbase. Raising higher than necessary adds tipping leverage without any handling benefit.
💡 Field Engineer’s Note: In cold storage or outdoor winter work, oil thickens and seals harden. Expect slower lift and return strokes; if operators “over‑pump” to compensate, they can suddenly overshoot the 20–50 mm travel height and unknowingly raise the center of gravity, making a heavy pallet much easier to tip during a sharp turn.
Step-By-Step Operation, Maneuvering, And Safety
This section explains how to operate a manual pallet jack step-by-step, including checks, load handling, and movement so you can safely apply any brand’s instructions, including guides on how to operate mighty lift pallet jack, in real workplaces.
Pre-use route, load, and equipment inspection
Pre-use inspection means you check the route, the load, and the pallet jack itself before moving anything, which prevents most mechanical failures and tip-overs.
- Route check: Walk the planned path first – you spot slopes, tight turns, ramps, and blind corners before the load hides them.
- Floor condition: Look for oil, water, loose plastic wrap, holes, or broken concrete – these cause loss of traction and sudden stops.
- Obstacles: Remove pallets, cords, banding, and waste – keeps forks from snagging and wheels from jamming.
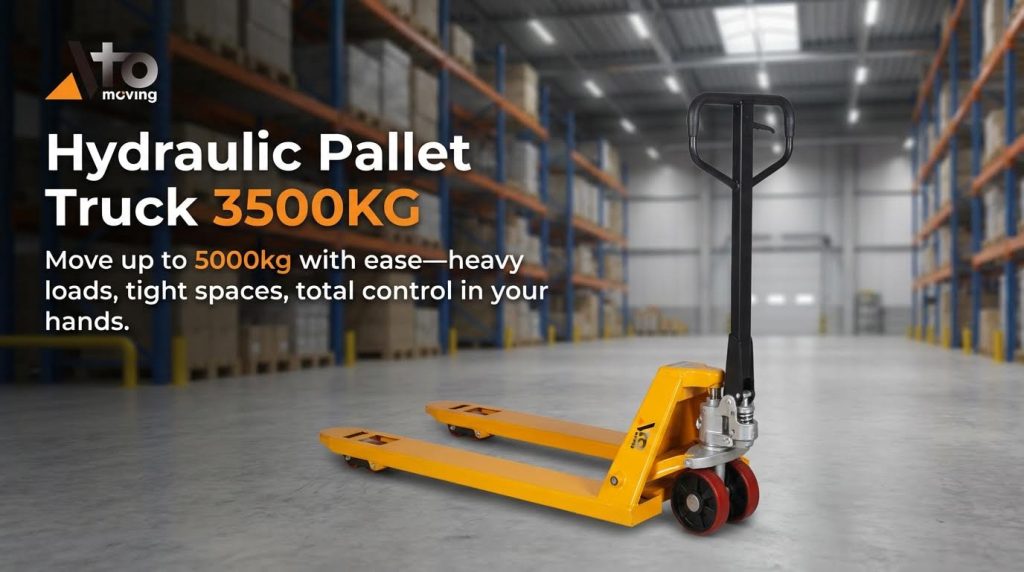
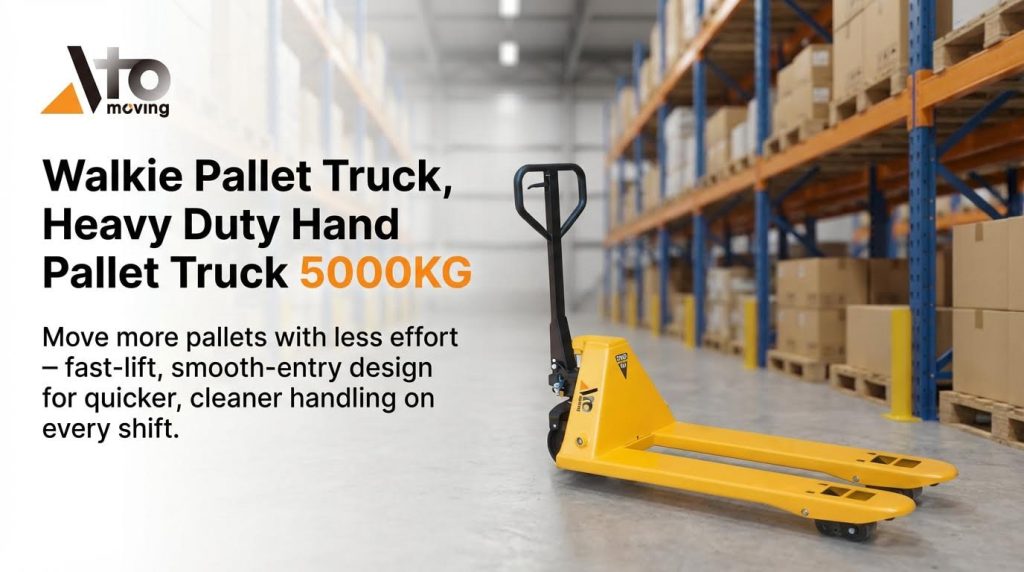
- Load mass: Estimate or verify weight against the jack’s nameplate rating (often 2,500–3,000 kg) – avoids overload and structural failure.
- Center of gravity: Check if the load is even, not heavily biased to one side – reduces tipping risk during turns.
| Item | What To Check | Why It Matters (Operational Impact) |
|---|---|---|
| Forks | Bends, cracks, misalignment | Bent forks change load sharing and can break pallets under 1,000–3,000 kg loads |
| Wheels | Free rolling, no flat spots, no embedded debris | Reduces push force and stopping distance on 10–20 m runs |
| Hydraulics | Lift test: 3–6 handle pumps, no jerks or sinking | Prevents sudden drop when carrying full-capacity pallets |
| Leaks | No oil around pump, cylinder, or hoses | Oil on floor becomes a slip hazard in 1–2 passes of traffic |
| Handle & controls | Moves freely; lift/neutral/lower positions positive | Ensures precise control in tight 1.8–2.5 m aisles |
Several safety guides recommend a quick 30-second visual and functional check before use, including forks, frame, handle, wheels, and hydraulic lift, and removing any jack from service if you see cracks, severe bends, or leaks. Pre-operational inspections and hydraulic tests are standard.
Fast 30-second pre-use checklist
1. Walk the route (aisles, ramps, doors).
2. Confirm load weight is within nameplate rating.
3. Scan forks, frame, handle for cracks or bends.
4. Spin wheels; remove debris.
5. Pump handle 3–6 times; check smooth lift and no leaks.
💡 Field Engineer’s Note: If a pallet jack has sat unused for weeks, cycle the handle fully lowered 4–6 times before loading; this purges air from the hydraulic circuit and prevents “mystery” sinking under a heavy pallet.
Correct load pickup, lifting height, and stability
Correct load pickup means fully supporting the pallet, controlling lift height, and keeping the center of gravity low and centered so the jack stays stable during movement and turning.
- Confirm capacity: Read the nameplate rating (often 2,500–3,000 kg) and keep a safety margin – prevents overload of forks and hydraulics.
- Fork spacing: Adjust forks to sit just inside the pallet stringers – maximizes support area and reduces pallet breakage.
- Full fork insertion: Drive forks in until the heels are near the opposite deckboard – stops the pallet tipping off the tips when you lift.
- Load centering: Keep weight centered between forks and within pallet footprint – keeps the combined center of gravity inside the wheelbase.
- Stacking order: Heavy items low, light items high – lowers the center of gravity and reduces sway.
Manual pallet jacks normally lift pallets to around 0.20–0.25 m. During travel, the forks should only be raised 20–50 mm above the floor to maintain stability and limit fall distance if the load shifts. Guidance emphasizes minimal travel height to control tipping risk.
| Parameter | Recommended Range | Operational Impact |
|---|---|---|
| Lift height for travel | 20–50 mm above floor | Clears floor joints while keeping center of gravity low |
| Maximum lift height | ≈200–250 mm | Enough to clear most pallets and dock plates without over-raising |
| Stack height | Below eye level where possible | Maintains forward visibility and reduces toppling risk |
| Load position | Centered on forks, fully supported | Prevents twisting of forks and uneven wheel loading |
For irregular or top-heavy loads, you should strap or stretch-wrap the stack and avoid heights where the center of gravity moves outside the wheelbase or blocks your line of sight. Keeping loads centered and restrained is a core stability rule.
Step-by-step: Picking up a pallet safely
- Step 1: Approach straight – prevents fork impact on pallet stringers.
- Step 2: Lower forks fully – avoids pushing the pallet instead of entering it.
- Step 3: Roll in until heels almost touch rear deckboard – ensures full support.
- Step 4: Center the load left–right – balances wheel loading.
- Step 5: Pump to raise 20–50 mm – enough to travel, not enough to destabilize.
💡 Field Engineer’s Note: If you feel the jack “lean” to one side as you start to lift, stop, lower, and re-center the pallet; that lean means the center of gravity is already near the wheelbase edge and a sharp turn could finish the tip-over.
Safe pushing, pulling, and slope maneuvering

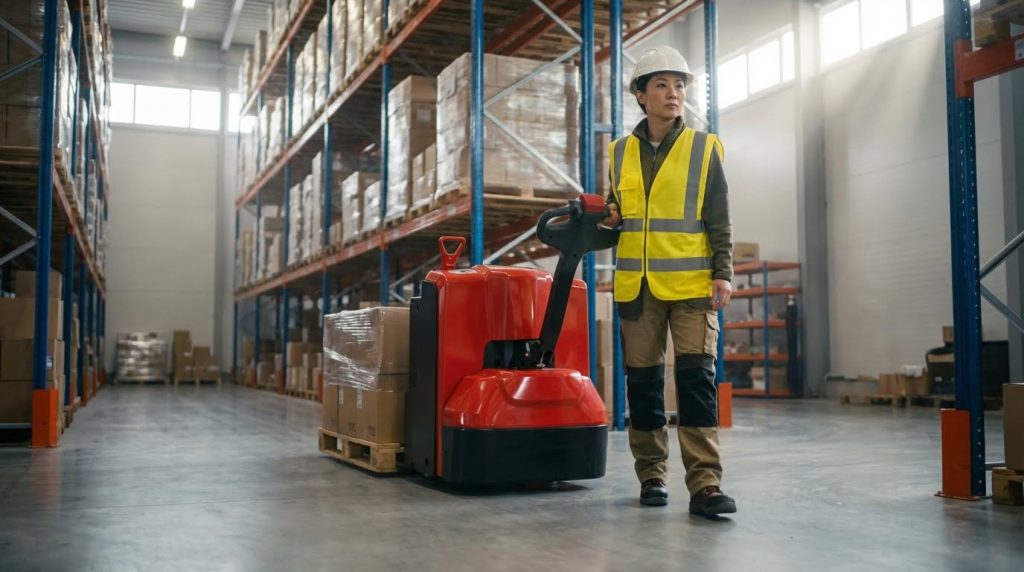
Safe maneuvering means you mostly push on level ground, use controlled body positions, and follow strict rules on slopes and docks to avoid runaways and musculoskeletal injuries.
- Push, don’t pull: Use your legs with the handle near waist height – reduces lumbar and shoulder loading compared with pulling.
- Elbows in: Keep elbows close to your torso – improves control and reduces shoulder strain.
- Smooth starts/stops: Build speed gradually – limits peak forces on hands, arms, and back.
- Speed control: Walk speed only, especially in congested or dock areas – shortens stopping distance with heavy loads.
- Visibility: If the load blocks your view, pull carefully with the load trailing or get a spotter – prevents collisions at blind corners.
Ergonomic and safety guidance consistently recommends pushing manual pallet jacks instead of pulling to lower spinal loading and improve directional control, and to keep handles near waist height with elbows tucked close. Pushing is specifically preferred over pulling for manual pallet handling.
On slopes and ramps, the rules tighten. You must keep the jack aligned straight up or down the incline, never diagonal, and avoid turning on the slope to prevent lateral tip-over. When descending, you normally move backward so the load stays below you and you can brake against it; when going uphill, the load stays in front, between you and the slope. Slope procedures focus on straight-line travel and low speed.
| Situation | Recommended Technique | Operational Impact |
|---|---|---|
| Level floor | Push with handle at waist height | Best ergonomics and control for 2,000–3,000 kg loads |
| Downhill ramp | Walk backward, load below you, straight line | Prevents runaway and keeps jack under control |
| Uphill ramp | Face uphill, load in front, straight line | Reduces rollback risk and maintains traction |
| Turning | Slow, wide turns on level ground only | Reduces lateral forces that cause tipping |
| Dock edge/elevator | Low speed, no turning near edges, respect capacity | Prevents falls from height and overloading structures |
Operating in elevators and at loading docks
Elevators: Confirm combined weight of jack, load, and people is below the elevator rating. Enter straight, avoid sudden movements, and keep forks low. Guides stress not exceeding elevator capacity.
Docks: Check dock plates are set, undamaged, and rated for the total load. Travel slowly, straight across plates, and never turn close to dock edges or drop-offs.
💡 Field Engineer’s Note: Any time the floor slope approaches the limit where you struggle to hold the load still with your body weight alone, treat that route as unsafe for manual jacks and switch to powered equipment or a different path.
Inspection Routines, Maintenance, And Compliance
Inspection routines, basic maintenance, and documentation are what keep a manual pallet jack safe, legal, and productive across multiple shifts. If you want to master how to operate mighty lift pallet jack correctly, you must treat inspections as part of the job, not an optional extra. Consistent pre-shift checks, wheel and fork care, and hydraulic maintenance all reduce breakdowns and prevent sudden failures under load.
| Task Type | Typical Frequency | Main Focus | Operational Impact |
|---|---|---|---|
| Quick visual scan | Before every use / shift | Cracks, leaks, bent forks, loose parts | Catches dangerous defects before loading |
| Function test | Before every use / shift | Hydraulic lift, lowering, steering | Confirms jack will lift and roll safely |
| Cleaning & debris removal | Daily | Wheels, forks, frame | Reduces rolling resistance and trip hazards |
| Lubrication & bolt tightening | Weekly | Axles, pivots, fasteners | Prevents seizure and loose components |
| Detailed structural & hydraulic check | Monthly / annually | Fork straightness, cylinder, seals | Extends life and supports compliance records |
💡 Field Engineer’s Note: In high-throughput warehouses, I recommend tagging each pallet jack with its last inspection date and defects found. This simple visual cue stops operators from grabbing unsafe units during peak rush periods.
Daily and shift-based inspection checklists
Daily and shift-based inspections are short, repeatable checks that catch damage, leaks, and control issues before a load is lifted. They are the foundation of safe operation and should take about 30–60 seconds if done correctly.
- Inspection frequency: Inspect the pallet jack before each day’s use and at the start of every shift in multi-shift sites – this matches common safety guidance and keeps different teams from inheriting hidden defects. Inspection frequency guidance
- 30-second visual scan: Walk around the jack and look for cracks, bent sections, missing fasteners, and obvious oil leaks – fast way to spot serious structural or hydraulic problems. 30-second scan method
- Forks and frame: Check forks and frame for bends, cracks, or misalignment, and that forks are straight within acceptable limits – prevents unstable loads and pallet damage. Fork and frame checks
- Wheels and rollers: Inspect wheels and rollers for cracks, chips, flat spots, or embedded debris – avoids high rolling resistance and sudden stopping distance changes. Wheel and fork care
- Handle and controls: Make sure the handle moves freely and the control lever selects lift / neutral / lower smoothly – ensures predictable control when you start moving a load. Handle and control checks
- Hydraulic function test: Pump the handle three to six times with no load and watch the forks rise and hold – jerky motion, sinking forks, or failure to lift signal hydraulic faults. Hydraulic test procedure
- Lowering and neutral check: Operate the lowering control and neutral position to confirm smooth, controlled fork descent – prevents sudden drops that can shock-load pallets and flooring. Lowering control test
- Leaks and contamination: Look for oil around the pump, cylinder, or hoses and any wet patches under the jack – small leaks often grow into full hydraulic failures under load. Leak inspection
- Safety labels and markings: Confirm capacity markings and warning labels are visible and legible – supports operator decisions and compliance audits. Safety label checks
- Reporting and tagging out: If you find cracks, severe bends, or leaks, remove the jack from service and report it – prevents others from unknowingly using unsafe equipment. Reporting issues
Example daily checklist for how to operate mighty lift pallet jack safely
1. Visual scan: frame, forks, handle, wheels, labels. 2. Check for leaks under pump and cylinder. 3. Roll jack empty 2–3 m to feel for drag or noise. 4. Pump handle 3–6 strokes and verify smooth lift and hold. 5. Test lowering and neutral positions. 6. If any defect is found, tag out and report before loading.
Wheels, forks, and hydraulic system care
Wheels, forks, and the hydraulic unit are the three components that most directly affect rolling effort, stability, and lifting reliability. Planned care on daily, weekly, and monthly cycles keeps these parts within safe limits and extends service life.
| Component | What To Check | Typical Frequency | Operational Impact |
|---|---|---|---|
| Load & steer wheels | Cracks, chips, debris, flat spots, noisy bearings | Daily visual, weekly spin test, monthly removal | Smoother rolling and shorter stopping distance in 2–3 m aisles |
| Forks | Cracks, bent tips, loss of parallelism, heel damage | Daily glance, monthly straightedge check | Stable support for 1,000–3,000 kg pallets without rocking |
| Hydraulic pump & cylinder | Oil level, leaks, jerky lift, sinking under load | Daily function test, monthly detailed inspection | Reliable lift to 0.20–0.25 m without sudden drop |
| Pivots & axles | Dry joints, corrosion, looseness | Weekly lubrication and tightening | Lighter steering effort and predictable tracking |
- Wheel and roller cleaning: Remove nails, plastic, wrap, or stones from wheels every day – debris causes flat spots and overloads bearings. Wheel debris issues
- Wheel condition and lubrication: Replace wheels with deep cracks or peeling tread and grease moving parts weekly – prevents sudden wheel failure under full pallet weight. Wheel maintenance
- Fork straightness and damage: Inspect forks for cracks, bent tips, and misalignment; verify straightness monthly with a straightedge – maintains even load sharing and reduces pallet breakage. Fork inspection guidance
- Hydraulic oil and air purge: If the jack feels spongy or jerky, fully lower the handle and pump several cycles to purge air – restores smooth, controlled lifting. Hydraulic maintenance
- Seal and leak management: Watch for oil at cylinder rods or valve areas; persistent leakage after basic seal work indicates need for overhaul or replacement – avoids sudden loss of lift with a raised pallet. Hydraulic seal issues
- Preventive maintenance schedule: Use a simple routine: daily visual and function checks, weekly lubrication and fastener tightening, monthly deep cleaning and alignment checks – this structure supports both uptime and audit compliance. Preventive maintenance routines
- Maintenance log and records: Record date, findings, and actions for each inspection and repair – helps spot repeat failures and proves that your pallet jacks are maintained. Maintenance log guidance
How this ties into how to operate mighty lift pallet jack in real warehouses
In practice, knowing how to operate mighty lift pallet jack safely is 50% technique and 50% condition of the equipment. A well-maintained jack with clean wheels, straight forks, and a healthy hydraulic unit lets operators keep forks 20–50 mm off the floor during travel, control loads smoothly on ramps, and avoid overexertion. Skipping inspections forces operators to fight the equipment, which increases both injury risk and product damage.

Final Thoughts On Manual Pallet Jack Operation
Safe manual pallet jack operation depends on three linked elements: sound equipment, correct technique, and disciplined inspection. The geometry of the forks, wheelbase, and lift height sets the stability limits. When operators keep forks fully under the pallet and travel at 20–50 mm lift, the center of gravity stays inside the wheelbase and tip-over risk drops sharply. Hydraulic health then decides whether the jack can lift, hold, and lower loads without shocks or sudden drops.
Daily checks of forks, wheels, and hydraulics turn these design strengths into real safety. Clean, round wheels cut push force and keep stopping distances predictable. Straight forks and intact frames share load correctly and protect pallets and racking. A tight, leak-free hydraulic circuit lets operators place heavy pallets with millimeter control instead of guesswork.
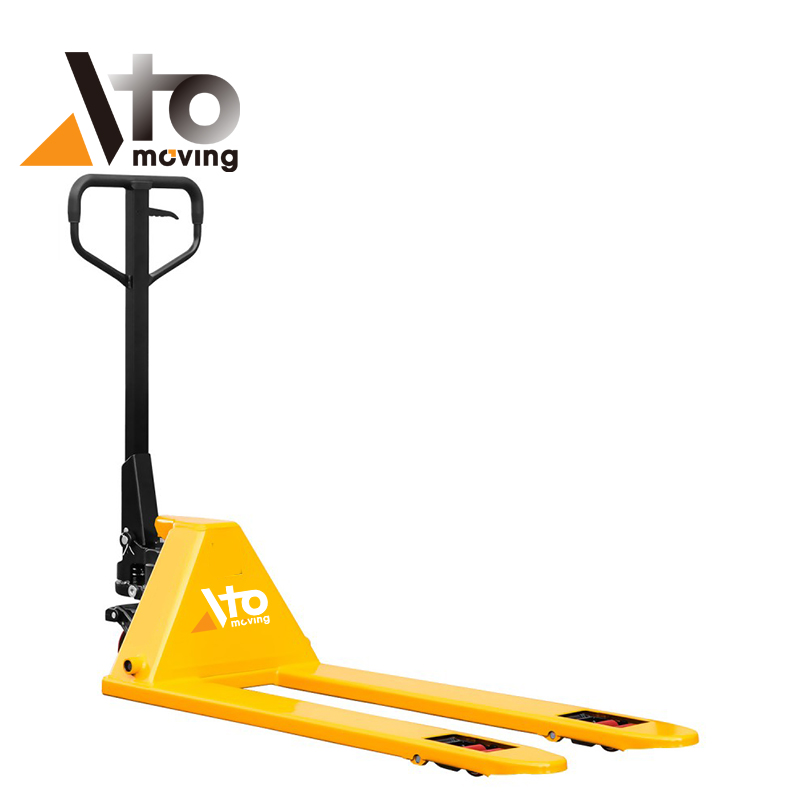
From an operations viewpoint, the best practice is clear. Train every operator on push-first body mechanics, load centering, and slope rules. Enforce a 30–60 second inspection before use and a simple preventive maintenance schedule. Pair that with well-built equipment, such as the manual pallet jacks offered by Atomoving, and you gain a low-risk, low-strain handling system that stays safe and productive shift after shift.
Frequently Asked Questions
How to Operate a Pallet Jack Step by Step?
Operating a pallet jack involves a series of steps to ensure safe and efficient use. First, ensure the release valve is closed to prevent the forks from lowering unintentionally. Position the forks under the pallet and pump the handle to lift it. Pallet Jack Reset Guide. Next, tilt the handle back slightly to move the pallet jack forward or backward. Always push rather than pull the pallet jack for better control and safety.
Should You Push or Pull an Electric Pallet Jack?
For manual pallet jacks, pushing is generally safer and requires less energy compared to pulling. Pulling can cause strain on your lower back due to twisting motions. However, electric pallet jacks are typically operated in a pulling position using a controller. Pallet Jack Operation Tips.
Do You Have to Be Trained to Use a Pallet Jack?
Yes, according to OSHA standard 1910.178, workers must receive proper training and certification to operate an electric pallet jack safely. This includes understanding the controls, safety protocols, and load handling techniques. OSHA Certification Requirements.